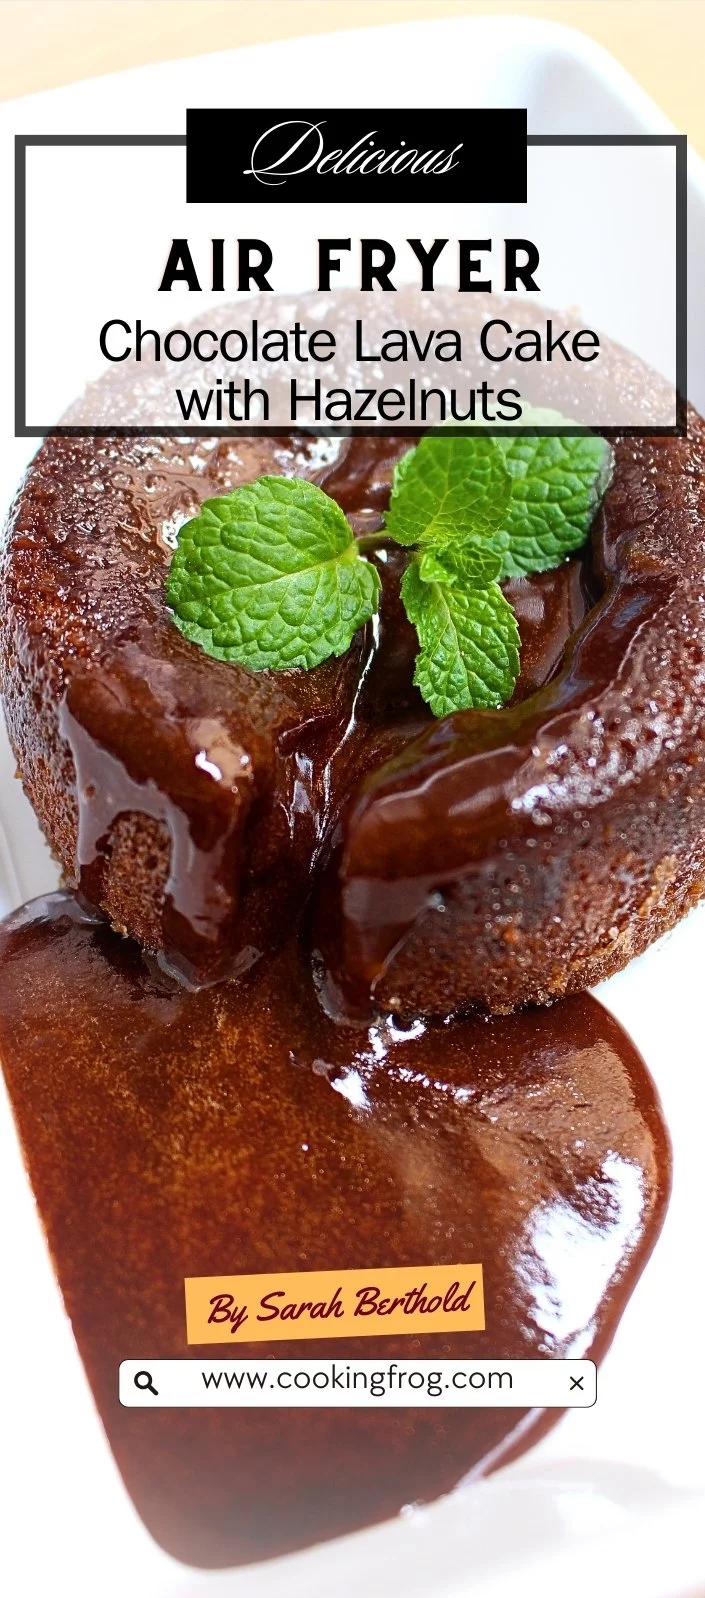
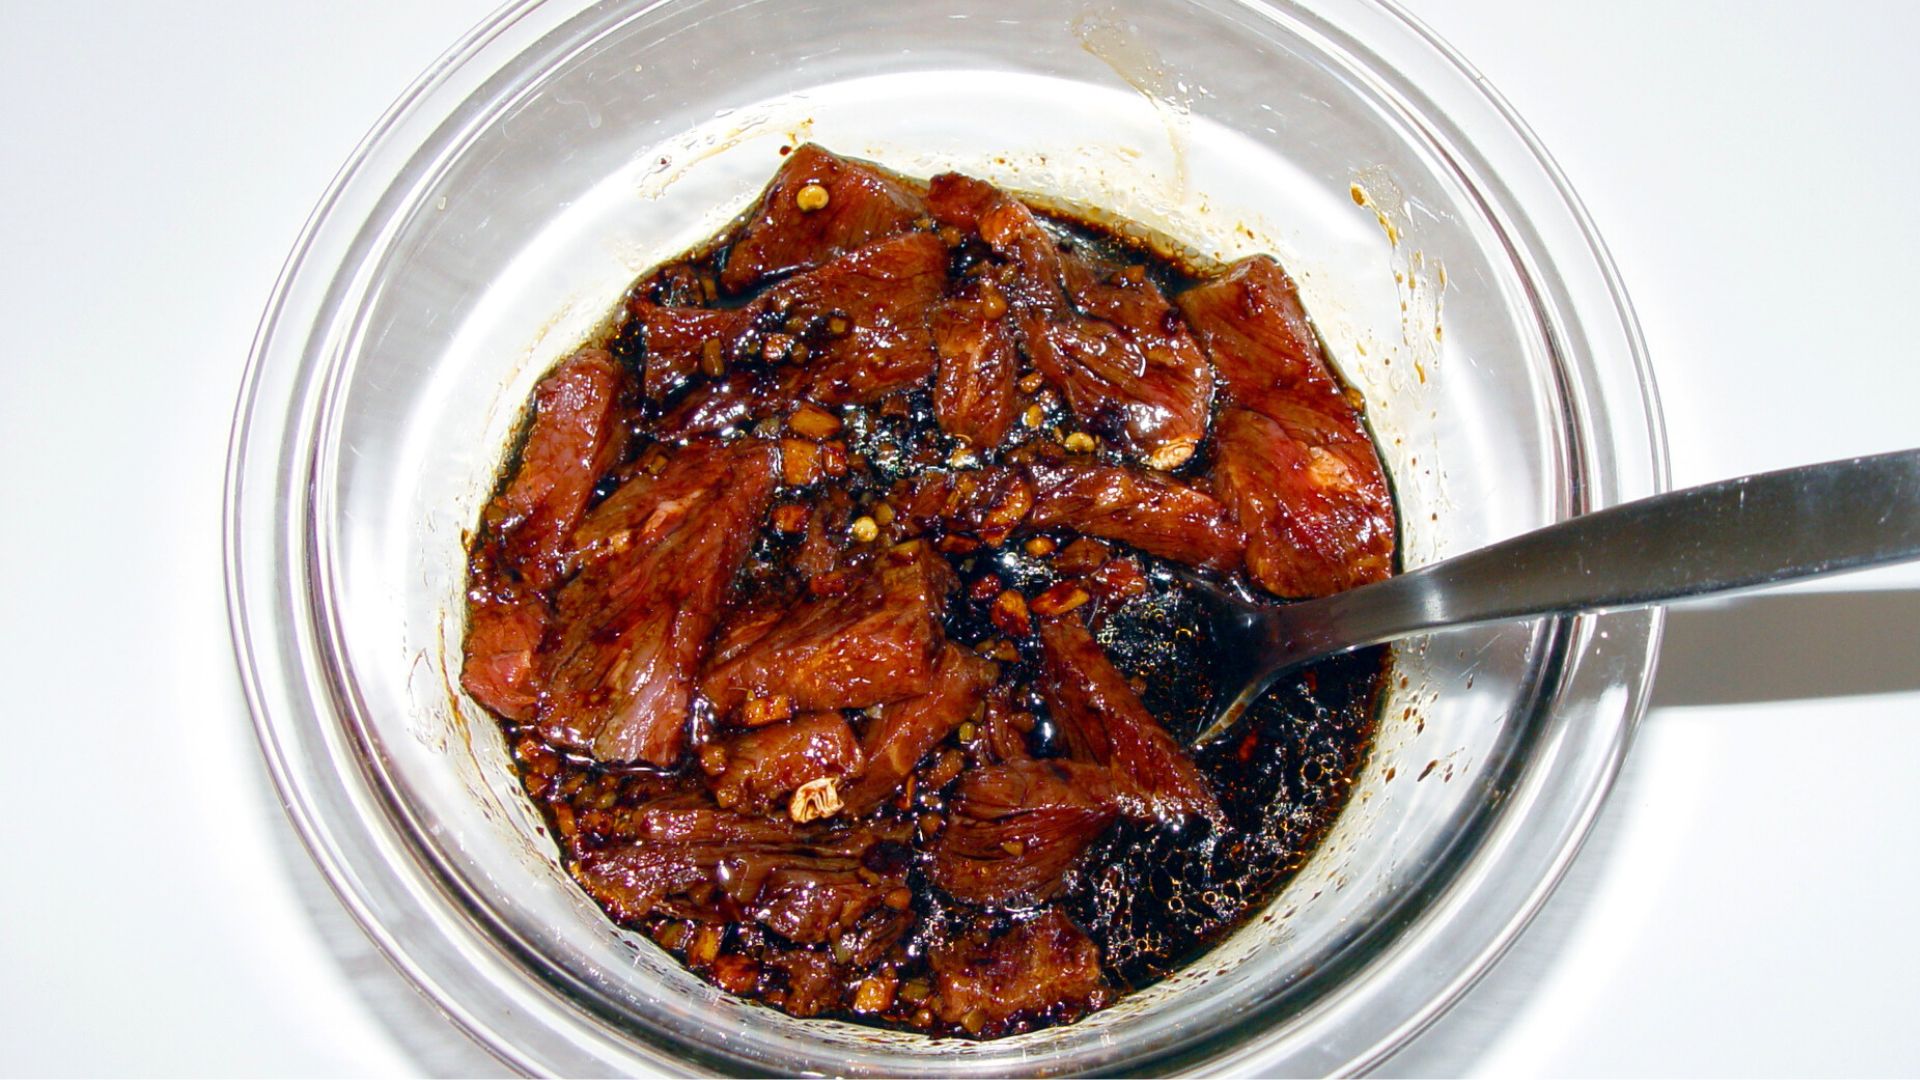
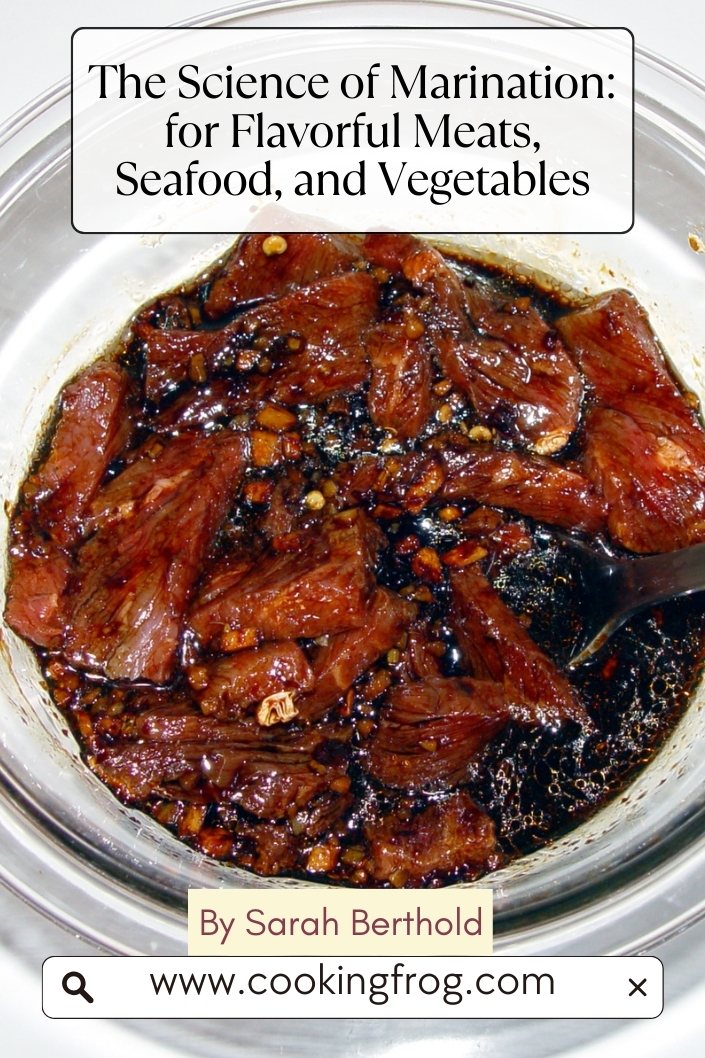
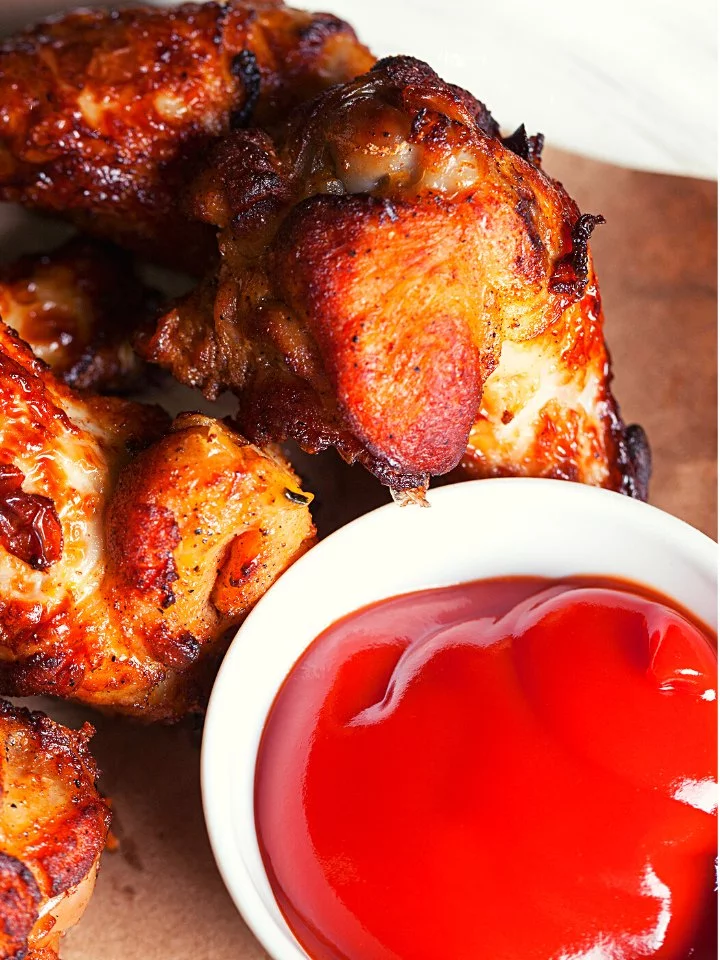
Easy and Delicious Recipes

Recent Posts

Moist Egg-Free Banana Muffins with Crunchy Walnuts

Moist Egg-Free Banana Muffins with Crunchy Walnuts

Instead of relying on eggs, these egg-free banana muffins with walnuts are made with a combination of ripe bananas and milk (use plant-based milk for the vegan version) for a delicious and moist texture. The addition of crunchy walnuts not only adds a delightful nutty Read More

Quick and Easy Air Fryer Brats Recipe

Quick and Easy Air Fryer Brats Recipe

If you like brats and like how easy it is to use an air fryer, you’re in for a treat. Today, we’ll show you how to make tasty, easy air fryer brats. This recipe is great for a quick and tasty meal and a great Read More

A Delicious and Traditional Beef Olives Recipe

A Delicious and Traditional Beef Olives Recipe

Today, we’re sharing a delicious traditional beef olives recipe that will impress your guests and elevate your dinner parties. This recipe is easy to follow and produces succulent and flavorful beef olives that are sure to become a favorite. 

So, let’s get started and learn how to make these mouth-watering beef olives!

A traditional British dish known as “beef olives” consists of filled, thinly sliced beef folded into a parcel and slowly cooked in a rich brown sauce.

Since the Middle Ages, beef olives have been a staple of British cooking. One would assume that they truly contain olives based on the name. While this is not the case, you can certainly experiment by adding some olives to the dish. 🙂

The British term”Beef Olive” refers to beef that has been wrapped around a flavorful filling, browned, and finished in a brown sauce.

So, What are Beef Olives?

In their most basic form, Beef Olives are thin beef steaks wrapped around sausage meat, minced beef, veal, or a breadcrumb foundation with anchovies; however, I’ve opted to use Stilton cheese in my filling because it pairs so nicely with beef.

The packed beef rolls get their olive title because they resemble an olive when they are neatly wrapped with string. Veal steaks were also commonly used in the past.

The key to making them juicy and flavorful is browning them in a skillet before finishing them up in a casserole. I found that cooking them in a rich red wine beef stock brought out the best in the delicate beef and the stuffing.

Not to brag, but this Beef Olives recipe is hard to top as a wonderfully delicious dinner that will fill up the whole family when served with Hasselback potatoes and veggies.

Traditional Beef Olives Recipe

Recipe Variations

Beef – substitute beef with chicken breasts sliced in two pieces and pounded in the zip-lock bag using a meat mallet. You can also use turkey or pork escalopes.

For the stuffing – You can use sausage meat, minced chicken, pork, or beef.

Mushrooms – for added flavor, use rehydrated porcini or shiitake mushrooms.

Stilton – for a unique flavor, try another blue cheese like Gorgonzola, Roquefort or brie, or camembert.

Ingredients you’ll need

Beef – Steak sliced thinly and long for frying. It really doesn’t need to be of a specific quality because it will be baked at low heat in the oven.

Beef stock – Either in cube form or canned.

Vegetable oil – I advise you to use Canola oil for this recipe. I know you are tempted to use olive oil instead. 🙂

Flour – All-purpose flour is best for this recipe.

Onion and Carrots –  I use yellow onion. It needs to be cut and used for the brown sauce.

Seasonings – Sea salt flakes and finely ground black pepper make up the seasoning.

For Beef Olives stuffing:

Breadcrumbs – Store-bought breadcrumbs or prepared from 4 small bread pieces in a food processor.

Shallots – Banana shallots are simpler to peel than their smaller counterparts when it comes to shallots.

Mushrooms – Either white mushrooms or any other kind that you have available.

Cheese – Stilton cheese or any other blue cheese will do. As I’ve said before, you can experiment with other kinds of blue cheese. 

Egg – As in many other recipes, eggs are used for binding.

Thyme & Rosemary – I’m using freshly cut thyme and rosemary for a lovely addition to the flavor.

How to make Beef Olives

Step 1: Remove the skins off the shallots and clean or peel the mushrooms. Finely chop. For around five min over low to medium heat, soften the mushrooms and shallots in 1 tbsp of the oil.

Step 2: Add the shallot and mushroom mixture to the rest of the stuffing ingredients in a large bowl and stir to combine. Split the mixture and create 4-5 sausage shapes that are the same size as the beef. Put the beef slices on a cutting board, add the filling on one of the ends, and roll your beef. Replicate with the rest of the pieces, and then tie them into a package with kitchen string.

Step 3: Put a piece of string on the board, and then put the beef olive. Turn the beef over, then tighten the string and create a knot. Cut the ends off.

Step 4: Heat the rest of the oil using the same pan. Cook the onions and sliced carrots for five min, or until they are soft, and then put them in a small dish for the oven. Turn the heat up, season the meat, sear it on all sides, and then put it on top of the onions.

Step 5: To make the brown sauce, heat the butter until it starts to foam, then add the flour and stir for 1 min. Next, add the stock slowly while stirring, and bring to a boil for a minute to make it thicker. At first, the mixture will look lumpy, but as you stir it, it will smooth out.

Step 6: Cover the beef with the brown sauce, then bake it at 350F for 50-60 minutes. 

Step 7: After 50 minutes, test the beef’s doneness with a fork; thicker rolls may require additional cooking time. After resting for a few minutes, cut the thread from the beef buns and serve them with the onion gravy and mashed potatoes.

Traditional Beef Olives Recipe

Can I make Beef Olives in advance?

Totally! A day ahead of time, make the filling and roll up the beef parcels to chill in the fridge. Get the sauce ready and pop it in the oven an hour before you want to dine.

How to store Beef Olives?

You can make the filled beef packages a day ahead of time and keep them refrigerated and covered. Meat and gravy leftovers can be kept in the refrigerator for up to three days. Do not attempt to store this dish in the freezer.

Can Beef Olives be reheated?

We advise eating your beef olives as soon as they are prepared because reheating might dry up the beef and make it difficult to heat the food fully due to the various stuffings.

If reheating is required, we advise using a meat thermometer to make that your olive is well cooked.

What makes this dish excellent?

  • This meal is excellent for making a very small quantity of a less expensive cut of beef go a long way, making it highly cost-effective.
  • A variety of filling variation options to suit different tastebuds.
  • Because the cheese holds the filling in place and the packed beef rolls slice easily, this meal is also sophisticated enough for your guests.

Beef Olives Recipe

Cooked in a brown sauce till soft, stuffed beef buns with shallots, mushrooms, and Stilton, or other blue cheese, this dish is a must-try!

Prep Time: 20 minutes

Cook Time: 60 minutes

Calories: 505

Ingredients

  • 15 oz beef steak
  • 14 oz beef stock
  • 2 Tbsp oil
  • 2 Tbsp butter
  • 2 Tbsp flour
  • 2 carrots, sliced
  • 1 tsp salt
  • 1 tsp pepper

For the Stuffing

  • ½ cup breadcrumbs
  • 2 shallots, finely chopped
  • 1/3 cup mushrooms, chopped
  • ¼ cup Stilton, crushed
  • 1 egg
  • 1 Tbsp thyme, fresh and chopped
  • 1 Tbsp rosemary, fresh and chopped

Instructions

  • Over low to medium heat, heat 1 tablespoon of the oil and cook the onions and mushrooms for five min, until they are soft.
  • Add the onion and mushroom mixture to the other stuffing ingredients in a large bowl and stir to combine.
  • Make 4 sausages with the ingredients, each the same width as the meat.
  • Add the filling at one of the short ends of the meat slices and roll up the steak.
  • Wrap the remaining slices with kitchen string like a package and repeat with the rest.
  • Heat the rest of the oil and cook the onions and carrots for five minutes until soft, then put them in an oven dish.
  • Turn the heat up, season the beef, sear it on all sides, and then put it on top of the onions.
  • To make the brown sauce, heat the butter until it starts to foam, then add the flour and stir for a minute.
  • After that, add the stock slowly while stirring, and bring it to a boil until it gets thick.
  • Cover the beef with the brown sauce and bake it at 350F for 50-60 minutes. 
  • Use a fork to check the doneness of the meat after 50 minutes; larger rolls may need more time. Remove the threads from the beef and serve them with the onion gravy and mashed potatoes once rested for a few minutes.

If you’ve enjoyed this recipe, please share the image below on your Pinterest board! 

Traditional Beef Olives Recipe

Conclusion

We hope you’ve enjoyed learning about this delicious and unique beef olives recipe. We’re convinced this dish will be a hit at your next dinner party or special occasion. Its unique flavor and texture make it an unforgettable meal that impresses your guests.

Plus, it’s surprisingly easy to make, so even if you’re a beginner in the kitchen, you can create a stunning and flavorful dish. So, why not try this recipe and see for yourself just how delicious and creative beef olives can be? Happy cooking!

Apple Curd Easy Recipe

Apple Curd Easy Recipe

Rich, delicious and easy to make, this Apple Curd is overflowing with apple flavor. There are only six basic ingredients in our straightforward recipe, and no additional tools are needed. This luscious apple spread is a favorite in our home all year. We spread it Read More

Authentic South Dakota Chislic Recipe

Authentic South Dakota Chislic Recipe

Chislic may be prepared with venison, lamb, or beef, but in my opinion, venison works best for this distinctive South Dakotan cuisine. Chislic is made with bite-sized pieces of meat that have been deep-fried and seasoned with Worcestershire sauce, garlic powder, salt, and pepper. Many restaurants Read More

Southern White Country Gravy Recipe

Southern White Country Gravy Recipe

A few basic ingredients are all you need to make this delicious White Country Gravy! I’m sure you have all of them in your kitchen. It is a wonderful gravy that is really simple to make in a matter of minutes and is creamy, smooth and rich in flavor.

Perhaps one of my favorite comfort food dishes is this homemade white country gravy, a common Southern dish. Although I never tried a gravy I didn’t like; this one is amongst my favorite ones. One of my go-to recipes for a cozy meal is white country gravy, a Southern breakfast staple and a staple in my own kitchen.

Chicken fried steak, biscuits and gravy, chowder, mashed potatoes and gravy all fall under this category. You’re going to adore this White Country Gravy.

You are missing out if this is your first time making it. This gravy can be prepared in minutes; you’ve heard it tight…minutes! And I am confident that you already have all the ingredients on hand to prepare it!

Traditional Southern White Country Gravy

Everyone knows the secret to a great Southern dinner is a killer gravy.

In my view, the finest element of a traditional Southern meal is the gravy that is liberally applied to every portion of the meal. Even if your fried chicken, pork chops, or chicken fried steak came out dry, a good gravy might make it edible again.

All things considered, this recipe for creamy white gravy is the gold standard for traditional country gravy. When your supper needs a little something extra, this is the sauce to make. It’s rich, beautifully creamy, and velvety smooth. Even better, it takes minutes to prepare and requires only five common pantry ingredients.

This is a dish that may be prepared in almost any place and at any time.

Southern White Country Gravy Recipe

Ingredients you’ll need:

Butter: Instead of using meat drippings, this recipe calls for butter as the fat. You can use bacon fat if you prefer. 

Milk: I advise using whole milk or at least 2%. You won’t get the same richness from low- or no-fat foods.

Flour: Flour adds to the gravy’s thickening.

Garlic powder (optional): This is an optional ingredient that isn’t often included in country gravy, but I adore the mellow flavor it gives the dish, just like in this garlic parmesan sauce.

Black pepper: It’s essential! While garlic is optional, black pepper is a must. Black pepper provides white gravy with its distinctive speckled appearance and its flavor.

Salt: When you use salted butter, you might not require as much salt, depending on your preferences.

How to Make Southern White Country Gravy

Step 1: Heat the small pan over medium heat and melt the butter. After the butter is melted, whisk in the flour. Let it cook for 1 minute.

Step 2: Whisk in the milk slowly. Keep constantly stirring to keep lumps from forming. Once you bring it to a low boil, turn down the heat and let it simmer.

Step 3: Add garlic powder (optional), black pepper, and salt. Keep stirring the gravy as it simmers for about 15 minutes or until it gets thick.

As this gravy cools, it will thicken up significantly. You can just heat it up again or add a little bit more milk. If you have any leftovers, put them in the fridge and eat them within 3 days.

As I mentioned before, I’ve never tasted a gravy I didn’t enjoy, but this White Country Gravy is gradually making its way up to the top of my list of favorites, one delectable dripping at a time.

Southern White Country Gravy Recipe

Making White Country Gravy with Bacon Fat

You may use the fat from frying bacon or sausage in place of the butter if there is any leftover. Use enough butter to equal 1/4 cup of total fat if just a little oil is left in the pan. Simply adhere to the remaining directions as provided.

The liquid used to make the gravy is the primary distinction. White gravy is often produced with milk, and brown gravy is typically made using animal fat and broth.

What differentiates brown gravy from white gravy?

The primary distinction is the liquid used to make gravy. White gravy is prepared with milk, whereas brown gravy is made using animal fat and broth.

Serving Suggestions for White Gravy

White gravy paired with homemade biscuits or mashed potatoes is excellent. Additionally, it may be used as a creamy covering for fried chicken, turkey, chicken tenders, toast, eggs, omelets, breakfast pizzas, and pork chops.

Storing and reheating White Country Gravy

This white gravy recipe makes about 2 cups. But if you want to make more, you can always double or triple the recipe.

Let your white gravy cool to room temperature before transferring it to an airtight container to preserve in a fridge. It will last in the refrigerator for approximately 3 to 4 days.

Additionally, you may freeze it in a zip-lock bag on a baking sheet until it freezes. We are freezing it this way because it is simpler to reheat up when it is thinner. Following that, you may freeze this gravy for up to 4-6 months, which is excellent.

To reheat the white gravy, just microwave tor gravy at medium heat in a saucepan. You may always add a little milk or water if it is too thick.

White Country Gravy Recipe

This White Country Gravy is my favorite because of how rich and creamy it is. You may eat it straight off the spoon, or drizzle it over mashed potatoes, buttermilk biscuits, or any other meal of your choosing

Prep Time: 5 minutes

Cook Time: 20 minutes

Calories: 91

Ingredients

  • 3 Tbsp of butter
  • 2 cups of whole milk
  • 2 Tbsp of all-purpose flour
  • 1 tsp of black pepper
  • 1/2 tsp of salt
  • 1/2 tsp of powdered garlic (optional)

Instructions

  • In a small pan over medium heat, melt the butter. After melting, stir in flour and cook for around 1 minute.
  • Whisk milk in gradually. To prevent lumping, continue whisking. Once it’s on a low boil, then turn down the heat.
  • Add pepper, salt, and powdered garlic after stirring. For the next 15 to 20 minutes, occasionally stir while the gravy simmers on low heat.

Share the image below to your Pinterest board if you like this gravy recipe!

Southern White Country Gravy Recipe

Homemade Italian Lemon Ricotta Cake Recipe

Homemade Italian Lemon Ricotta Cake Recipe

The Finest Italian Lemon Ricotta Cake recipe is here! It is the ideal Italian dessert since it is flavorful, fluffy, and lightweight. Ricotta cheese and lemon are used in this simple recipe. You’ll like this recipe because it’s a rich, moist, and easy-to-make cake that Read More

Fresh Mango Cake Recipe

Fresh Mango Cake Recipe

This mango cake has a sponge cake base, a fresh and juicy mango, and a light vanilla whipped cream frosting. You won’t find a cake as moist and wonderful as this Mango Cake. Mango Sponge Cake  Usually, when I’m in a hurry, my cake recipes Read More

Juicy Italian Meatballs Recipe with Tomato Sauce

Juicy Italian Meatballs Recipe with Tomato Sauce

Delicate and juicy Italian meatballs cooked with garlic, parsley, fresh bread crumbs, eggs, pork, veal, and beef can be enjoyed on their own or tossed with spaghetti and tomato sauce. Tomato sauce is included in this recipe, so no worries.  You will thank yourself in the future if you make extra and save it in the freezer.

Tender, juicy, authentic Italian meatballs are prepared in 30 minutes for the entire family.

These delicious veal, beef, and pork meatballs are a true representation of an Italian-American meatball dish. I genuinely believe that this recipe, based on my grandmother’s, produces the most fabulous handmade Italian meatballs ever.

My kids will never forget their great-grandma’s meatballs.  I created this recipe based on my recollection of her meatballs and a ton (too much!) of practice. When my children eventually said, “They’re almost as good as great-grandma’s,” not too long ago, I knew I had attained meatball perfection.

After years of experimenting with different proportions, I can confidently say that this Italian meatball recipe that anybody can prepare is the best. Light and moist thanks to a mixture of three different types of meat (two are great), fresh bread crumbs, eggs, milk, flavored parsley with garlic, and parmesan cheese.

They are partially cooked in the oven until firm and then finished in the sauce.

Juicy Italian Meatballs Recipe with Tomato Sauce


Ingredients you’ll need

The short list of ingredients is all that’s needed to make a juicy and soft Italian meatball. In order to do this, you will need:

Ground beef, veal and pork –You don’t have to use veal; you can just combine beef and pork. Some claim that using a mixture of beef, veal, and pork for preparing meatballs is a more traditional method of preparation in Italian cuisine (and you can too). The optimum texture and flavor may be achieved using a blend of fifty-fifty ground beef and pork.

However, I usually use this combination because ground veal isn’t always available.

Purchase freshly ground beef from the shop if at all feasible. Compared to vacuum-packed ground meat, I find that it releases less water and tastes much fresher.

Parmigiano Cheese – Parmigiano cheese, in my view, is a rather crucial component of an Italian meatball. In addition to giving the meatball a ton of flavor, it also makes it soft and creamy. Grana Padano or Pecorino Romano might also work. Remember that Pecorino has a stronger taste because it’s a cheese made from sheep’s milk

Eggs – Adding eggs to the mixture serves just as a binding agent, not as a source of moisture. Here we utilize two egg yolks and one whole egg to maintain the lightness and airiness of the meatballs. Eggs are one of the main and most used ingredients in Italian cuisine, for example, in these Canestrelli (Italian Egg Yolk Cookies)

Garlic – Use plenty of finely minced garlic to get the most flavor. It’s optional, but I like to add a teaspoon or two of garlic powder.

Bread crumbs –To prepare a paste out of fresh breadcrumbs and milk for these Italian meatballs, we’ll need to make a panade. As the meatballs cook, the panade absorbs the liquids, keeping the meatballs moist. 

Parsley – The meatballs’ fresh flavor comes from chopped parsley. I always miss it if I’m forgetful and leave it out.

Seasonings: For optimal results, season liberally with salt and pepper.

Juicy Italian Meatballs Recipe with Tomato Sauce


How to make Italian Meatballs

In this recipe, you may choose between fully baking the meatballs in the oven or baking them in the oven only partially before finishing them in a sauce. 

Step 1: Put the rack in the top third of the oven and turn it up to 425°. Brush some oil on a large baking sheet with a rim.

Step 2: Mix the milk and breadcrumbs in a big bowl, coating and submerging. Let stand for 10 minutes or so to moisten the breadcrumbs properly. Then, the ingredients should be mashed with a fork until it forms a moist, nearly smooth paste.

Step 3: Using a fork, thoroughly combine the breadcrumb mixture with the egg, egg yolks, parsley, parmesan, garlic, salt, and pepper. Add an equal mix of ground beef, veal, and pork by gently combining with your hands or a big spoon. If not using veal, ad half beef and half pork.  Be careful not to overmix.

Step 4: Make golf-sized balls out of the mixture by rubbing some olive oil on your palms. Place the baking sheet that has been prepared. When the meatballs have achieved an internal temperature of 165 F, it’s done. It should bake for about 20 minutes. After taking it out of the oven, serve how you like.

Step 5 (Optional) Bringing meatballs in tomato sauce to a finish:  Simmer some tomato sauce in a medium-sized pot. About 15 minutes into baking, you should see the meatballs take on some color. Drop into tomato sauce and cook for about 10 minutes or until an instant-read thermometer shows an internal temperature of 165°F.

Dried vs. Fresh Bread Crumbs

The fresh breadcrumbs provided a softer and more juicy meatball in my testing than the dry ones did. Just a few slices of white bread without the crust will do for making fresh breadcrumbs. Alternatively, you may rip the bread into large pieces and pulse it in a food processor to form coarse crumbs. Also, you may use a knife to cube the bread into small pieces.

Dry breadcrumbs can be used in a pinch, but they may cause the meatballs to be tougher.

Put the breadcrumbs in the milk and let them soak for 10 minutes before mashing them up with a fork to absorb even more milk. It’s essential to soak the breadcrumbs thoroughly.

Italian Meatballs Size

Size matters when it comes to cooking, so keep that in mind when you roll out your meatballs. Italian meatballs are larger than most of us in North America are used to eating.

Meatballs should be around the size of a golf ball, which is how I usually form them. Due to the somewhat bigger size, the outside may brown properly without becoming overcooked.

Meatballs with the Finest Tomato Sauce

Even without the tomato sauce, these Italian meatballs are delicious. You’ve prepared some lovely meatballs at home, and now you should really go for it and make homemade tomato sauce. I’ve included the recipe for the tomato sauce in the recipe card below. 

Juicy Italian Meatballs Recipe with Tomato Sauce

How to serve Italian Meatballs

Spaghetti and meatballs on a nice summer night, especially outside with glasses of red wine running, are difficult to beat, in my opinion, even though Italians do generally not eat their meatballs with any pasta. The Italian meatballs are great over a bed of polenta, mashed cauliflower or potatoes, a bed of rice, or even a bowl of quinoa if you’re trying to avoid pasta.

You could also eat the meatballs without any pasta at all and pile them on some braised greens or a salad. Alternatively, you could serve them with a hearty helping of tomato sauce, some crusty bread for dipping, and nothing else. Delicious!

Tucking these Italian meatballs into two pieces of ciabatta bread, then topping them with tomato sauce and mozzarella cheese, is another great option.

How to store Meatballs 

If you need to freeze a large number of meatballs, separate them into smaller portions before freezing.

To store:  Meatballs (and tomato sauce) may be kept fresh in the fridge for up to 5 days if stored in an airtight container.

To reheat: Place meatballs without sauce in an oven warmed to 350 degrees for 5-10 minutes. Reheat in the sauce for 15 minutes over medium-high heat on the stove.

To freeze:  For freezing, ensure total cooling. A single layer of meatballs should be spread out on a baking pan. Put in a freezer-safe container or ziplock bag and freeze for 30 minutes. Freeze for as long as three months. Get it out of the freezer and into the fridge the night before you want to reheat it.

Italian Meatballs Recipe

Tender, juicy, versatile Italian meatballs cooked with garlic, parsley, eggs, fresh bread crumbs, pork, veal, and beef are equally delicious either eaten on their own or simmered in a homemade tomato sauce and served on a bed of spaghetti. For the sake of your future self, make extra and put it in the freezer.

Prep time: 10 minutes

Cook Time: 20 minutes

Servings: 16-18 meatballs

Calories: 190

Ingredients  

For the meatballs

  • 1 cup of fresh bread crumbs
  • 2/3 cup milk
  • 10 oz of ground beef
  • 10 oz of ground pork
  • 10 oz of ground veal
  • 3 garlic cloves, grated or finely minced
  • 1 lightly beaten egg
  • 1 lightly beaten egg yolk
  • 1 TBSP kosher salt
  • 1 tsp of black pepper, freshly ground
  • 1/2 cup of grated Parmigiano-Reggiano cheese(You can also use Pecorino Romano or Grana Padano)
  • 1 tbsp of parsley, freshly chopped
  • olive oil

For tomato sauce

  • 1 can of whole tomatoes, peeled or crushed
  • 3 Tbsp of extra virgin olive oil
  • 1 finely chopped onion
  • 3 garlic cloves
  • 1 teaspoon of Kosher salt

If you’re not using veal meat, combine 16 oz beef and 16 oz pork meat.

Instructions

For the meatballs

  • Preheat oven to 425°F. Place the rack in the upper third of the oven. For simpler cleanup, lightly coat a big baking sheet with a rim with oil or cover it with parchment paper.
  • Mix bread crumbs and milk in a large bowl, tossing and pushing with a fork to ensure that all of the bread is covered in milk. Leave it for 10 minutes to soak.
  • Add the egg yolks, whole egg, garlic, parsley, parmesan, salt, and pepper to the bread crumbs that have been soaking, and mix well with a fork.
  • Start adding beef, veal, and pork in smaller batches and mix it in with your hands or a large spoon. Don’t mix too much. Add the rest of the meat and mix well to combine everything without overworking it. (Adding the meat in small amounts makes mixing easier and keeps you from overworking the mixture.)
  • Put a little olive oil on your hands and roll the mixture into 2-inch diameter balls, approximately golf-sized balls. Place on a baking sheet that has been prepared.
  • Bake the meatballs for around 20 minutes or until they reach a temperature of 165 F on the inside. Take it out of the oven and pour off any extra fat.
  • To finish cooking meatballs in tomato sauce, you only need to bake them for 12 to 15 minutes. Place the meatballs in the hot tomato sauce and let them cook for about 10 to 12 minutes, or till an inner temperature of 165 F is reached.

For the tomato sauce 

  • Squeeze the tomatoes with your hands until they are roughly smashed after emptying the tomato can into a big bowl.
  • Over medium heat, add oil and onions to a large skillet. Cook for 2 minutes or until the onions start to soften. Add one teaspoon of salt and the garlic. Cook the garlic for a further minute while frequently stirring to prevent browning.
  • Add 1/4 cup of water and tomatoes to the pan.
  • Turn the heat up to medium-high and bring the sauce to a boil. Cook, stirring every now and then and lowering the heat if necessary, for about 12 to 15 minutes or until the sauce has thickened.
  • Mix in one or two fresh basil sprigs. Taste it and add a pinch more salt if you think it’s needed. 

Share the image below to your Pinterest board if you like this meatballs recipe!

Juicy Italian Meatballs Recipe with Tomato Sauce

Tips for The Best Italian Meatballs

The majority of these suggestions are covered in the post, but they need a second mention in case you just read certain sections.

Make the meatballs with care.

Don’t pack the meatballs too firmly when forming them; otherwise, they will be thick and stiff. Don’t worry if they aren’t precisely spherical; just quickly form the meatballs. It’s best if you don’t handle them too much. Apply oil on your hands and shape the meatballs gently. 

Keep the meat refrigerated before making the meatballs

The fat will melt and degrade if the meatball mixture gets too warm. The meatballs won’t be as juicy and will be difficult to form as a result. Before forming the meatballs, if required, refrigerate the mixture for about 15 minutes.

Don’t overcook them

Depending on your oven, large meatballs will cook in around twenty minutes at 425°F (200°C). Use an instant-read thermometer for the best results; meatballs are done when they reach a temperature of 165°F.

I suggest gently cooking the meatballs for no more than 15-20 minutes if you intend to continue cooking them in a sauce to prevent drying them out.

Double, triple, or quadruple the batch sizes.

A great recipe to prepare ahead is meatballs. Making extra for future dinners is a great idea because they freeze wonderfully on their own or in a sauce.

Zuppa Toscana Olive Garden Copycat Recipe

Zuppa Toscana Olive Garden Copycat Recipe

A copycat of Olive Garden’s famous Zuppa Toscana soup that matches the restaurant’s classic in every way. A creamy and flavorful broth was infused with kale, bacon, Italian sausage, and tender pieces of russet potatoes. What is Zuppa Toscana? Toscana means Tuscan, and Zuppa means Read More