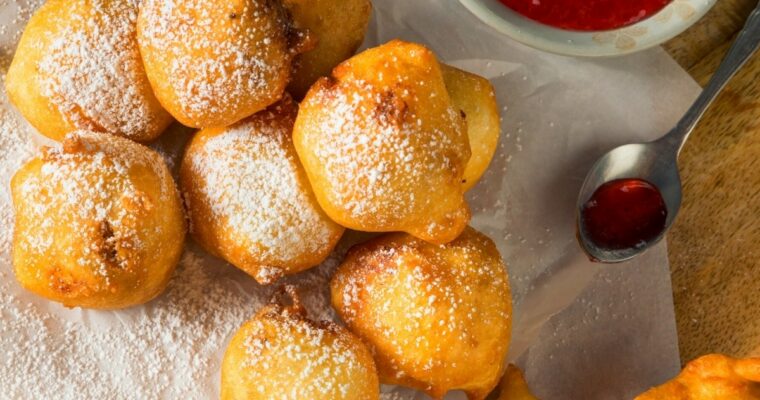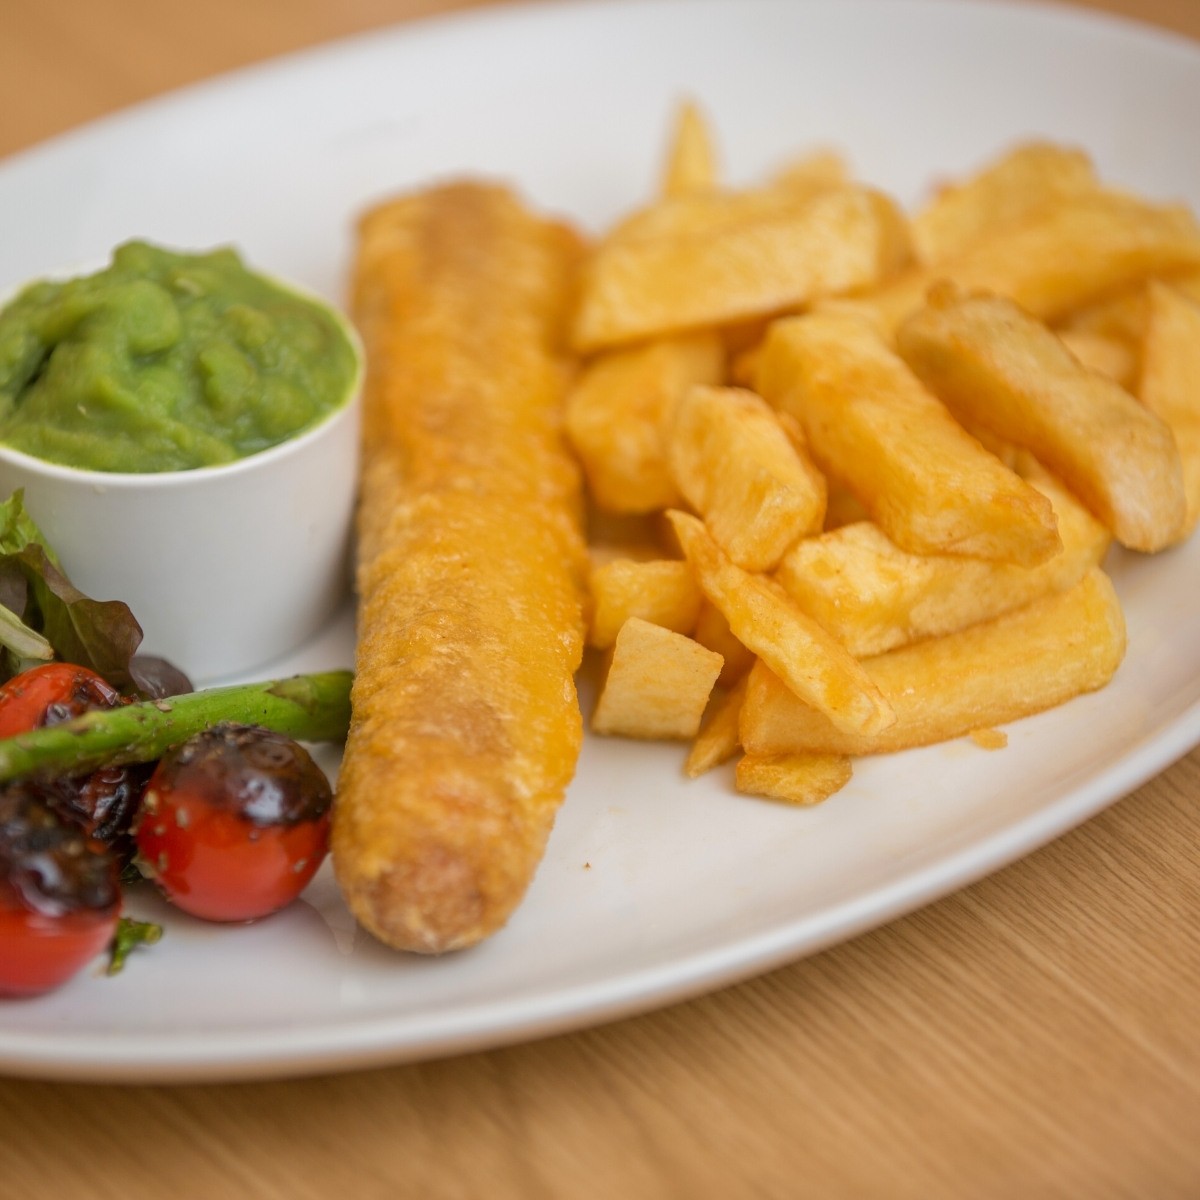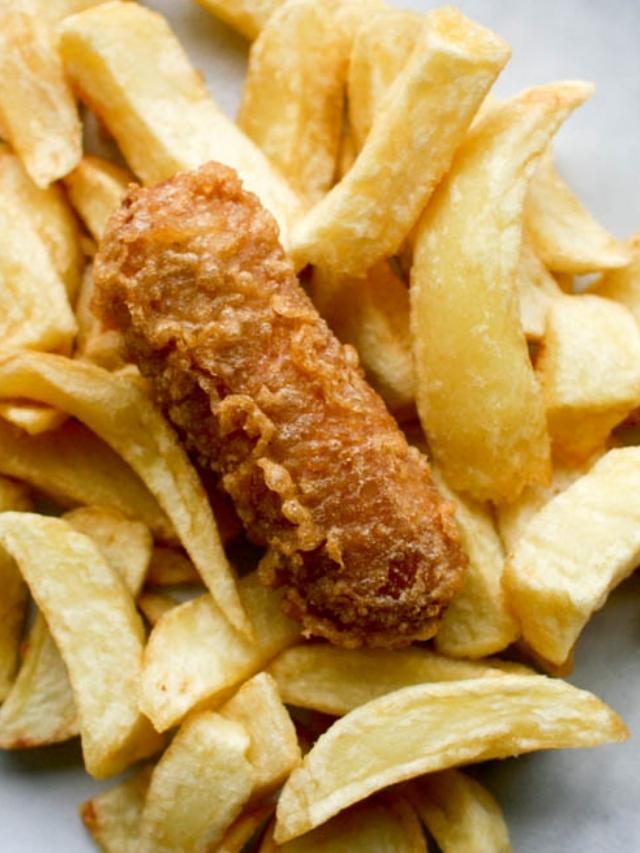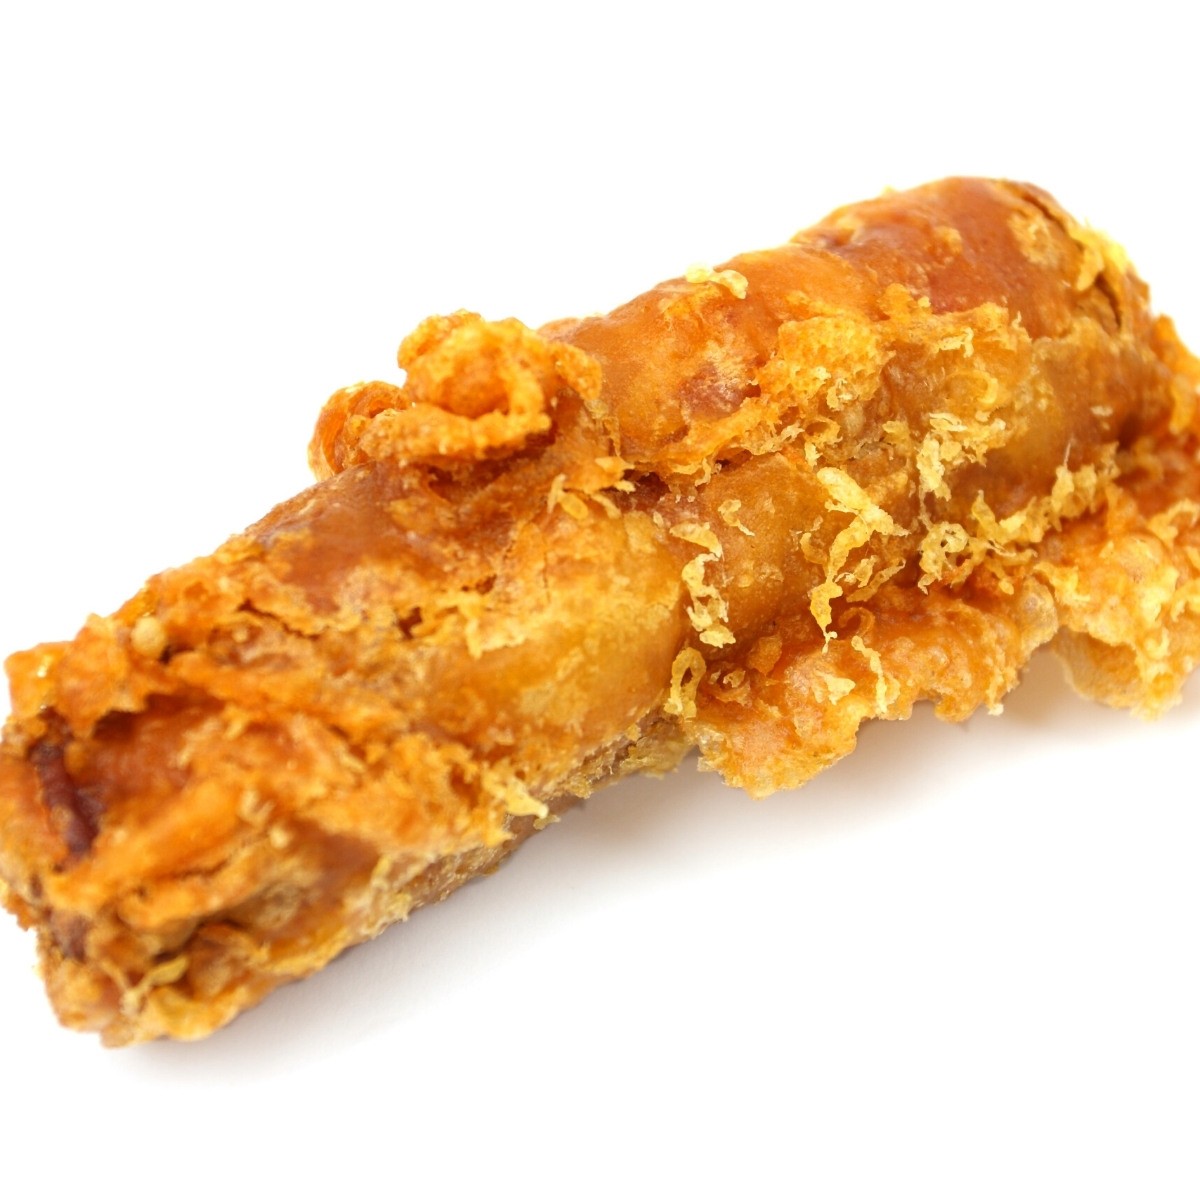
The Best Airfood Recipe Ideas
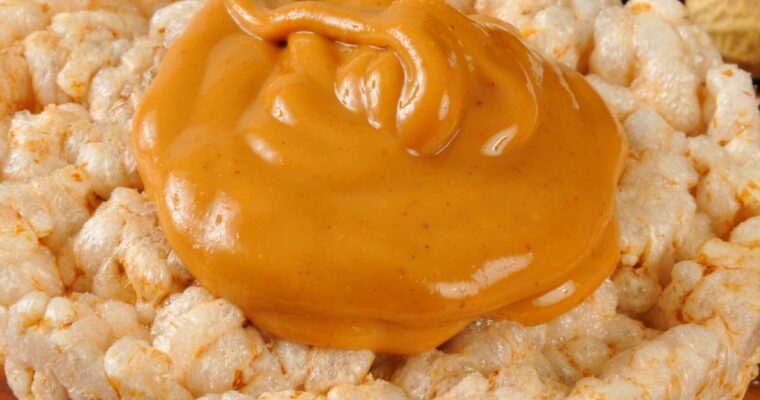
When you think of airfood recipe, it is basically a Low-calorie recipe that fills up your tummy and reduces your cravings. A few examples include Air-poped popcorn, rice cakes, celery sticks with peanut butter, sushi, and so on! Airfood is a new way of eating, Read More