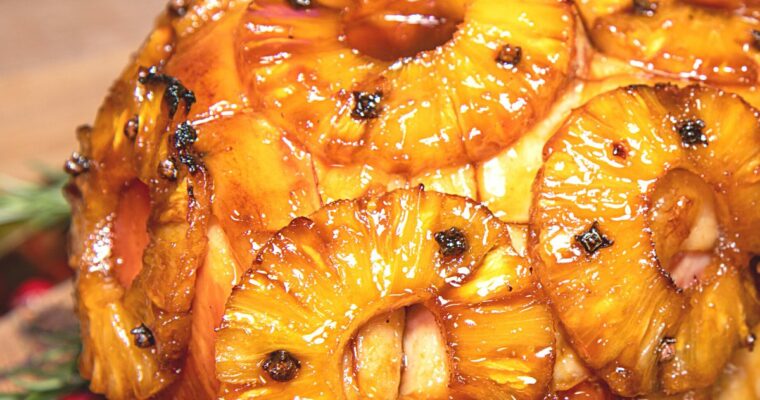
Pineapple Honey-Glazed Ham – Easy Recipe
When it comes to holiday dinners, a beautifully glazed ham often takes center stage. But have you ever tried a Pineapple Honey Glazed Ham? This delightful twist on the classic ham is visually stunning and packed with flavors everyone will enjoy. Let’s dive into the Read More