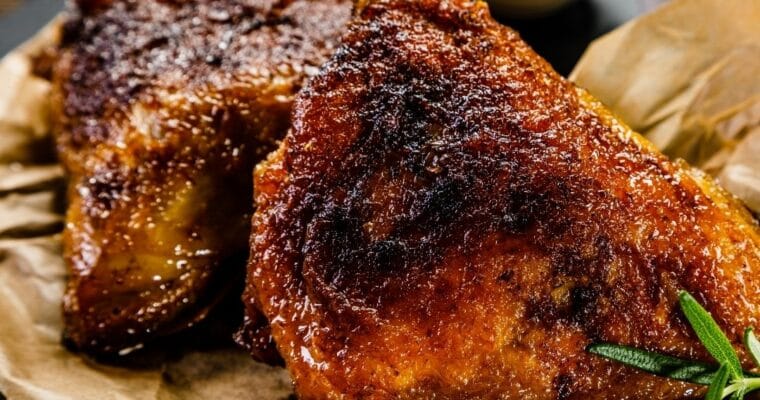
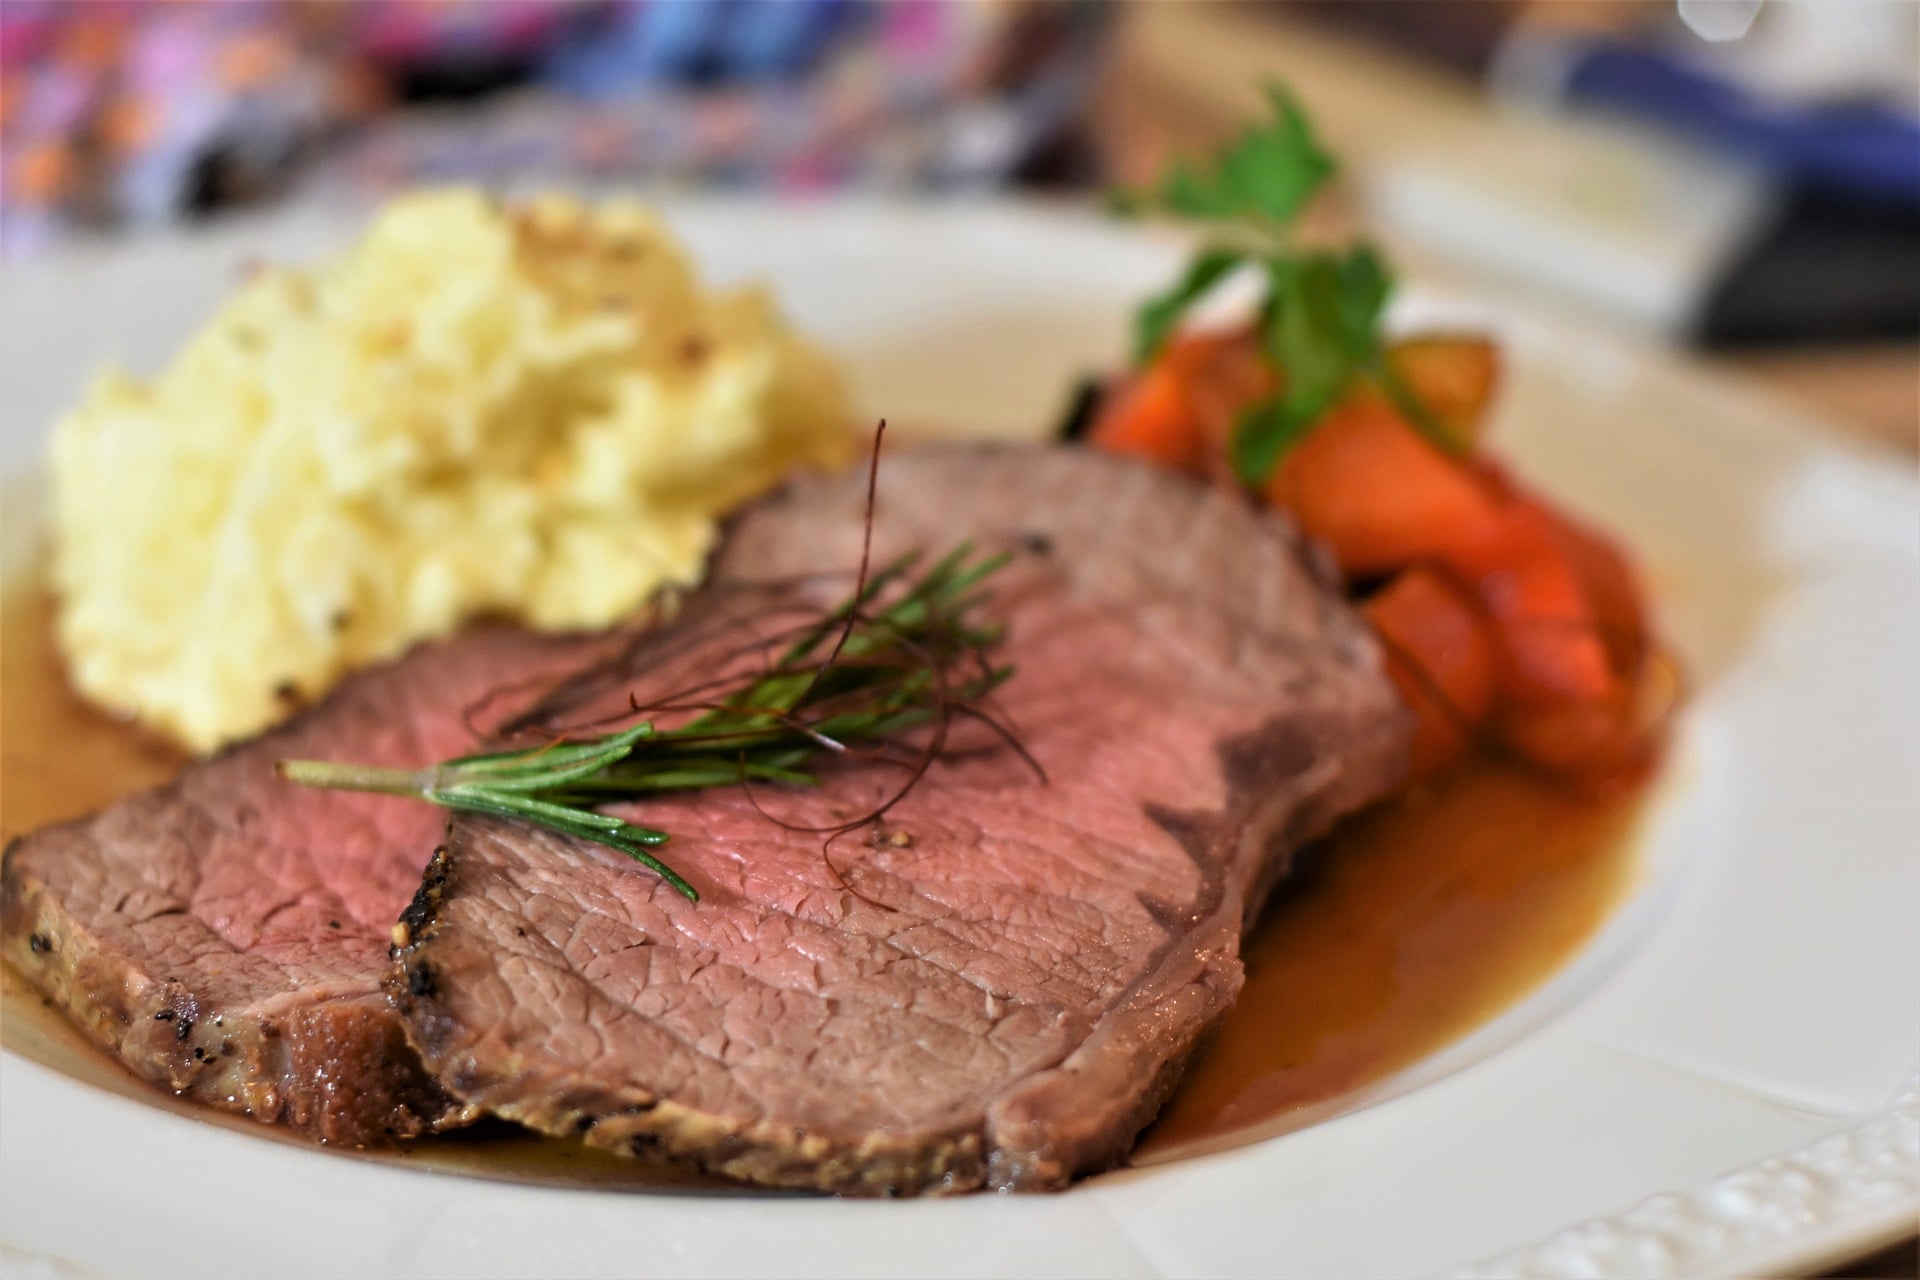
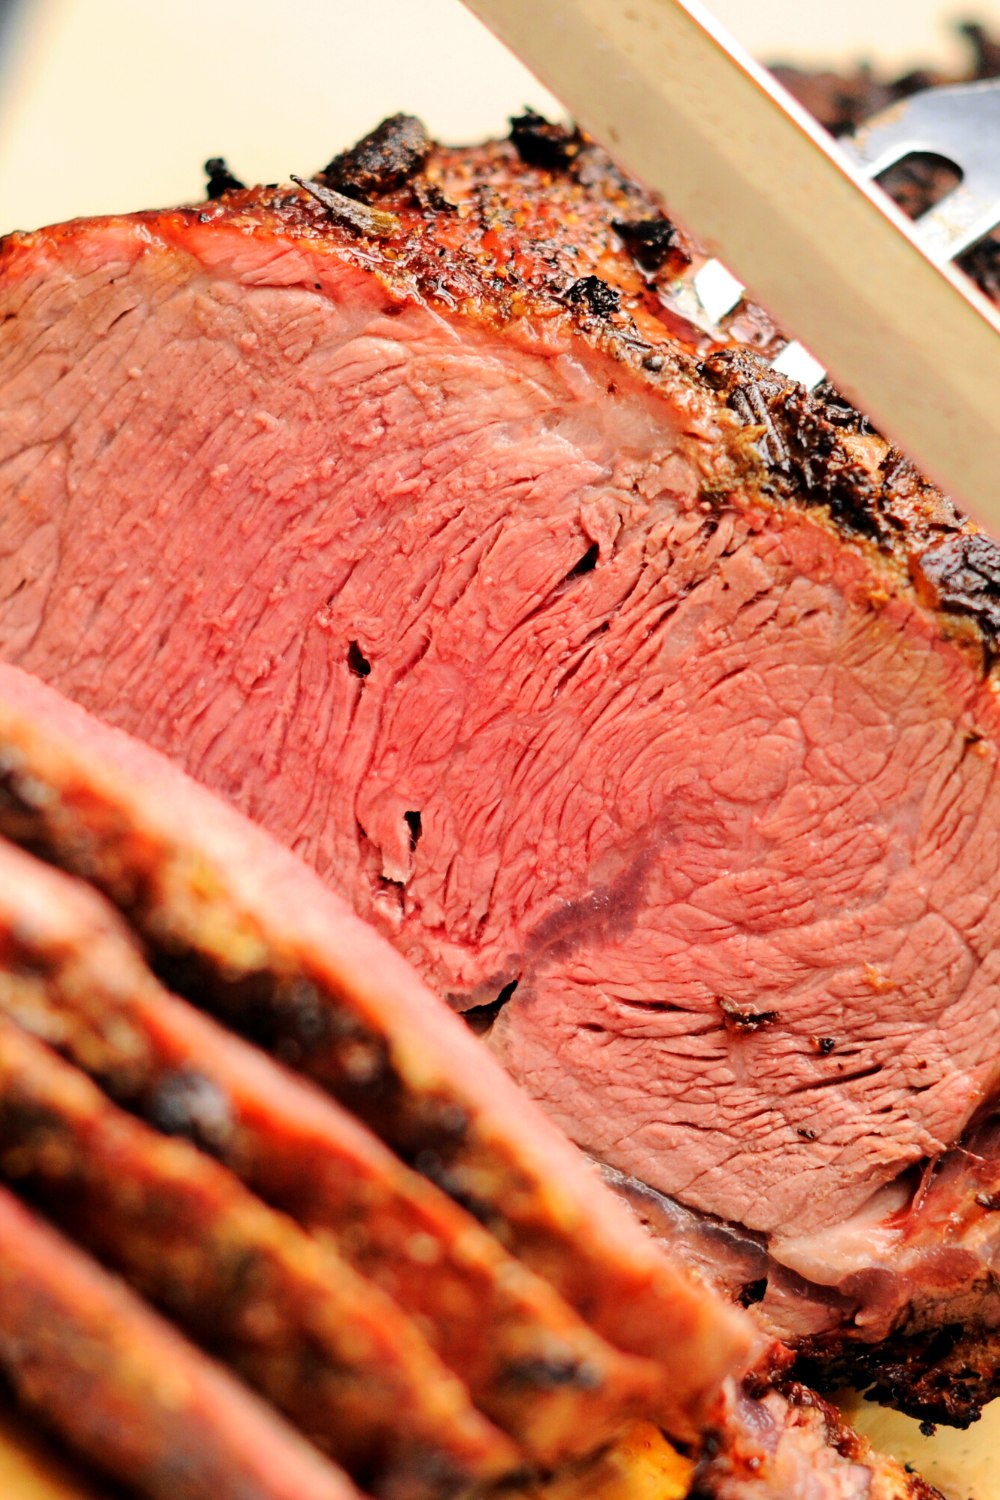
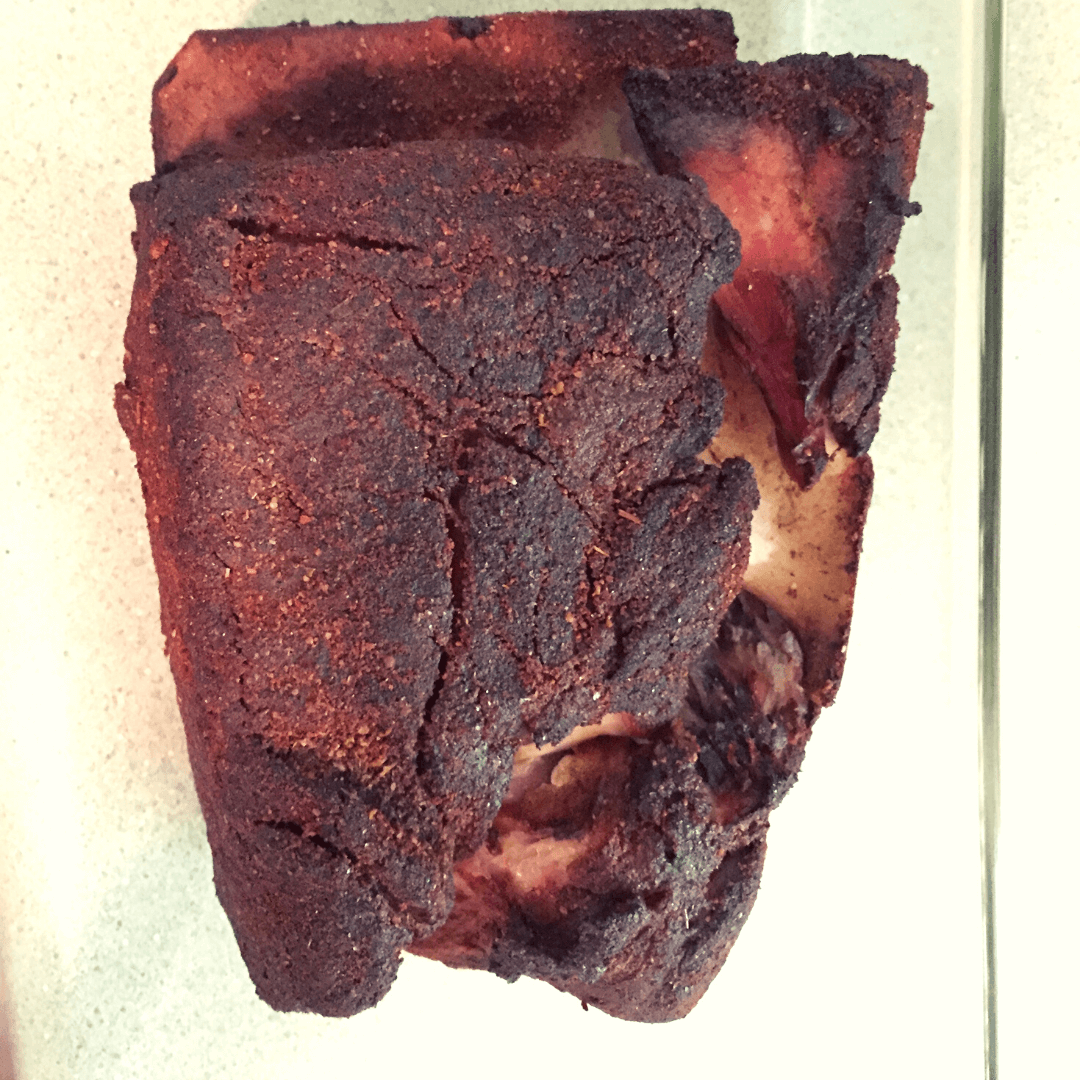
Easy and Delicious Recipes

Recent Posts

Cheesy Hasselback Potato Gratin

Cheesy Hasselback Potato Gratin

This golden Cheesy Hasselback Potato Gratin recipe delivers all the creamy delight of a classic potato gratin, with many crispy edges due to the Hasselback potatoes. Additionally, this Hasselback potato gratin satisfies my need for creamy and cheesy goodness. Mixing a potato gratin with Hasselback Read More

Pork and Fennel Spaghetti Bolognese

Pork and Fennel Spaghetti Bolognese

A hot bowl of Pork and Fennel Spaghetti Bolognese tossed with pasta and topped with a mountain of parmesan cheese is one of life’s greatest joys! This fennel and pork bolognese recipe is really simple to make, but does require a few hours of your Read More

How to Make Chicken Minis

How to Make Chicken Minis

Hello, it’s me, Sarah, from Cooking Frog. Today I’m going to share How to Make Chicken Minis just like Chick-fil-A makes them. Is bigger better? That does not seem to be true anymore. I mean, just look at the hamburger industry. Sliders, popularly referred to as “mini burgers,” have become the hot new item. It is not like there is less food…only smaller sizes and larger portions.

The Chick-fil-A Chick-n-Mini Copycat is really simple to make. They take their bite-sized Chick-fil-A chicken nugget and make it into a tiny chicken yummy sandwich. These small treasures arrive in 3-count or 4-count and may also be arranged in 20 or 40-count platter-sized portions.

Chick-fil-A Chicken Minis Recipe

If you think that it is odd to have a chicken for breakfast, try these out before you dismiss them. Although I really do prefer Mini’s daily, I will still make an effort to make them at least twice at breakfast time.

They are simple like a great deal of Chick-fil-A menu items is, but they are quality breakfast fast food. These bite-sized beauties are really worth getting up early for.

Now I have decided to make them, and the results were excellent; everyone loved them.

Since I’ve been getting many requests for these chicken minis from Chick Fil A, I’ve also added the recipe for the rolls below. However, the rolls don’t make much difference, except for the honey butter spread; they are pretty standard rolls.

Also, you can check the most recent recipes for this original Chick-Fil-A Cool Wrap, Chick-Fil-A chicken salad, Chick-Fil-A sauce recipe, and the most amazing Chick-Fil-A mac and cheese!

Ingredients

For the Rolls

  • 1 tablespoon yeast

  • 1 cup warm water

  • 3–4 cups all-purpose flour

  • 1 egg

  • 1 teaspoon salt

  • ½ cup sugar

  • ¼ cup vegetable or canola oil

  • 2 tablespoons melted butter

For the Honey Butter

  • ½ cup softened butter

  • ⅛ cup honey

For the Milk Wash

  • 1 egg

  • 1 cup milk

For the Chicken

  • 16 oz chicken breasts, cut into bite-sized pieces

  • 1¼ cups all-purpose flour

  • 2 tablespoons powdered sugar

  • 2 teaspoons salt

  • 1 teaspoon black pepper

  • ½ teaspoon chili powder

  • ¼ teaspoon paprika

  • Dill pickle juice (for marinating)

  • Oil, for frying


Instructions

Step 1: Make the Rolls

  1. Activate the yeast: In a medium bowl, mix warm water, 1 tablespoon sugar, and yeast. Let sit for 5–10 minutes, until foamy.

  2. Mix the dough: Add the egg, salt, remaining sugar, and oil to the yeast mixture. Stir briefly.

  3. Knead: In a stand mixer with a dough hook, add 3 cups of flour. Pour in the yeast mixture and knead until the dough is smooth and elastic, adding up to 1 extra cup of flour as needed.

  4. First rise: Cover the bowl and let the dough rise in a warm spot until doubled in size, about 1 hour.

  5. Shape the rolls: Roll the dough out to ½-inch thickness on a floured surface. Cut into 20–24 squares using a pizza cutter.

  6. Second rise: Place the squares on a greased baking sheet, cover, and let rise until doubled again, about 30 minutes.

  7. Bake: Preheat oven to 350°F (175°C). Bake for 18–20 minutes, or until golden brown.


Step 2: Make the Honey Butter

  1. In a small bowl, mix softened butter with honey until smooth.

  2. Set aside for brushing over the rolls after baking.


Step 3: Prepare the Chicken

  1. Marinate: Place the chicken pieces in a bowl and cover with dill pickle juice. Let sit while you prep the coating (15–30 minutes).

  2. Make the milk wash: In one bowl, whisk the egg and milk together.

  3. Make the seasoned flour: In a separate bowl, mix flour, powdered sugar, salt, black pepper, chili powder, and paprika.

  4. Bread the chicken: Remove the chicken from the brine, dip in the milk wash, then coat thoroughly in the seasoned flour. Shake off excess.


Step 4: Fry the Chicken

  1. Heat oil in a deep skillet or heavy pot to 350°F (175°C).

  2. Fry chicken in batches for 3–4 minutes, until golden brown and cooked through.

  3. Drain on a paper towel-lined plate.


Step 5: Assemble the Chicken Minis

  1. Warm the rolls: Slice baked rolls almost in half, place them in a baking dish, and brush generously with honey butter. Warm in a 225°F (110°C) oven for 3–5 minutes.

  2. Build the minis: Add one crispy chicken piece to each roll.

  3. Serve warm and enjoy!


Tips & Notes

  • Make it sweeter: For an extra Chick-fil-A vibe, drizzle a little extra honey butter right before serving.

  • Brining: The pickle juice brine keeps the chicken juicy and adds signature flavor.

  • Batch prep: Double the recipe and freeze extra rolls for quick meals later.


Make-Ahead & Storage

  • Rolls: Bake and cool the rolls, then freeze for up to 1 month. Warm in the oven before serving.

  • Chicken: Fry the chicken ahead of time and store in an airtight container in the fridge for up to 2 days. Reheat in a 375°F oven for 8–10 minutes to keep it crispy.

Pin the image below If you like this Chick-fil-a Chicken Minis Copycat Recipe

How to make Chick-fil-A Chicken Minis

FAQs about Chick-Fil-A Chicken Minis

What are Chick-Fil-A Chicken Minis?

Chicken Minis are one of the most popular items in Chick-Fil-A restaurants. These little chicken biscuits are everyone’s favorites. These delicious chicken nugget sandwiches are served with small yeast rolls and are the best breakfast food for both parents and their kids.

Do Chicken Minis Contain honey?

Chicken Mini nuggets themselves don’t contain honey; however, rolls do. These miniature yeast rolls are brushed just slightly with a butter spread that does contain honey. So in this homemade version of Chicken minis, it is entirely up to you if you want to use honey for the rolls. 

Are Chick-Fil-A Chicken Minis Healthy?

Chick-fil-A Chicken Minis have 360 calories and are a satisfying low-calorie option to Chick-fil-A Cookies.

These delicious chicken nuggets can be served as breakfast on soft yeast buns coated with honey and butter batter. They are half the fat of chicken biscuits.

Is it okay to use honey butter from the store?

Totally! Since the shop was completely out of the pre-made type when I decided to make these, I did something I wouldn’t typically do: I chose to create my own. It couldn’t have been simpler!

Can I make Chick-fil-A chicken minis in advance?

Of course! They offer a terrific breakfast choice to prepare ahead of time. For simple mornings, make a few batches early in the week. You can even freeze some and reheat them later.

What type of biscuits should I use for my chicken minis?

Use a yeast roll if you want a taste that is truly genuine. I’ve included the recipe for the original rolls below.  Also, you may get it from the market’s frozen area. 


Chicken Minis Video Recipe

Nutritional value for Chick-Fil-A chicken minis

360 Calories. 13g of Fat. 41g Carbs and 19g Protein

If you’ve liked this Chick-Fil-A recipe, be sure to try these Crispy Chicken Wings (Low-Carb) Keto Recipe

Low-Carb Turkish Borek

Low-Carb Turkish Borek

Is it possible to make low-carb Turkish Borek? Yes! This Turkish meal is one of my favorites. You can find a good traditional Borek in Turkey, Middle Eastern countries, and a few other European countries, like Bosnia and Serbia. So, I’ve decided to share this Read More

Low Carb Donuts Glazed With Maple

Low Carb Donuts Glazed With Maple

This Low Carb Donuts Glazed With Maple recipe is so EASY. Baked keto maple glazed pumpkin donuts are excellent for fall! The delicious grain-free donut foundation is a tender pumpkin cake made with the ideal quantity of vanilla and pumpkin pie spices. You may use Read More

How to Make Beef Bulgogi Kimbap

How to Make Beef Bulgogi Kimbap

Today, I’m going to share with you how to make Beef Bulgogi Kimbap, the Korean version of Japanese “maki,” or rice rolls. This fantastic taste comes from sesame oil and independently seasoned meats and veggies.

What is Bulgogi Kimbap?

Kimbap is a Korean Seaweed Rice Roll that includes seasoned rice And various vegetables and meat that’s rolled in dried seaweed (kim). It’s so delicious and makes for a fantastic snack or lunch!

Though most of the flavor comes from sesame oil and individually seasoned meats and veggies, the one particular ingredient that is the heart of Kimbap is “danmuji,” or bright yellow pickled radish that you could find at the Korean grocery store in the refrigerated section.

Also, everything in the roll is mixed so well that you don’t need to dip it into any type of sauce. Once you have all the ingredients prepped, the building goes by Pretty quickly, and it’s worth it because it’s like having a well-balanced meal in every bite.

How to Make Beef Bulgogi Kimbap 3

Ingredients

  • 7 sheets roasted Korean or sushi-grade seaweed (nori)

  • 5½ cups cooked short-grain rice, cooled

  • 1 tablespoon roasted sesame seeds

  • 14 Korean perilla leaves, stems removed

  • 1 pound bulgogi (Korean marinated beef), cooked

  • 7 strips Korean yellow pickled radish (danmuji)

  • 14 pieces seasoned burdock root (optional, for added crunch)

  • 1 cucumber (English or Lebanese), seeds removed and julienned (about 270g / 10 oz)

  • 1 medium carrot, julienned (about 220g / 8 oz; use a mandoline for uniform slices)

  • 1–2 tablespoons sesame oil (for finishing)

  • 3 tablespoons rice vinegar

  • 2 tablespoons white sugar

  • 1–2 teaspoons kosher salt


Instructions

1. Prepare the Rice

  1. In a large bowl, combine the cooled cooked rice with rice vinegar, sugar, and salt.

  2. Gently fold in the roasted sesame seeds, mixing evenly without mashing the rice.


2. Set Up Your Workstation

  1. Place a bamboo sushi mat on a clean surface.

  2. Lay a sheet of roasted seaweed shiny-side down on the mat.


3. Assemble the Kimbap

  1. Spread a thin layer of seasoned rice evenly over about 90% of the seaweed, leaving the top edge uncovered for sealing.

  2. In the center of the rice, layer the fillings in this order:

    • Perilla leaves

    • Cooked bulgogi

    • Pickled radish

    • Seasoned burdock root

    • Cucumber

    • Carrot


4. Roll the Kimbap

  1. Starting from the bottom, lift the bamboo mat and gently roll it over the fillings, keeping the roll tight.

  2. Continue rolling until the seam is at the bottom.

  3. Dab a little water or a few grains of rice along the edge if the seaweed isn’t sticking.


5. Finish and Slice

  1. Use the bamboo mat to press and shape the roll firmly.

  2. Brush the outside of the roll lightly with sesame oil for shine and flavor.

  3. Repeat with the remaining ingredients until all rolls are made.

  4. Using a sharp knife, slice the rolls into even bite-sized pieces, wiping the blade with a damp cloth between cuts to prevent sticking.


Tips & Notes

  • Knife prep: A wet, sharp knife ensures clean slices.

  • Rice control: Use just enough rice to cover the seaweed thinly; too much rice makes rolling difficult.

  • Keep it fresh: Kimbap is best enjoyed the day it’s made but can be refrigerated for a few hours if wrapped tightly.


Variations

  • Add avocado or spinach for a fresh twist.

  • Swap bulgogi for grilled chicken, tofu, or even smoked salmon for variety.

  • Sprinkle extra sesame seeds over the top before serving for added crunch.

Love this Beef Bulgogi Kimbap recipe? Share it on your Pinterest board! Inspire your friends, save it for later, and maybe even discover new cooking tips in return. Happy sharing!

Homemade Korean Bulgogi Kimbap

Cook’s Tips for Kimbap Recipe

Feel free to add any ingredients you might deem yummy. Some recipes include fish cake, crab, or burdock root.

If you’d prefer to, you can add sesame or julienned perilla leaves instead of spinach, which adds a burst of freshness.

Season all of the individual ingredients well, but don’t go nuts.

The ingredient from which this meal adds the most flavor should be the marinated beef.

The rice should be a tad dull, and everything together needs to be balanced, all in one bite. However, if you have leftovers, just dip the pieces in egg and pan-fry them for a yummy twist.

What is the difference between sushi and kimbap?

They are similar in how they include steamed seaweed and rice. However, sushi rice is seasoned with vinegar, whereas kimbap rice is seasoned with sesame oil. Cut it. Kimbap rice gets dry quickly, so you should eat it the day you make it.

Beef Liver Pate Recipe

Beef Liver Pate Recipe

This rich and creamy beef liver pâté is a nutrient-packed spread with a smooth, velvety texture and savory, aromatic flavors. Perfect as an appetizer on crusty bread, crackers, or cucumber slices, it’s also easy to make ahead for snacks or elegant entertaining. Ingredients ½ cup Read More

Best Gourmet Burger Blend

Best Gourmet Burger Blend

If you’ve ever wondered what makes the perfect gourmet burger, the secret isn’t in the toppings — it’s in the blend. The protein-to-fat ratio, the cuts you choose, and the freshness of the grind all work together to create that juicy, flavorful burger you can’t Read More

Honey Glazed Salmon with Apple Cider

Honey Glazed Salmon with Apple Cider

Honey Glazed Salmon Recipe with the addition of apple cider for a delicious caramelized taste. These salmon fillets are cooked in a great combination of honey and apple cider glaze on the stovetop and then served over fresh wilted spinach.

A lovely way to prepare salmon would be using a simple glaze made with honey and apple cider. You may think that this honey combination would make the dish too sweet, but it merely adds a delicious caramelized flavor to the fish. This recipe might look a bit complicated, but it’s really simple; follow the instructions.

Ingredients

  • ½ cup unfiltered apple cider (or apple juice)

  • 1 ½ Tbsp honey

  • 4 salmon fillets (about 6 oz each)

  • 1 Tbsp extra-virgin olive oil

  • 2 tsp lemon juice (about ½ lemon)

  • 1 Tbsp butter

  • 8 oz fresh baby spinach

  • Salt and freshly ground black pepper, to taste

  • Lemon slices, for garnish


Instructions

1. Make the Glaze

  • In a small saucepan, combine apple cider and honey.

  • Bring to a boil over medium heat, then reduce until it’s about half the original volume (a little over ¼ cup).

  • Remove from heat and let cool slightly.

2. Marinate the Salmon

  • Place salmon fillets in a shallow dish, skin side down if applicable.

  • Pour the glaze over the salmon. Let sit for 5 minutes, flip the fillets, and marinate for another 5 minutes.

3. Cook the Salmon

  • Heat olive oil in a nonstick skillet over medium-high heat.

  • Place salmon fillets flesh-side down and sear for 2 minutes.

  • Brush with glaze, then flip (skin-side down) and brush again.

  • Reduce heat to medium and cook for 3–5 minutes, until the salmon is just cooked through.

  • Brush with the caramelized glaze from the pan, then cover loosely with foil to keep warm.

4. Cook the Spinach

  • In a separate skillet, melt butter over medium heat.

  • Add spinach and toss with tongs until just wilted, about 1–2 minutes.

  • Season lightly with salt and pepper.

5. Serve

  • Plate the salmon alongside the spinach.

  • Drizzle any remaining glaze over the fish.

  • Garnish with lemon slices and freshly cracked black pepper.


Make-Ahead and Storage

  • Make Ahead: The honey-cider glaze can be prepared up to 3 days in advance. Store in an airtight container in the refrigerator and bring to room temperature before using.

  • Refrigeration: Cooked salmon can be refrigerated in an airtight container for up to 2 days. Reheat gently in a skillet over low heat or enjoy cold on a salad.

  • Freezer: While salmon can technically be frozen, this dish is best enjoyed fresh due to the delicate texture of the fish and the fresh spinach side.

Enjoy your Honey Glazed Salmon with Apple Cider, a delightful blend of sweet, tangy, and savory flavors!

Honey Glazed Salmon with Apple Cider 1

Fried Apple Cider Glazed Donut Holes

Fried Apple Cider Glazed Donut Holes

Fried Apple Cider Glazed Donut Holes will tickle your taste buds with the flavors of autumn. A touch of sweetness, as well as the hot spices of apple cider, create these donut holes that the ideal morning treat to consume with a cup of steaming Read More