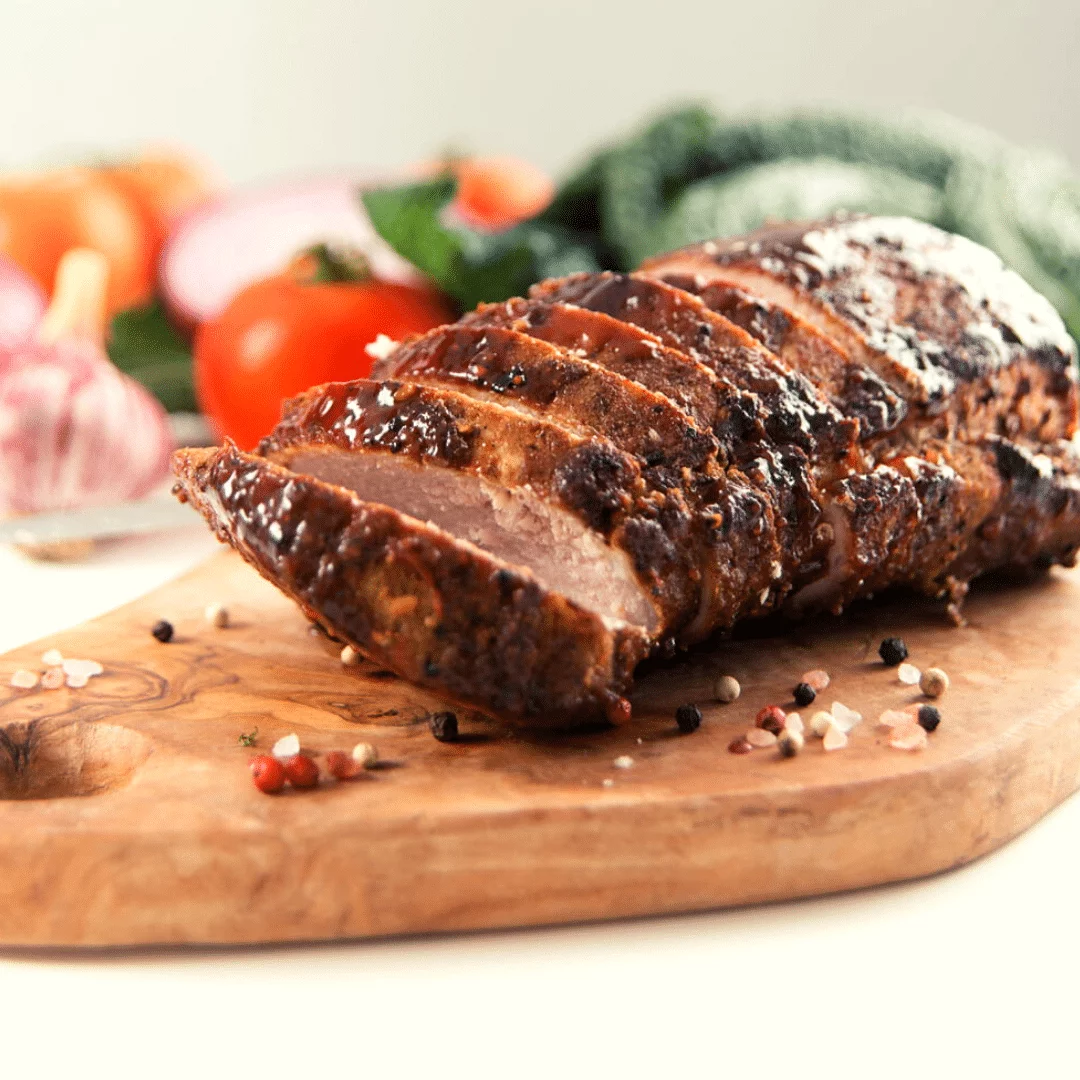
Air Fryer Pork Tenderloin Recipe
Pork tenderloin is better than ever with air fryer style! Fast and high-temperature cooking of the air fryer pork tenderloin makes it brown on the exterior but still juicy inside! Pork tenderloin is really an excellent lean cut of pork. But because of this, you Read More