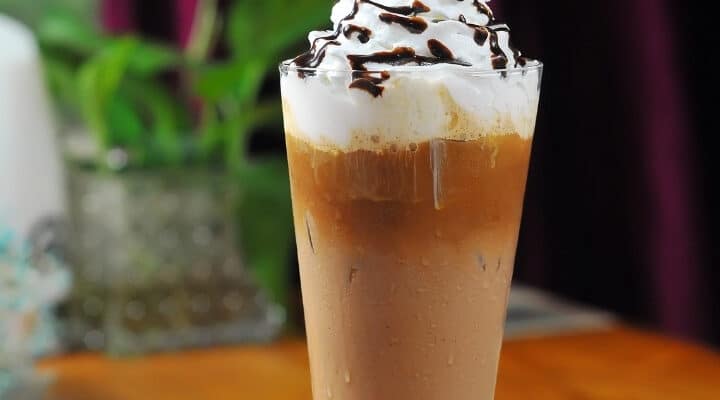
Authentic Arby’s Jamocha Shake Copycat Recipe
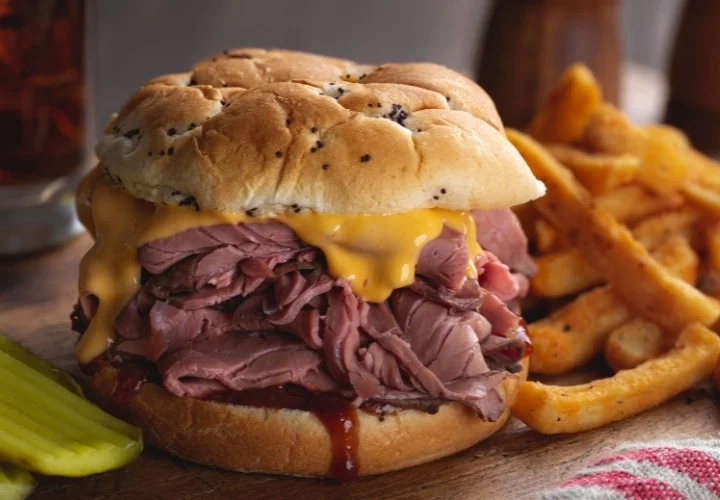
It’s time for another copycat recipe from Arby’s menu! After Arby’s Bronco Berry Sauce and Arby’s Beef and Cheddar Sandwich is time for Arby’s Jamocha shake. A few months ago, I was at Arby’s and noticed they had a Jamocha Shake. I had never tried this popular Read More