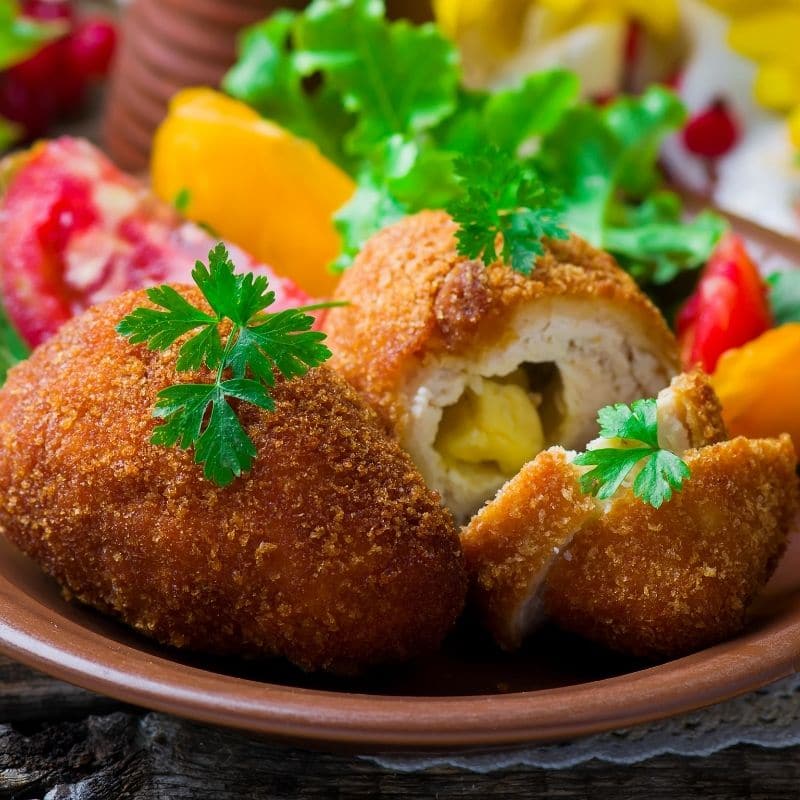
Chicken Kiev recipe is a dish made from chicken fillets rolled with bread and eggs. These can be fried or baked. In simple words, a chicken kiev is almost like chicken cutlet. Butter, eggs, bread, and chicken breast are the main ingredients used to make this super-hit main course dish.
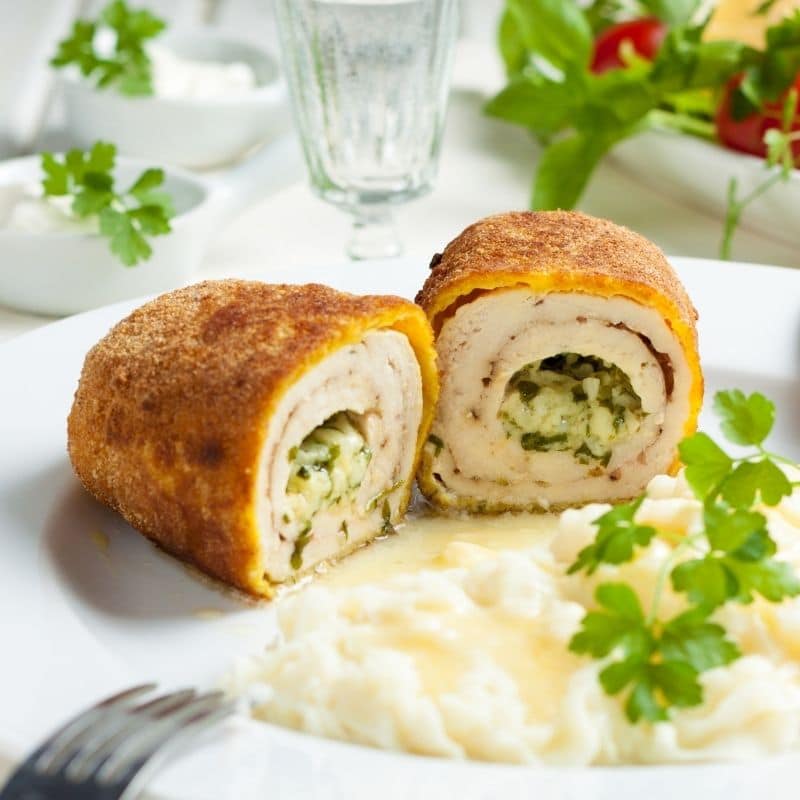
While the taste is all classic and traditional, chicken kiev gives you a lot of room to try out different types of stuffing, as per your creativity.
How hard is it to make Chicken Kiev?
Before we proceed to tell you how to make the classic chicken kiev, here is a disclaimer. This dish is not suitable for beginners because it is slightly complex to make it. Making a perfect chicken kiev can only be mastered by professional chefs that have lots of experience. If you want to taste the goodness of chicken, garlic and butter in their finest forms, preparing a chicken kiev is the best solution.
Chicken Kiev Recipe
Ingredients:
- Garlic cloves: 2 (minced or crushed)
- Salt: as needed
- Fresh parsley: 2 tablespoons (chopped)
- Unsalted butter: 6 tablespoons (be generous for better taste)
- Boneless, skinless chicken breasts: 4 pieces (total 8 ounces)
- All-purpose flour: 1 cup
- Freshly ground pepper: 2 teaspoons
- Eggs: 2 (beaten)
- Bread crumbs: 2 cups
- Cayenne pepper: 1 pinch
- Oil: as needed (for frying)
Instructions:
- Prepare Garlic Butter Mixture:
- Crush garlic, salt, and parsley using a pestle and mortar.
- Mix in butter until well combined.
- Cover with plastic wrap and refrigerate for 15 minutes, allowing flavors to blend.
- Prepare Chicken Breasts:
- Season chicken with salt and pepper.
- Flatten the breasts and place ¼ of the butter mixture in the center of each.
- Fold the ends over the butter, creating a tight pocket.
- Roll sides to form a ball shape, ensuring the top is smooth and the bottom gathered.
- Wrap each breast tightly in plastic wrap.
- Freeze for 30 minutes to firm up.
- Coating Process:
- Prepare three bowls: one with flour and salt, the second with beaten eggs, and the third with bread crumbs.
- Coat each chicken breast in flour, then egg, and finally bread crumbs.
- Place on a plate, cover, and freeze for another 15-20 minutes.
- Frying and Baking:
- Heat oil in a deep frying pan to 350°F (177°C).
- Preheat the oven to 400°F (204°C) and line a baking sheet with aluminum foil.
- Fry chicken in oil until golden brown on each side.
- Transfer to the baking sheet, season with salt and cayenne pepper.
- Bake for 15 minutes or until internal temperature reaches 165°F (74°C), indicating doneness.
- Serving:
- Remove from oven and let rest for 5-10 minutes on a serving plate before serving.
Chef’s Tips:
- Butter Mixture: The garlic butter is the heart of this dish. Ensure it’s well mixed for the best flavor.
- Chicken Folding: Proper folding is key to keep the butter inside. The top should be smooth, the bottom gathered.
- Coating: Ensure a thorough coat for a crispy exterior.
- Frying: Fry just until golden; they’ll continue cooking in the oven.
- Baking: Listen for the sizzle – it means the butter is melting inside, creating juicy flavors.
- Resting: Let the Chicken Kiev rest to allow the juices to settle, enhancing the taste and texture.
Pin the image below if you like this recipe!