Easy and Delicious Recipes

Recent Posts

The Best Mango Jelly Recipe

The Best Mango Jelly Recipe

This Mango Jelly Recipe is a favorite of everyone. You can keep in your pantry and make delicious sandwiches for the busy back-to-school season. This jelly is made with vibrant mango and can be used as a fruit dip or sandwich topping. I am always Read More
Arby’s Beef and Cheddar Sandwich Copycat Recipe

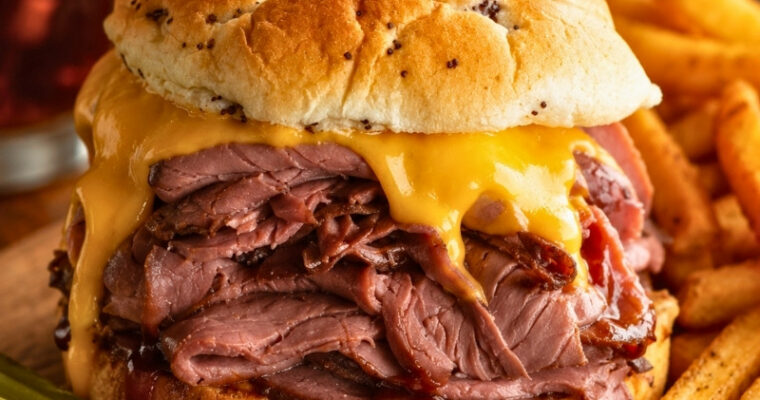
Arby’s Beef and Cheddar Sandwich Copycat Recipe

Get ready for another culinary journey, this time featuring the delicious Arby’s Beef and Cheddar sandwich, a crowd-pleaser straight from Arby’s menu. This delightfully rich sandwich comprises thinly sliced roast beef layered with creamy cheddar cheese sauce and tangy red ranch sauce. To finish off Read More

What Is Tobiko? (Plus a Tobiko Sushi Recipe)

What Is Tobiko? (Plus a Tobiko Sushi Recipe)

Tobiko is flying fish roe, the tiny, crunchy orange eggs you see on top of sushi rolls. It’s salty with a faint smokiness, and each egg has a thin shell that pops when you bite into it.

Sushi chefs use tobiko as a topping for maki rolls and a garnish for sashimi, poke bowls, and other Japanese dishes. Natural tobiko is orange, but it’s often dyed other colors with ingredients like squid ink, wasabi, or beet juice. The recipe below shows you how to make a tobiko-coated sushi roll at home. After that, you’ll find more on what tobiko tastes like, how it compares to masago and ikura, and how to buy and store it.

Tobiko Sushi Roll Recipe

For the sushi rice

  • 1 cup short-grain sushi rice
  • 1 cup water
  • 2 tablespoons rice vinegar
  • 1 tablespoon sugar
  • ½ teaspoon salt

For the rolls

  • 2 full sheets nori (seaweed)
  • 6 oz cooked shrimp, peeled, deveined, and halved lengthwise
  • ½ cucumber, cut into thin matchsticks
  • 1 avocado, thinly sliced
  • 3 tablespoons tobiko

You can swap the shrimp for the same amount of cooked crab, cooked salmon, or sushi-grade raw tuna.

Instructions

1. Rinse and cook the rice

Rinse the sushi rice in a fine-mesh strainer under cold water until the water runs mostly clear, about 2 minutes. This washes off extra starch so the rice doesn’t turn gummy. Add the rinsed rice and 1 cup of water to a rice cooker, or a saucepan, and cook according to your rice cooker’s instructions, or bring to a boil, cover, and simmer on low for 18 minutes.

2. Season and cool the rice

While the rice is still warm, whisk together the rice vinegar, sugar, and salt in a small bowl until the sugar dissolves. Spread the rice in a wide, shallow dish, pour the vinegar mixture over it, and fold gently with a spatula to coat every grain without mashing it. Let the rice cool to room temperature, about 15 minutes, before you start rolling.

3. Set up your rolling station

Cover a bamboo sushi mat with plastic wrap so the rice doesn’t stick to it. Fill a small bowl with water and a splash of rice vinegar for wetting your hands between rolls.

4. Position the nori

Lay one full sheet of nori shiny-side down on the plastic-wrapped mat, with the long edge closest to you.

5. Spread the rice

Wet your hands in the vinegar water, then spread about 1 cup of sushi rice evenly over the nori, leaving a ½ inch border bare at the top edge. Flip the sheet over so the rice sits face-down on the mat and the bare nori faces up.

6. Add the filling

Lay half the shrimp, cucumber, and avocado in a line across the center of the nori, about a third of the way up from the edge closest to you.

7. Roll the sushi

Lift the edge of the mat closest to you with your thumbs and roll it up and over the filling, pressing gently to tighten the roll as you go. Continue rolling to the far edge, using the mat to shape it into an even cylinder, then set it aside seam-side down. Repeat with the second nori sheet and the remaining rice and filling.

8. Coat with tobiko

Spread the tobiko out on a plate. Roll each finished sushi roll over the tobiko, pressing lightly so the roe sticks to the rice on all sides.

9. Cut and serve

Wipe your knife clean and wet the blade before each cut, this keeps the rice from sticking. Cut each roll into 8 even pieces and serve right away.

Yield: 2 rolls, about 16 pieces total.

Pin the image below if you like this Tobiko Sushi Recipe!

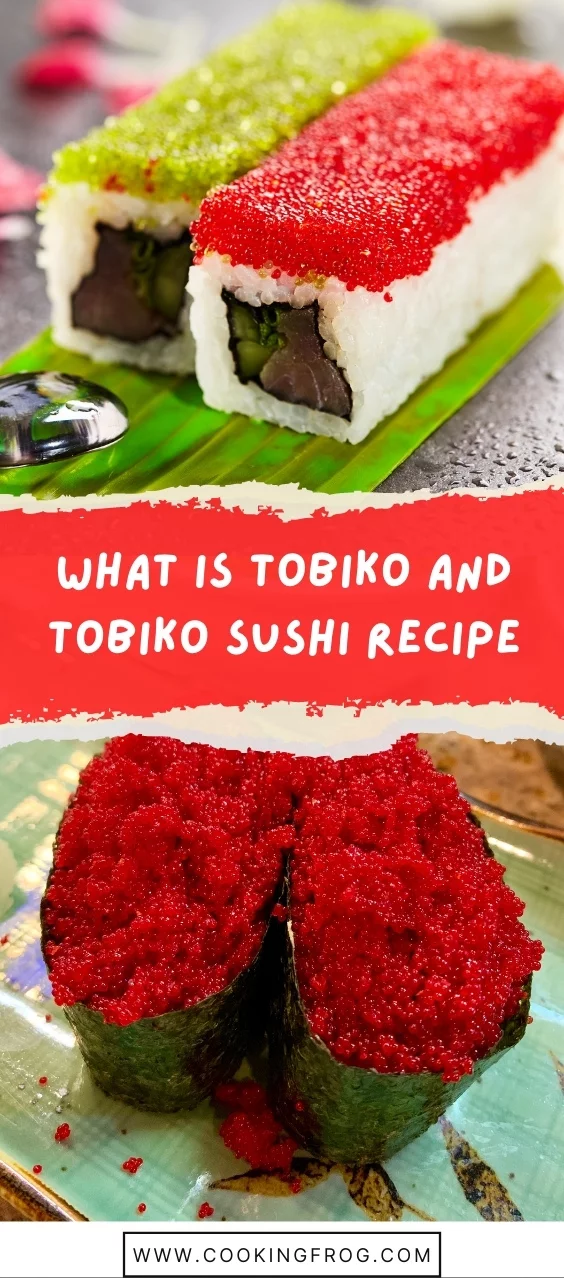
Two sushi rolls topped with green and red tobiko roe on a banana leaf, with a cross-section of red tobiko sushi below

What Does Tobiko Taste Like?

Tobiko tastes briny and lightly salty, with a faint smokiness that comes through more in the aftertaste than the first bite. Each egg has a thin, crisp shell that pops between your teeth and releases a small burst of liquid, with almost no fishy taste. It’s crunchier and firmer than masago, and much smaller and more delicate than ikura.

Tobiko vs. Masago vs. Ikura

Tobiko, masago, and ikura all show up on sushi menus, but they come from three different fish and aren’t really interchangeable, so here’s how they actually compare.

Tobiko Masago Ikura
Source Flying fish Capelin, a small smelt Salmon
Egg size About 0.5 to 0.8 mm About 0.3 to 0.5 mm, smaller than tobiko About 3 to 5 mm, much larger than both
Natural color Pale orange to reddish-orange Pale yellow to orange Deep orange-red
Texture Firm and crisp, with a distinct pop Softer and less crunchy than tobiko Thin membrane that bursts easily
Flavor Salty with a light smokiness Milder and slightly sweeter Rich and briny, more pronounced fish flavor
Common use Topping for maki rolls and garnish Budget substitute for tobiko in rolls and garnishes Served on its own over rice, or as a garnish
Price Mid-range The least expensive of the three The most expensive of the three

If a recipe calls for masago and you only have tobiko, or the other way around, you can generally swap one for the other. The texture and price will be a little different, but the swap won’t ruin a dish.

Types of Tobiko

Natural tobiko is pale orange to reddish-orange. Sushi chefs also dye it other colors, using ingredients that add both color and a light background flavor:

  • Black tobiko: colored with squid ink
  • Green tobiko: colored with wasabi
  • Red tobiko: colored with beet juice
  • Yellow tobiko: colored with yuzu, a Japanese citrus fruit

These dyed versions taste close to natural tobiko. Chefs mostly use different colors for contrast on a plate rather than a big difference in flavor.

Close-up comparison of orange tobiko roe and black tobiko roe side by side

Is Tobiko Safe to Eat Raw?

Most tobiko sold at grocery stores and sushi counters is prepared and packaged specifically to be eaten as is, but that doesn’t mean every jar is ready to eat straight from the package without a second thought. Check the label for instructions, since some products need to be thawed first or used within a short window after opening.

Always check the expiration date, keep tobiko refrigerated or frozen exactly as the package directs, and follow the manufacturer’s storage and handling instructions over any general rule of thumb. If you’re pregnant, immunocompromised, or otherwise following specific guidance around raw seafood, check with your doctor or a resource like the FDA’s guide to selecting and serving seafood safely before eating tobiko.

How to Use Tobiko

Tobiko’s saltiness and crunch work best as a finishing touch rather than a main ingredient. A few realistic ways to use it:

  • Sushi and sashimi: the classic use, scattered over rolls or nigiri right before serving.
  • Rice bowls: a spoonful over a finished poke or donburi bowl adds texture and a salty pop.
  • Deviled eggs: a small spoonful on top adds color and a briny bite without changing the flavor much.
  • Pasta: stir it in at the very end, off the heat, with a butter or cream sauce. Heat turns the eggs mushy and kills the pop, so it should go on top rather than cook in the pan.

Where to Buy Tobiko

Look for tobiko at Asian grocery stores, Japanese markets, or the seafood counter of a well-stocked supermarket. It’s usually sold frozen or refrigerated in small jars or tubs, and larger Asian grocery chains tend to carry the widest range of colors.

If you’re buying it for the first time, a small jar is enough to try it before you commit to a bigger size. Check that the jar or tin is sealed, confirm the expiration date is well in the future, and read the label for how it should be stored and whether it needs to thaw before serving.

How to Store Tobiko

How long tobiko keeps depends heavily on the product. Some tobiko is pasteurized and shelf-stable until opened, while other tobiko is fresh and far more perishable, so the manufacturer’s instructions on the package take priority over any general rule of thumb.

As a general guide, an opened jar of refrigerated tobiko is usually good for about 5 to 7 days in the coldest part of your fridge, tightly sealed. Unopened, refrigerated tobiko typically lasts closer to the date printed on the package. If your tobiko is sold frozen, keep it frozen until you’re ready to use it, then thaw only the amount you need in the refrigerator instead of at room temperature. Avoid refreezing tobiko once it has thawed, repeated freezing and thawing breaks down the texture and raises the risk of spoilage.

Tobiko’s crunch and light smokiness make it an easy way to dress up sushi rolls, rice bowls, and other seafood dishes without much effort. Start with a small jar, keep it cold, and use it as the finishing touch it’s meant to be.

Ultimate Seafood Boil with Delicious Garlic Butter Sauce

Ultimate Seafood Boil with Delicious Garlic Butter Sauce

Seafood boil with Garlic butter Sauce is one of the most delicious recipes. This spicy sauce can be added to any seafood boil. You can also use it on the side for dipping the deliciousness in. Seafood Boil Sauce Many people simply throw the cooked Read More

Homemade Unagi Sushi Rolls Original Recipe

Homemade Unagi Sushi Rolls Original Recipe

Unagi sushi (Japanese eel) rolls are delicious, rich, and sweet and are an excellent choice for a dinner or lunch that your family and friends will enjoy. A great recipe for making sushi at home. Today, I’m sharing a delicious and well-received Japanese takeout recipe. Read More

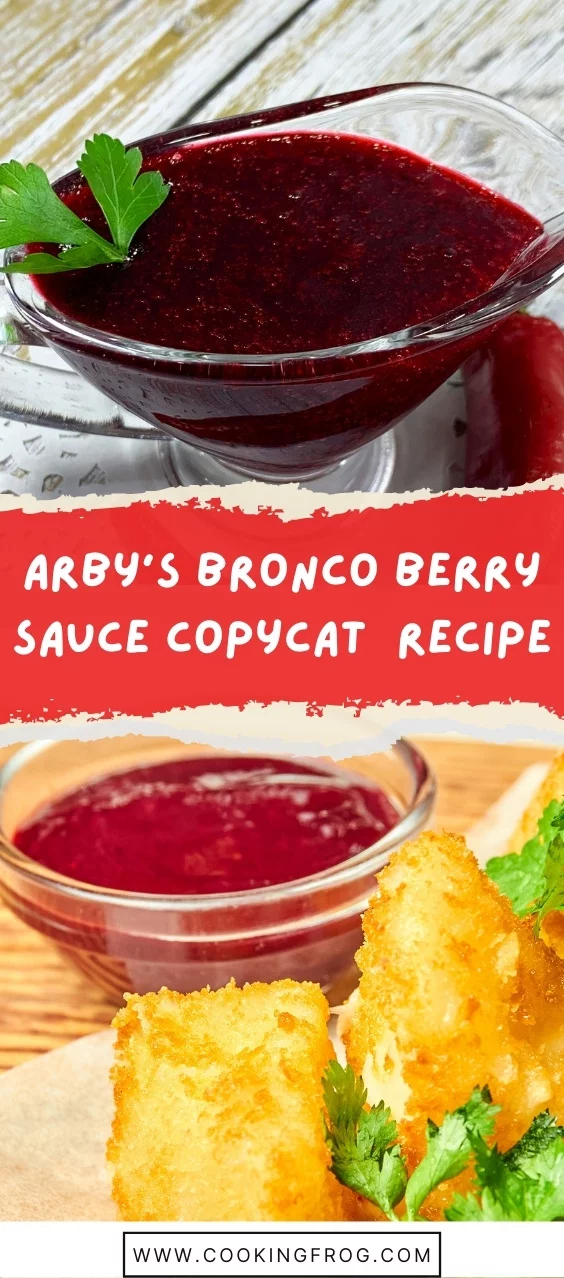
Arby’s Bronco Berry Sauce Copycat Easy Recipe

Arby’s Bronco Berry Sauce Copycat Easy Recipe

f you’ve ever dipped into Arby’s Bronco Berry Sauce, you know it’s unlike anything else — sweet, tangy, and just a little spicy. Despite the name, there are no berries in this sauce at all. Instead, the flavor comes from a clever combination of red bell peppers, vinegar, sugar, and spices that create a fruity, jam-like sweetness with a subtle kick. The peppers also give it that deep red color, which tricks your eyes and taste buds into expecting berry flavor.

This copycat recipe captures the unique sweet-and-spicy balance that makes the original so addictive. It’s incredibly versatile too — serve it with jalapeño poppers, hot wings, chicken tenders, or even as a dipping sauce for burgers and sandwiches. Once you try it, you’ll understand why this sauce has a cult following.

Ingredients

  • 1 cup water

  • ½ cup ketchup

  • 2 Tbsp brown sugar

  • 4 Tbsp corn syrup

  • 4 Tbsp white vinegar

  • 1 tsp garlic powder

  • ½ tsp paprika

  • Pinch of cayenne pepper

  • 4 Tbsp red bell pepper, minced

  • ½ tsp canned jalapeño peppers, minced

  • 3 Tbsp pectin powder

  • 1 Tbsp cornstarch + 1 Tbsp water (for slurry)


Instructions

1. Blend the base

  • In a blender, combine water, ketchup, brown sugar, corn syrup, vinegar, garlic powder, paprika, cayenne, and pectin powder.

  • Blend for 15–20 seconds until smooth.

2. Simmer

  • Pour the mixture into a small saucepan.

  • Stir in minced red bell peppers and jalapeño peppers.

  • Simmer over medium-low heat for 20 minutes, stirring occasionally.

3. Thicken

  • After 20 minutes, stir in the cornstarch slurry.

  • Continue simmering on low for 10 more minutes, until the sauce thickens to a consistency similar to steak sauce.

4. Cool & store

  • Remove from heat and let cool completely.

  • Transfer to a jar or airtight container. Store in the refrigerator for up to 2 weeks.


Tips & Variations

  • For extra heat, add more jalapeño or cayenne.

  • For a smoother sauce, strain before cooling.

  • Use as a dip for jalapeño poppers, chicken wings, onion rings, or burgers.

If this recipe for Arby’s Bronco Berry Sauce has got you grinning from ear to ear, why keep it all to yourself? Be the day’s hero, and share the image below on your Pinterest board. Nothing beats a good recipe shared with friends!

Arby's Bronco Berry Sauce Copycat Easy Recipe

Can you buy Arby’s Bronco Berry Sauce in the shops?

Sauces could be described as the heart of good cooking. Each sauce should have a unique flavor. Bronco berry sauce is just that. It has a distinct, tangy taste, and everyone wants to know if they can purchase Arby’s Bronco berry sauce in the shops, but sadly the answer is no. You have to order the food to get it. But as you can see, it can be easily made at home with this recipe. 

Bronco Berry sauce – Make your next party more exciting with this delicious Sauce

Bronco Berry Sauce is a great way to spice up your New Year’s or Christmas party menu. You can make a lot of tasty appetizers using a beautiful red sauce to get everyone excited.

Sandwiches are always a hit at parties, whether toasted and heated or plain bread. Bronco berry sauce can elevate any sandwich to a whole new level, whether it is a snack, a main dish, or a meal for the picnic.

What is Arby’s?

Founded in Ohio in 1960, ‘America’s Roast Beef’ is a renowned American fast-food chain specializing in delicious sandwiches. Various signature sauces, including Red Ranch, Vinaigrette Dressing, and the iconic Bronco Berry Sauce, are available to add an extra burst of flavor to their meals.

In today’s culinary language, the term ‘sandwich‘ has become almost synonymous with ‘Arby’s,’ signifying the brand’s influence and popularity.

However, it’s worth noting that these unique sauces are not typically found on supermarket shelves. Arby’s occasionally offers its sauces for sale, but these are limited-edition offers. These sauces become fond memories once the sale period ends, adding to their allure.

Arby’s is famously recognized for its classic Roast Beef sandwiches and the indulgent Beef ‘n Cheese sandwiches. Its Market Fresh line, featuring crispy chips, French fries, Greek Gyros, and the luscious Jamocha shakes, also attracts a loyal fanbase. Interestingly, the delectable Bronco sauce is available even beyond American borders.

In the Bronco section, you’ll find the Bronco Berry Sauce, a unique red dip perfect for enhancing your finger food experience. This red-colored sauce offers a balanced blend of sweet and sour flavors, and its unique red hue adds an aesthetic appeal to your meal.

Arby’s Bronco Berry Sauce Copycat Video Recipe

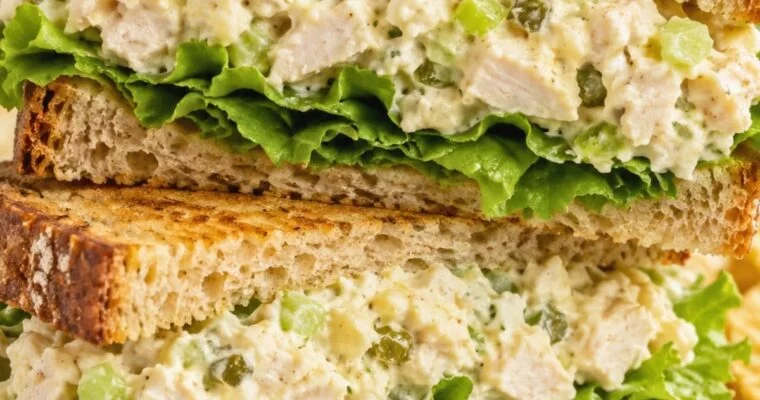
Chick-Fil-A Chicken Salad Copycat Recipe

Chick-Fil-A Chicken Salad Copycat Recipe

Chick-fil-A may no longer serve its Chicken Salad, but the company still publishes the recipe so fans can make it at home. This version follows that simple formula: cooked chicken, celery, sweet pickle relish, mayonnaise, and hard-boiled eggs, pulsed just enough to create the fine, Read More

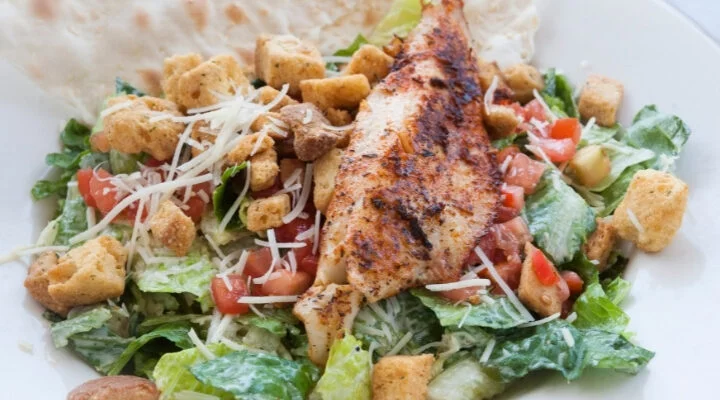
Homemade Pan-Fried Walleye Recipe

Homemade Pan-Fried Walleye Recipe

Are you ready for this amazing homemade pan-fried walleye recipe? Walleye is undisputedly the champion of fish-dish in states like Minnesota or Wisconsin. It’s a good reason. It has a mild, sweet flavor, while its flesh, which is white, is firm, and flakey. Walleye is Read More

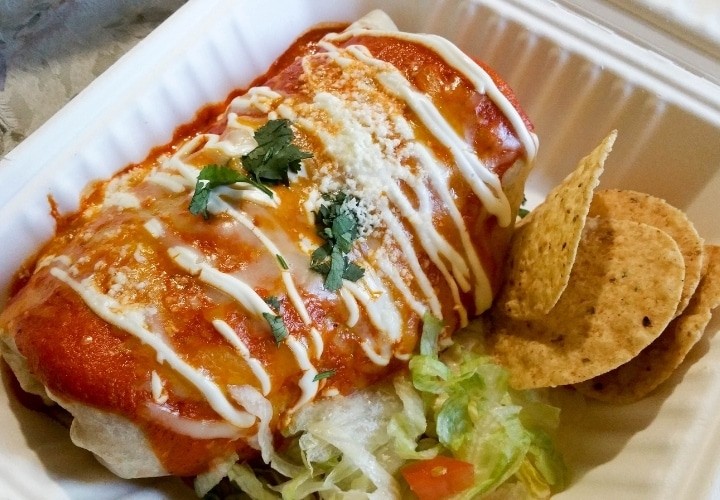
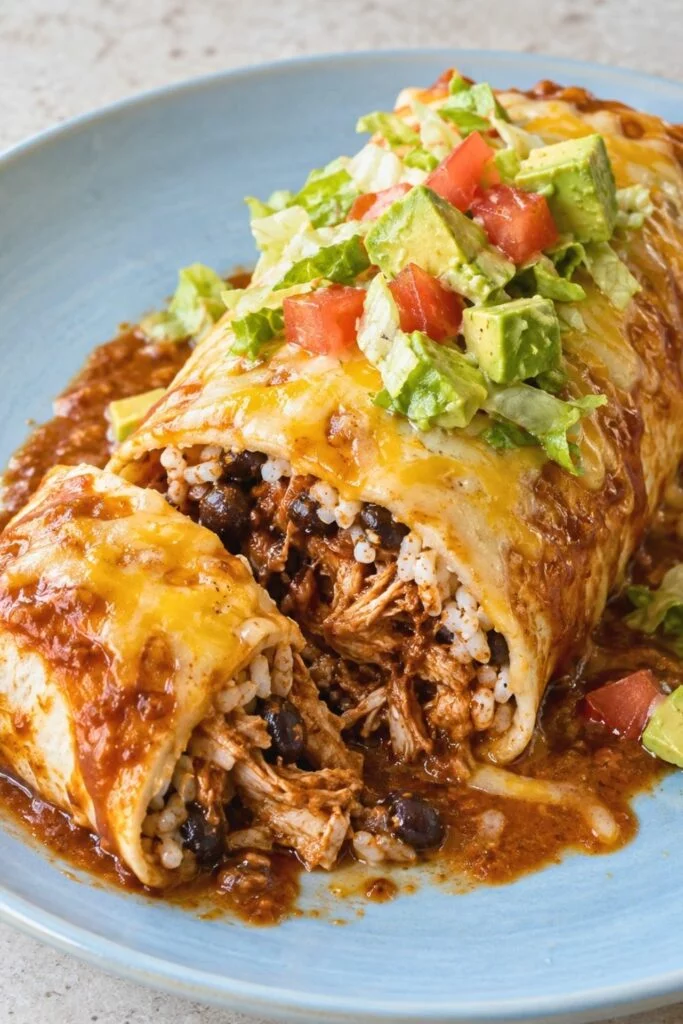
The Best Wet Burritos Recipe (Smothered Burritos)

The Best Wet Burritos Recipe (Smothered Burritos)

Are you ready for the best-ever Wet Burritos? Smothered burritos are made with ground beef and refried beans and wrapped in large tortillas. They’re topped with red sauce and melted Mexican mix cheese.

Serve this tasty authentic Mexican dish with your favorite toppings, such as guacamole or sour cream, lettuce, and onion, tomatoes, and tomato sauce. These are often requests from friends and family.

You can freeze leftovers if you cook for two. Reheat the leftovers by allowing them to cool completely before heating up your oven to 400°F. Bake for 15-20 minutes or until they are heated through.

Wet Burritos Recipe

Ingredients

For the Beef and Bean Filling

  • 1 lb (454 g) ground beef
  • ½ cup chopped onion
  • 2 teaspoons minced garlic
  • 1 teaspoon ground cumin
  • ½ teaspoon salt
  • ½ teaspoon black pepper
  • 1 can (4–5 oz) diced green chiles, drained
  • 1 can (15 oz / 425 g) refried beans

For the Sauce

  • 1 can (15 oz / 425 g) chili without beans
  • 1 can (10 oz / 283 g) red enchilada sauce
  • 1 can (8 oz / 227 g) tomato sauce

For Assembly

  • 6 large flour tortillas, 10–12 inches
  • 3 cups shredded Mexican-blend cheese, divided

For Serving

  • Shredded lettuce
  • Diced tomatoes
  • Chopped green onions
  • Sour cream
  • Guacamole, optional

Instructions

  1. Preheat the Oven: Preheat the oven to 375°F (190°C). Lightly grease a 9×13-inch baking dish.
  2. Cook the Beef: Heat a large skillet over medium heat. Add the ground beef and onion and cook for 6–8 minutes, breaking the meat apart, until the beef is browned and the onion is soft. Drain off excess grease.
  3. Season the Filling: Add the garlic, cumin, salt, and black pepper. Cook for about 30 seconds, just until fragrant.
  4. Add the Beans and Chiles: Stir in the diced green chiles and refried beans. Cook over medium-low heat for 2–3 minutes, stirring until the mixture is hot and evenly combined. Remove from the heat.
  5. Make the Sauce: In a separate saucepan, combine the chili, enchilada sauce, and tomato sauce. Bring to a gentle simmer and cook for about 5 minutes, stirring occasionally. Remove from the heat.
  6. Fill the Burritos: Lay one tortilla on a clean work surface. Spoon about ⅙ of the beef and bean filling into the center and sprinkle with about ¼ cup shredded cheese.
  7. Roll: Fold the left and right sides of the tortilla inward over the filling, then roll tightly from the bottom into a burrito. Place seam-side down in the prepared baking dish. Repeat with the remaining tortillas.
  8. Add the Sauce: Spoon enough warm sauce over the burritos to generously cover the tops and sides. You may not need every bit of sauce depending on the size of your baking dish.
  9. Add the Cheese: Sprinkle the remaining shredded cheese evenly over the top.
  10. Bake: Bake uncovered for 15–20 minutes, until the sauce is bubbling around the edges and the cheese is completely melted.
  11. Rest and Serve: Let the burritos rest for about 5 minutes before serving. Top with shredded lettuce, tomatoes, green onions, sour cream, guacamole, or any other toppings you like.

Tips for Better Wet Burritos

  • Don’t put lettuce inside before baking. Add it after the burritos come out of the oven so it stays crisp.
  • Drain the beef well. Excess grease can make the filling heavy and cause the tortillas to become overly soft.
  • Warm stiff tortillas first. If your tortillas crack when rolled, microwave them under a damp paper towel for about 20–30 seconds.
  • Don’t overfill. Too much filling makes the burritos difficult to close and encourages them to split while baking.
  • Use only as much sauce as you need. Wet burritos should be generously covered, but they don’t need to swim in sauce.
  • Rest before serving. Five minutes gives the filling and melted cheese a chance to settle.

Did this recipe make your mouth water? Pin the image below to your Pinterest board so you can find these cheesy smothered burritos anytime—and share them with fellow comfort food lovers!

The Best Wet Burritos Recipe (Smothered Burritos)


You can also check out this amazing  California Burritos with Carne Asada Recipe!

Storage

Let leftover wet burritos cool, then transfer them to an airtight container and refrigerate within 2 hours.

Store for up to 3–4 days.

Because the tortillas absorb sauce as they sit, leftovers will be softer than freshly baked burritos.

Reheating

Cover the burritos loosely with foil and reheat at 350°F (175°C) for about 15–20 minutes, or until heated through.

For a single serving, the microwave works, but the tortilla will become softer.

Can You Freeze Wet Burritos?

Yes, but they freeze best before adding the sauce.

Assemble the burritos with the beef, bean, and cheese filling, wrap each one tightly, and freeze for up to 2 months.

Thaw overnight in the refrigerator, arrange in a baking dish, add the warm sauce and cheese, then bake as directed.

You can freeze fully assembled wet burritos too, but the tortillas will be noticeably softer after thawing.

Easy Vanilla Sponge Cake Recipe

Easy Vanilla Sponge Cake Recipe

Here is the recipe for the perfect Vanilla sponge cake. This super-soft, easy-to-make vanilla sponge cake is the best delight for any occasion. Whether it’s your daughter’s birthday or you want to make your Christmas eve memorable, my easy cake recipe will let to celebrate Read More