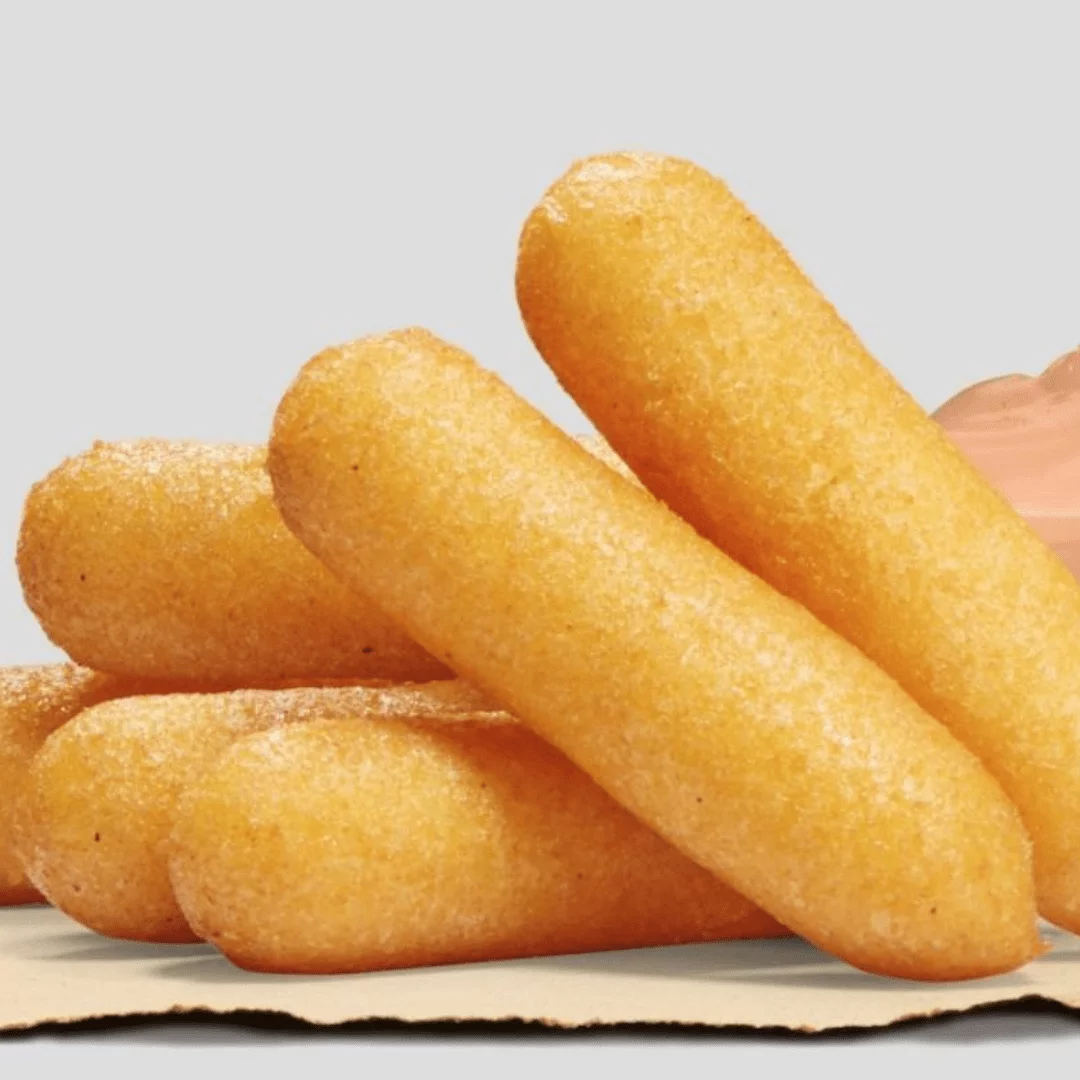
Sorullitos de Maíz Easy Recipe
Sorullitos de Maíz recipe, aka Sorullos, are the most fantastic corn fritters from Puerto Rico that are soft inside and crispy outside. In Puerto Rico, these fritters are served as breakfast, appetizers, or as a side dish. You can add some cheese to make it Read More