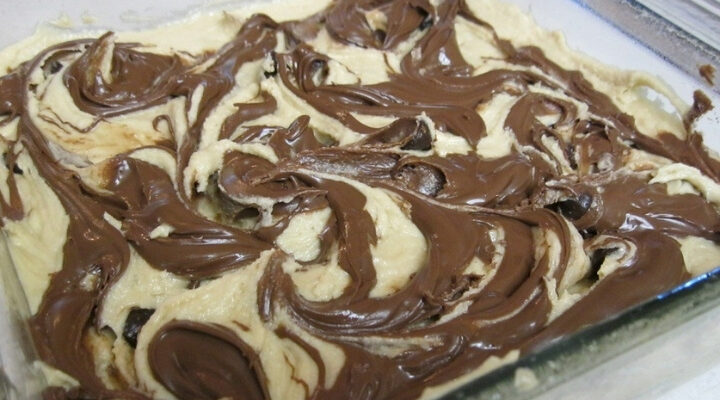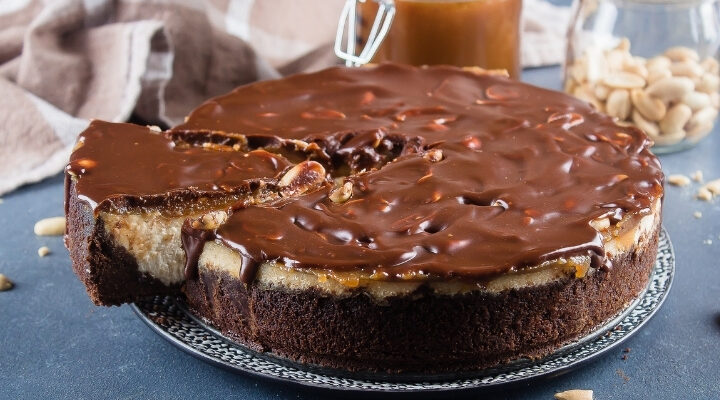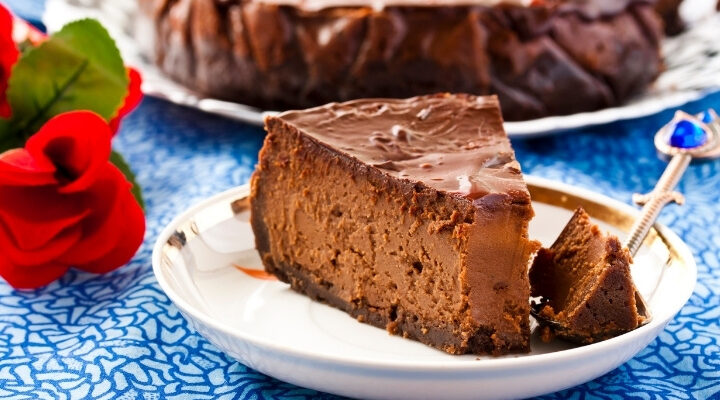
Death by Chocolate Cheesecake Easy Recipe
Death by Chocolate Cheesecake Easy Recipe is full of creamy chocolate and has an Oreo crust topped with dark chocolate ganache. So, chocolate lovers, can it get better than this? This chocolate-rich cheesecake is a chocolate lover’s dream come true. Ingredients For the Oreo Crust Read More