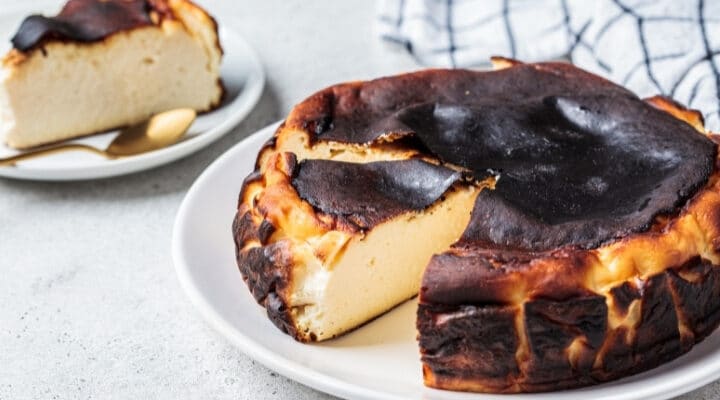
Basque Burnt Cheesecake (Ultimate Recipe)
Basque Burnt Cheesecake is creamy on the inside, caramelized on top and now, with this recipe it’s easy to make. The cheesecake’s distinctive dark, rich top is made by baking at high temperatures. For a foolproof recipe, follow my tips and tricks to be able Read More