
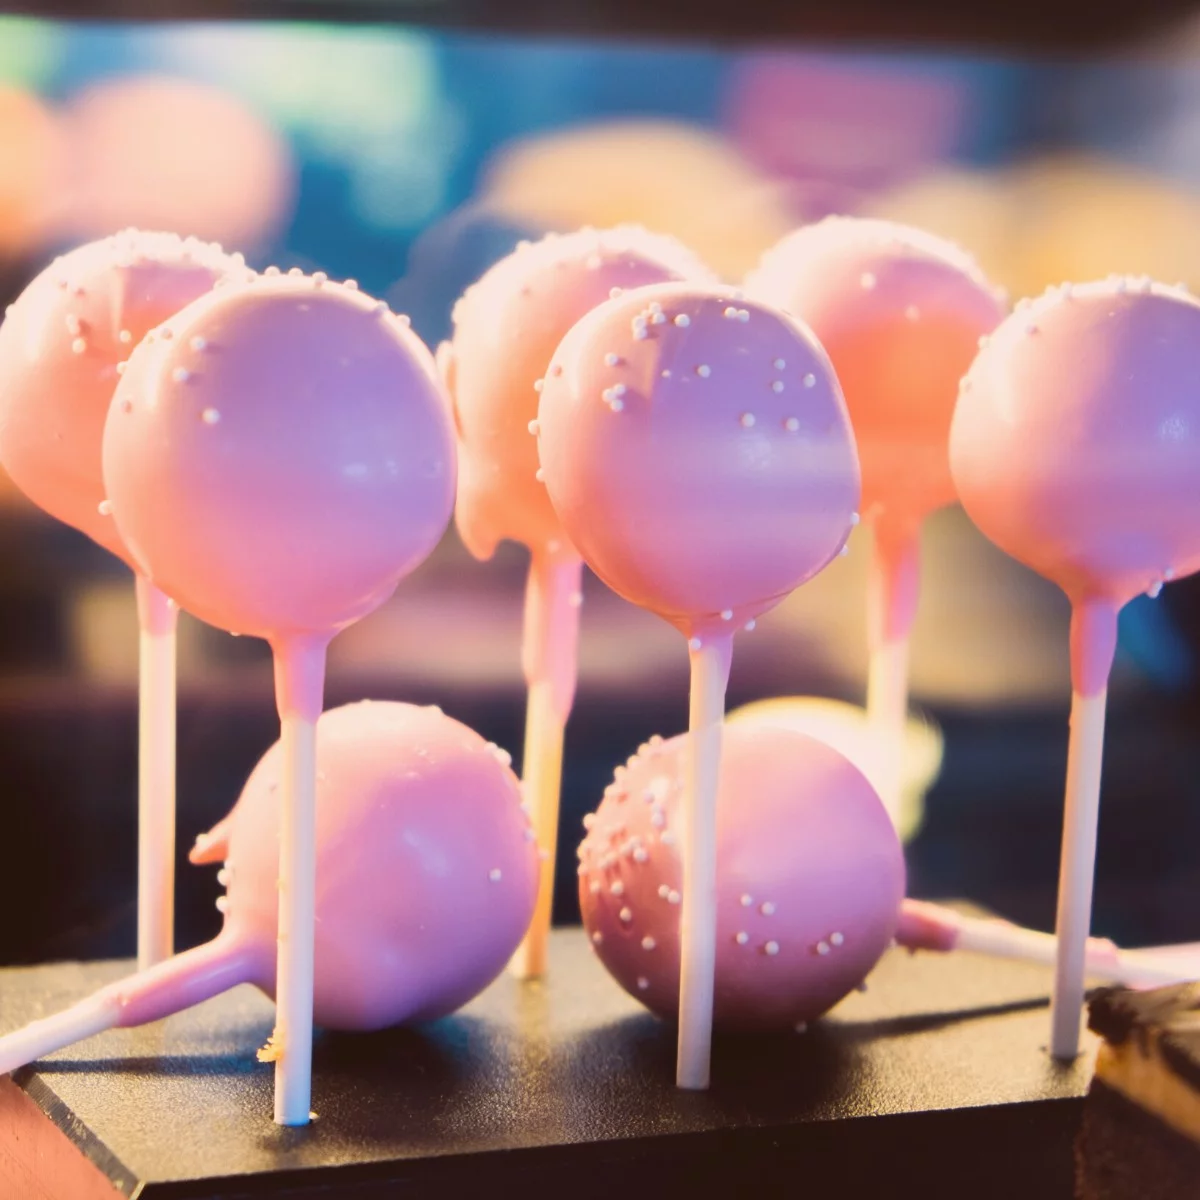
Whoever thought of putting the cake on a stick deserves an award, and Starbucks Cake Pops are the crown jewel of this brilliant idea. These tiny treats never fail to improve my day; my kids love them just as much. It’s the perfect way to satisfy my sweet tooth while sipping our favorite coffee blend.
But now we’ve taken this treat from Starbucks menu to the next level by making our own Cake Pops at home! It’s become our family’s little hobby, and we love trying different flavors and designs. From pink birthday cake pop to chocolate cake pop, we have you covered.
The best part is that we can enjoy our homemade treats without spending money or leaving the house. It’s like having our own cake pop shop!! My kitchen is now a mini bakery, and I’m loving every minute of it.
Starbucks Cake Pops Copycat
Have you ever gotten a sudden craving for a cake pop from Starbucks and dropped everything to get one? The way these little cake balls melt in your mouth is really hard to resist. I don’t know about you, but I’d choose a cake pop over any of their fancy drinks any day!
So why wait in a long drive-thru line when you can make these delicious treats at home? Here is how to make cake pops like the ones at Starbucks. You don’t have to leave your house to satisfy your sweet tooth. All you need are a few simple ingredients and a few easy steps.
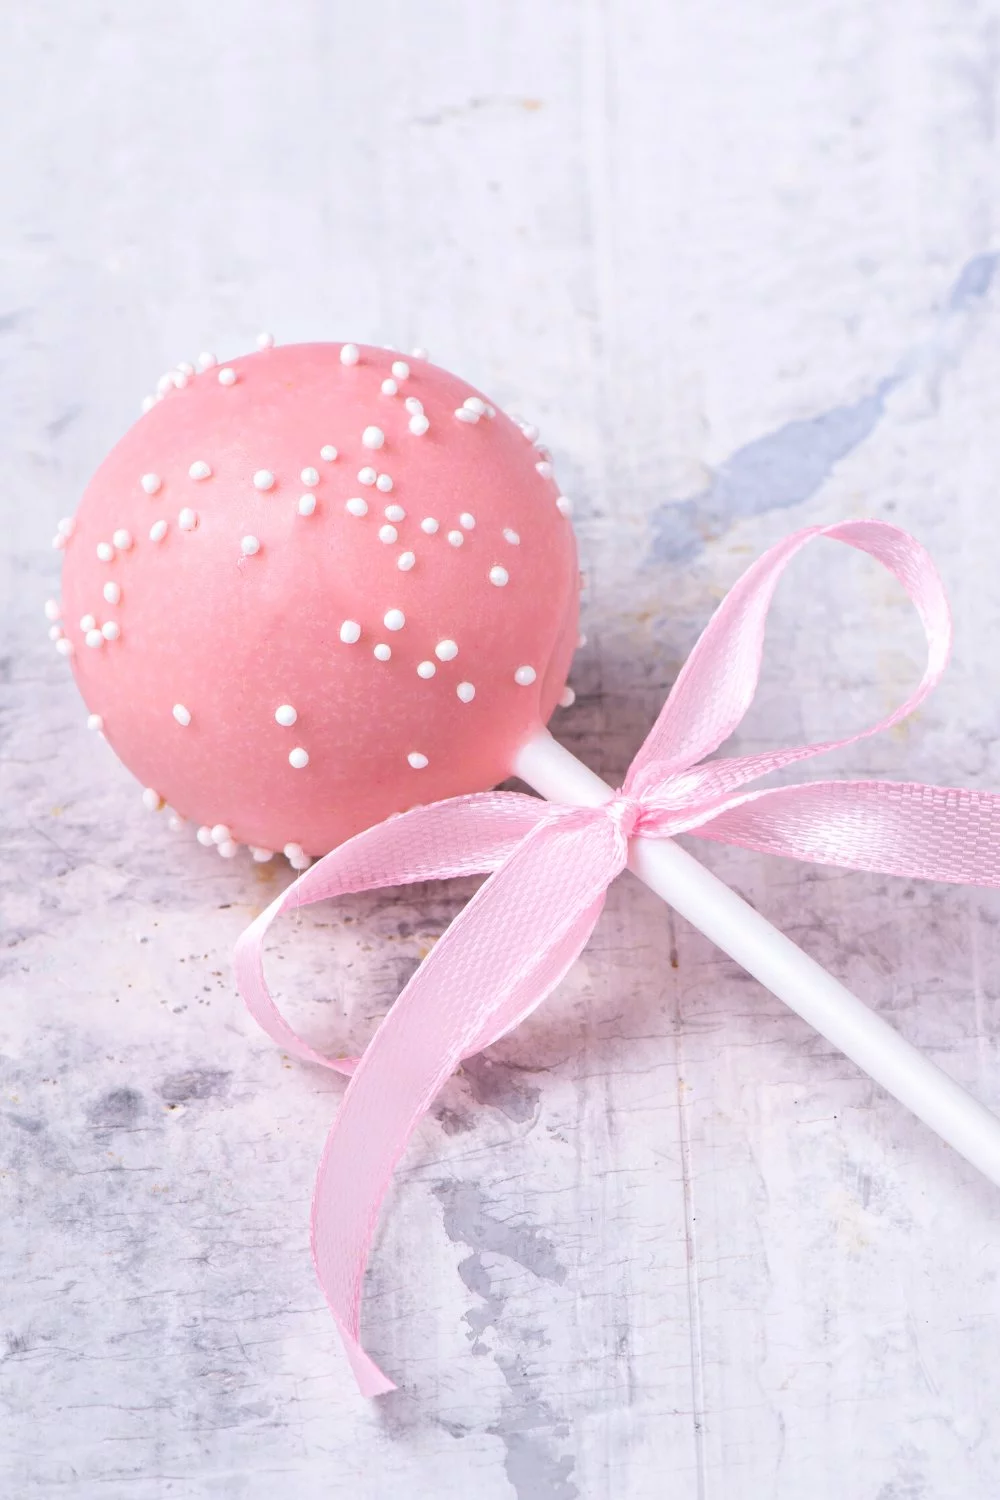
Now, I’ll let you in on a little secret: these homemade cake pops might be even better than the ones you can buy at Starbucks. Why? Because they are made with just the right amount of cake crumbs and powdered sugar to make a moist, delicious cake ball. And that’s not all—they’re then dipped in a rich, creamy white chocolate coating that takes their deliciousness to a whole new level.
Ingredients
-
1 box (15.25 oz) yellow cake mix (for chocolate: Devil’s Food) + ingredients listed on the box
-
3–4 Tbsp vanilla frosting (for chocolate: chocolate frosting)
-
12–16 oz candy melts (pink for vanilla; chocolate for chocolate)
-
1–2 tsp refined coconut oil or paramount crystals (optional, to thin coating)
-
White sprinkles
-
25–35 cake pop/lollipop sticks
Instructions
-
Bake the cake
Heat the oven and bake the cake exactly as directed on the box (9×13-inch pan). Let it cool completely in the pan on a rack. -
Crumble & bind
Tip the cake into a large bowl. Trim only any very dry edges if needed. Rub the cake into fine crumbs. Add 2 Tbsp frosting and mix with clean hands. Add more 1 Tbsp at a time until the mixture holds together like soft dough—moist enough to shape, not greasy. (Most cakes need 3–4 Tbsp total.) -
Roll
Scoop into 1 Tbsp portions (about 20 g) and roll smooth balls. Set on a parchment-lined sheet. -
Chill briefly
Chill 10 minutes in the freezer or 15 minutes in the fridge—firm, not frozen. -
Melt coating
In a microwave-safe bowl, heat candy melts at 50% power in 30-second bursts, stirring between each. If thick, stir in ½ tsp coconut oil at a time until fluid and pourable. -
Attach sticks
Dip the tip of a stick about ½ inch (1 cm) into the melted coating. Insert the stick two-thirds of the way into a chilled ball. Repeat. Chill 5–10 minutes to set. -
Dip & decorate
Rewarm coating if needed. Dip each pop straight down to cover. Lift, then gently tap and rotate so excess drips off. Add sprinkles right away. Stand pops upright in Styrofoam or a pop stand to set 10–15 minutes.
Notes
-
Cracks? Balls are too cold or coating too hot—let balls sit 5 minutes or cool the coating slightly.
-
Slipping off sticks? The coating may be too thick or the mixture too dry. Thin the melts a touch or mix in another teaspoon of frosting.
-
Make-ahead: Undipped balls freeze up to 6 weeks. Thaw overnight in the fridge before dipping.
-
Storage: Once set, keep at cool room temp up to 2 days or refrigerate up to 5 days.
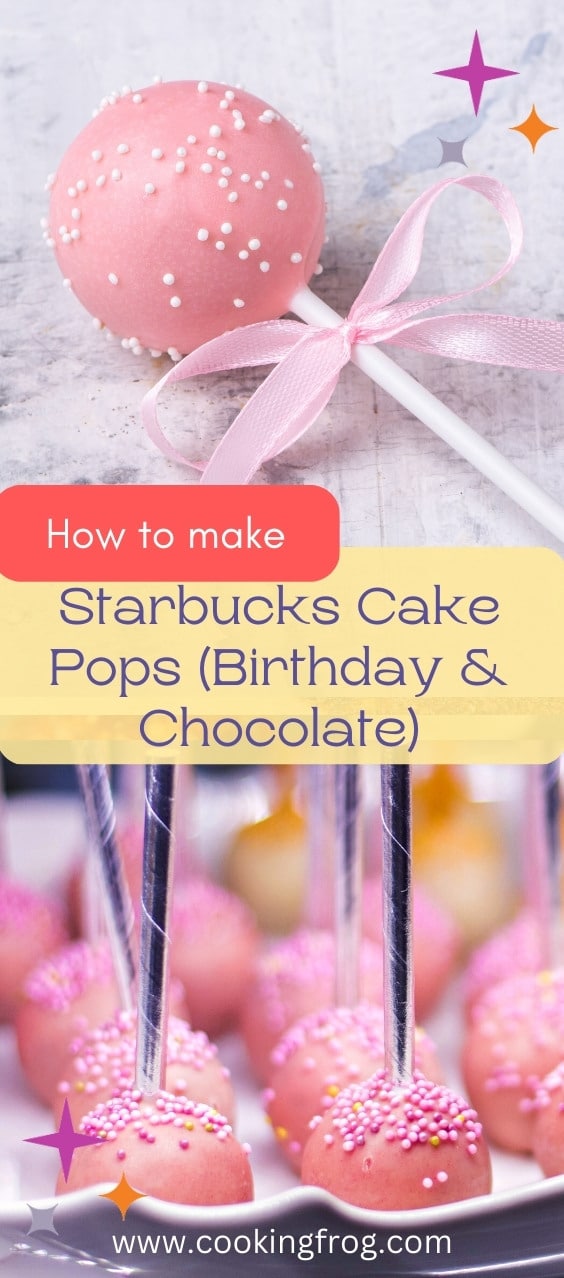
Listen up, cake lovers! If you’ve nailed this Starbucks Copycat cake pop, don’t keep it to yourself. Share the image below on your Pinterest board and invite your friends to join in the fun. Sharing is caring, and in this case, it’s also delicious! 🙂
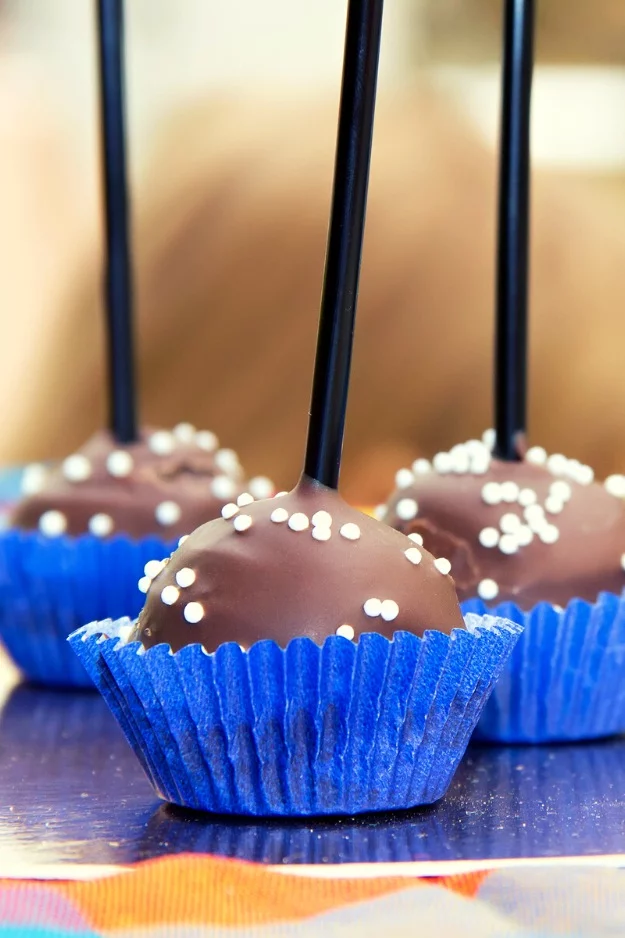
For Starbucks chocolate cake pops:
Chocolate candy melts: Instead of using pink candy melts to cover your cake pops, you’ll need chocolate candy melts. You can also get these in different flavors and colors, so pick your favorite.
Devil’s Food chocolate cake mix: You won’t be able to make the chocolate cake base for your cake pops with yellow cake mix. Instead, you’ll need Devil’s Food chocolate cake mix. The chocolate candy melts go well with the rich chocolate flavor of this cake mix.
Cake frosting: You’ll still need frosting to mix with the cake mix, but for the Devil’s Food chocolate cake mix, you’ll want to use chocolate frosting.
With these added ingredients, you can turn Starbucks cake pops into a delicious chocolate version that will satisfy any chocolate craving.
Can I Make Cake Pops Ahead of Time?
You can absolutely make cake pops ahead of time. The key is to make the cake and roll it into balls, then put them in the fridge for up to a month. When you’re ready to decorate, just remove them from the refrigerator and start working. That’s all there is to it.
These cake pops can be made ahead of time and are a hit with kids. In fact, the Starbucks Birthday Cake Pops and Chocolate Cake Pops are two of my kids’ favorites. So the next time you have a birthday (or really any event), you can relax knowing you already have some delicious cake pops ready to go.
