
Easy and Delicious Recipes

Recent Posts

French Pear Almond Tart with Crust Recipe

French Pear Almond Tart with Crust Recipe

A French pear almond tart looks like the kind of dessert you’d spot in a bakery window, but it’s surprisingly manageable to make at home. Also known as a pear frangipane tart, it combines a crisp, buttery crust with soft pears and a rich almond Read More
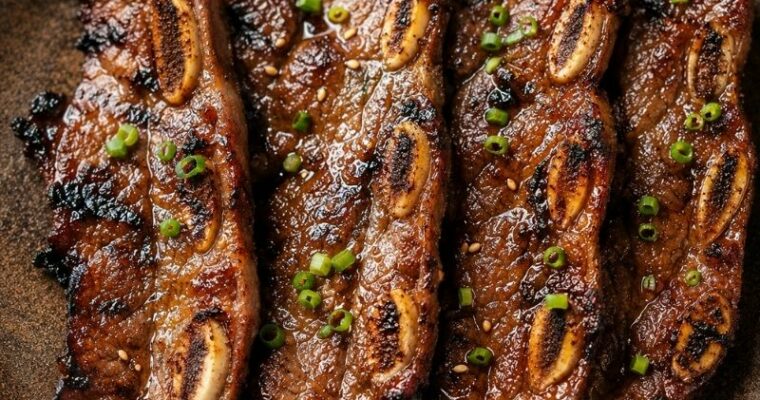
Korean Grilled Beef Short Ribs Recipe

Korean Grilled Beef Short Ribs Recipe

Are you looking for a heavenly BBQ beef short ribs recipe? Fire up your grill because these marinated Korean Grilled Beef Short Ribs will stimulate and wake your taste people! Barbecue short ribs with Gochujang Marinade For this specific marinade, I used a fermented Korean flavourer called Gochujang, that’s Read More

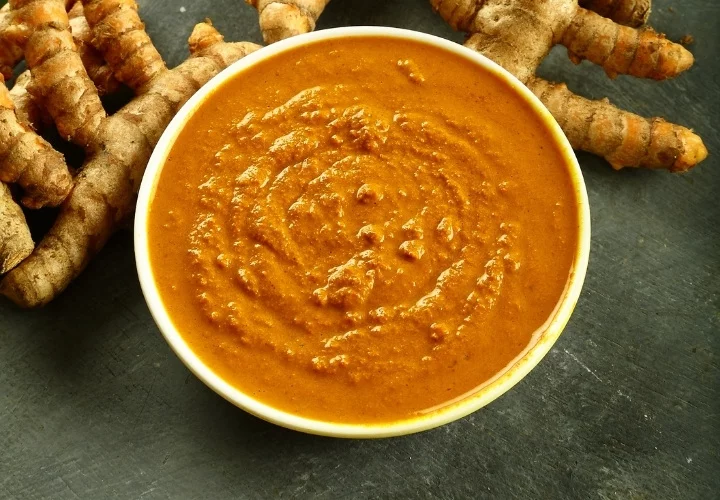
How to make Turmeric Paste (The Best Recipe)

How to make Turmeric Paste (The Best Recipe)

Today, we will dive in and show you how to make Turmeric Paste. And take full advantage of the healing properties of turmeric’s healing power. Whether you use it in smoothies, turmeric golden milk, curries, or this homemade golden paste is much better than its store versions.

WHAT IS TURMERIC PASTE

Turmeric paste may be a combination of ground turmeric, oil (this can be coconut oil, ghee, or different neutral oils), water, and ground black pepper. Also, different spices (like cardamom, ground cinnamon and ginger). Heated till melted nicely and changed into a paste for the aim of using it in turmeric milk, smoothies, curries, and other stuff.

Although turmeric is effective on its own, by combining it with different good-for-health ingredients, with cinnamon and ginger, we tend to get to boost its healing properties. With that being said, you’ll be able to make this paste simply by using turmeric powder, black pepper, coconut oil, and water. This turmeric paste can be stored in a jar in the refrigerator to use in numerous recipes.

Ingredients

  • ½ cup ground turmeric

  • 1 tbsp ground cinnamon

  • 1 tsp freshly grated ginger (or ½ tsp ground ginger as a substitute)

  • 1 tsp black pepper

  • ¼ cup coconut oil

  • 1 cup water


Instructions

1. Combine Ingredients

  • In a small saucepan, add the turmeric, cinnamon, ginger, black pepper, coconut oil, and water.

2. Gently Heat

  • Place the pan over medium-low heat. The goal is to warm the mixture—not boil it—to preserve the beneficial compounds in turmeric and ginger.

3. Whisk Continuously

  • Stir or whisk the mixture as it heats to fully combine the ingredients and ensure the coconut oil melts evenly.

4. Avoid Overheating

  • Keep a close eye on the paste. Remove it from heat as soon as it thickens slightly and everything is well incorporated. Overheating can degrade curcumin, the active compound in turmeric.

5. Store

  • Once cooled, transfer the paste to a clean, airtight glass jar.


Make Ahead & Storage

  • Refrigerator: Store in the fridge for up to 2 weeks. Stir before each use, as natural separation may occur.

  • Freezer: Spoon the paste into small portions (like ice cube trays) and freeze for up to 3 months. Thaw in the fridge overnight before using.

How to make Turmeric Paste (The Best Recipe)


Turmeric paste recipe

Ground Turkey Meatloaf – Gluten Free Recipe

Ground Turkey Meatloaf – Gluten Free Recipe

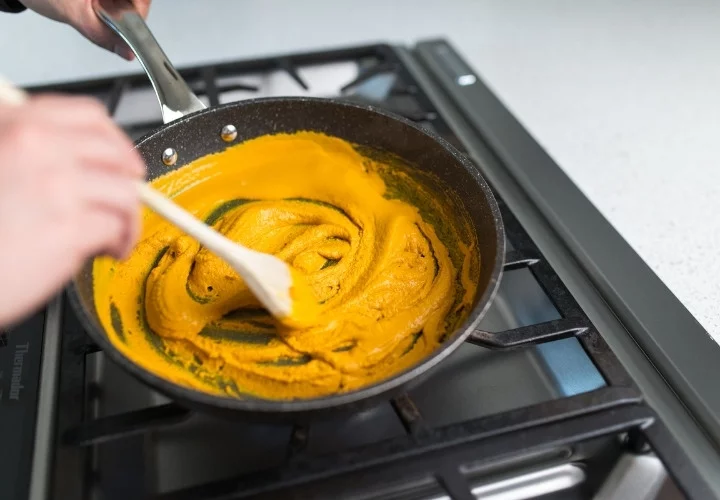
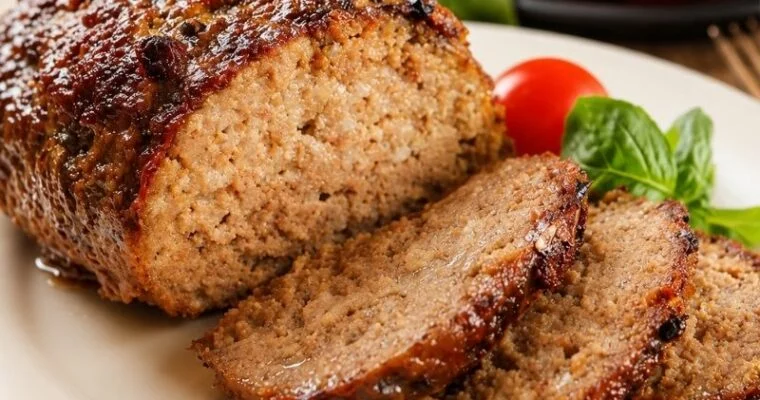
This gluten-free turkey meatloaf is moist, flavorful, and perfectly seasoned, with a light topping of sugar-free ketchup for a classic finish. It’s an easy, healthy dinner that pairs beautifully with mashed potatoes, roasted veggies, or a simple side salad. Ingredients 1 medium yellow or white Read More

Low-Carb Pepperoni Pizza with Cauliflower Crust

Low-Carb Pepperoni Pizza with Cauliflower Crust

This low-carb pepperoni pizza still gives you the cheesy, savory flavor you expect from pizza, just with a lighter homemade crust. Parmesan, garlic, and oregano are mixed directly into the cauliflower, so the base has plenty of flavor rather than tasting like plain vegetables. It’s Read More

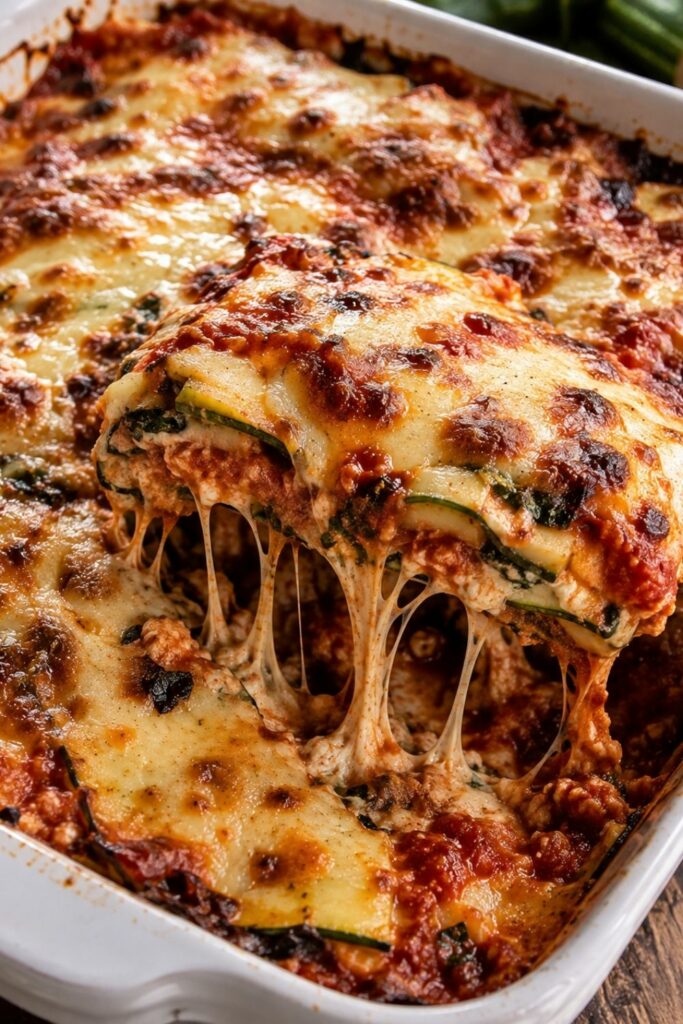
Keto Zucchini and Spinach Lasagna

Keto Zucchini and Spinach Lasagna

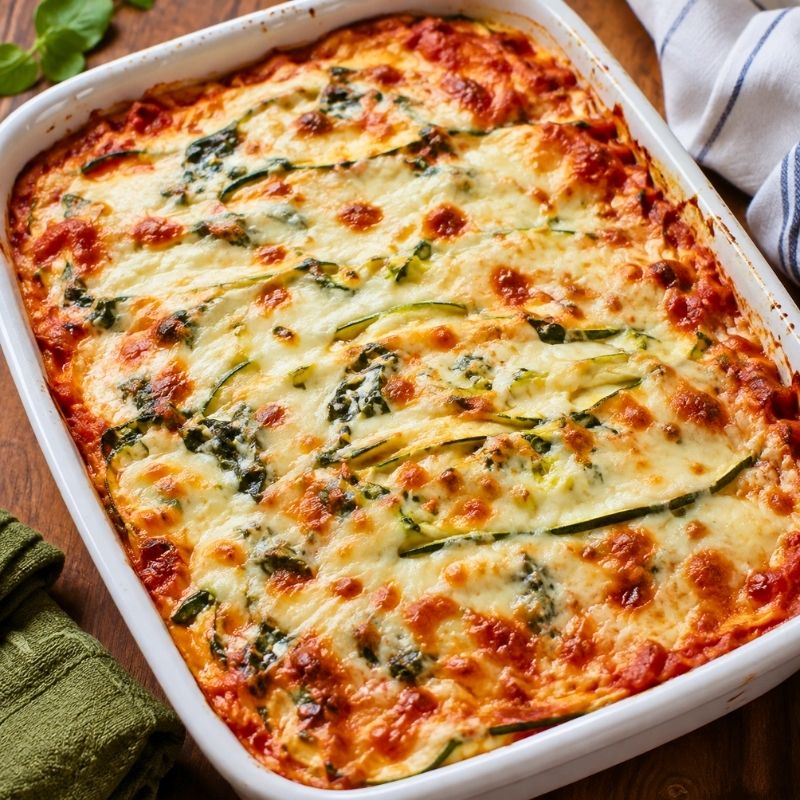
This vegetarian keto Zucchini and Spinach Lasagna is gluten-free and low-carb. It is made with skinny ricotta, tomato sauce, mozzarella, and zucchini noodles.

How to make the perfect zucchini noodles?

As you see, rather than lasagna noodles, I take advantage of zucchini noodles. So, how to make excellent zucchini noodles? Well primarily, you’ll be able to make them using a sharp kitchen knife, a mandolin slicer, or a vegetable peeler.

Ingredients

  • 1 tbsp olive oil

  • ½ medium onion, chopped

  • 4 garlic cloves, crushed

  • 2 tbsp tomato paste

  • 28 oz can crushed tomatoes with juice (or 1¾ lbs fresh tomatoes)

  • Salt and freshly ground black pepper, to taste

  • 1 tbsp fresh basil, chopped

  • 3 cups fresh spinach

  • 15 oz part-skim ricotta

  • 1 large egg

  • ½ cup freshly grated Parmesan cheese

  • 4 medium zucchini, sliced lengthwise into ⅛-inch-thick slices

  • 16 oz shredded part-skim mozzarella cheese

  • ½ tsp chopped parsley, for garnish

  • Optional: 1 bunch of asparagus, trimmed


Instructions

1. Make the Sauce

  1. Heat olive oil in a large pan over medium heat.

  2. Add onion and cook for 4–5 minutes until soft and golden.

  3. Stir in garlic and cook for about 30 seconds, being careful not to burn it.

  4. Add tomato paste, stir, then add crushed tomatoes (with juice if using canned).

  5. Season with salt and black pepper.

  6. Bring to a gentle simmer, cover, and cook for 30 minutes.

  7. Remove from heat and stir in chopped basil and fresh spinach until wilted.


2. Prepare the Zucchini

  1. Preheat the broiler.

  2. Arrange zucchini slices in a single layer on a baking sheet coated with oil spray.

  3. Broil for 5–8 minutes, flipping once if needed.

  4. Let them rest for 5 minutes, then pat dry with paper towels to remove excess moisture.

    This step is essential to avoid a watery lasagna.


3. Optional Asparagus Topping

  1. While the sauce simmers, toss trimmed asparagus with a drizzle of olive oil, salt, and pepper.

  2. Roast at 400°F (200°C) for 10–12 minutes, or until just tender.

  3. Set aside to layer on top of the lasagna before the final bake.


4. Make the Ricotta Mixture

  1. In a medium bowl, combine ricotta, Parmesan, and egg.

  2. Stir until well mixed and creamy.


5. Assemble the Lasagna

  1. Preheat oven to 375°F (190°C).

  2. Spread a thin layer of tomato-spinach sauce on the bottom of a casserole dish.

  3. Layer 5–6 slices of zucchini to cover the sauce.

  4. Spread a portion of the ricotta mixture evenly over the zucchini, then sprinkle with mozzarella.

  5. Repeat layers until all ingredients are used, finishing with sauce and a generous layer of mozzarella.


6. Bake

  1. Cover the dish with aluminum foil and bake for 30 minutes.

  2. Uncover, add roasted asparagus on top if using, and bake for another 10–15 minutes, until the cheese is bubbly and lightly golden.


7. Rest and Serve

  • Let the lasagna rest for 10 minutes before slicing to help it set.

  • Garnish with fresh parsley and serve warm.


Make Ahead & Storage

  • Make Ahead: Assemble the lasagna up to 24 hours in advance, cover tightly, and refrigerate. Bake when ready to serve.

  • Refrigerator: Store leftovers in an airtight container for up to 3 days.

  • Freezer: Wrap individual portions tightly in plastic wrap and freeze for up to 2 months. Reheat in the oven at 350°F (175°C) until warmed through.

Share the image below to your Pinterest board if you liked this Keto Lasagna!


Keto Zucchini and Spinach Lasagna

Chili with Butternut Squash – Whole30 Low-Carb

Chili with Butternut Squash – Whole30 Low-Carb

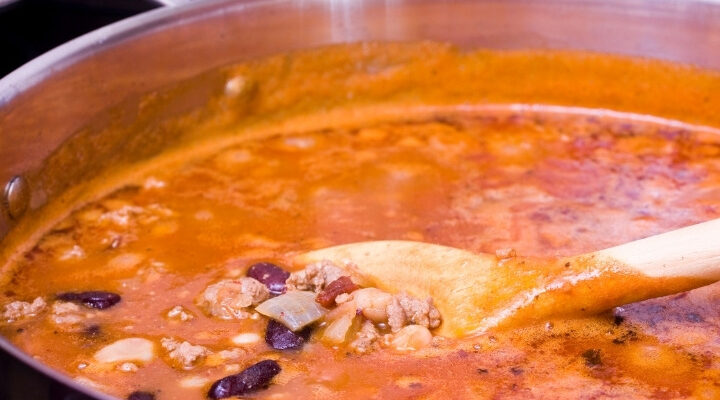
This no bean this Chili with Butternut Squash (Whole30 Low-Carb) is a perfect recipe to treat yourself to this fall. It’s rich, thick, delicious, low-carb, paleo, and gluten-free.  Reasons why you’ll love this Chili with Butternut Squash This recipe is super flavorful with many spices, Read More

Juicy Garlic Lamb Chops with Herbs

Juicy Garlic Lamb Chops with Herbs

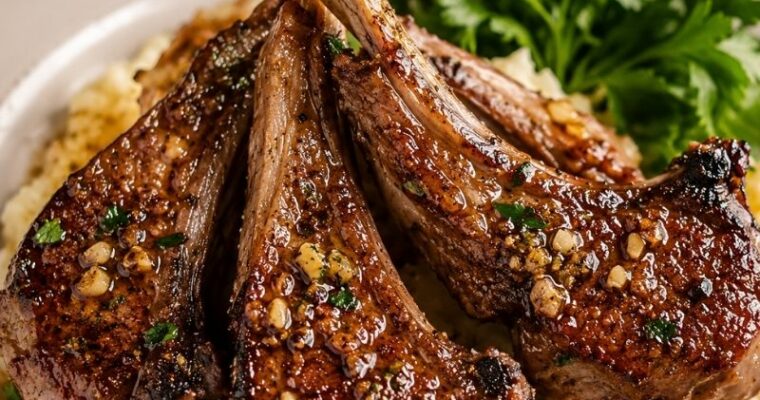
These Juicy Garlic Lamb Chops with Herbs are very easy to make, so please don’t let it intimidate you. Once you master the cooking of lamb properly, you can make this delicious and impressive holiday meal.   Ingredients 4 lamb chops 1 tbsp olive oil Read More

Low Carb Chocolate Muffins With Almond Flour

Low Carb Chocolate Muffins With Almond Flour

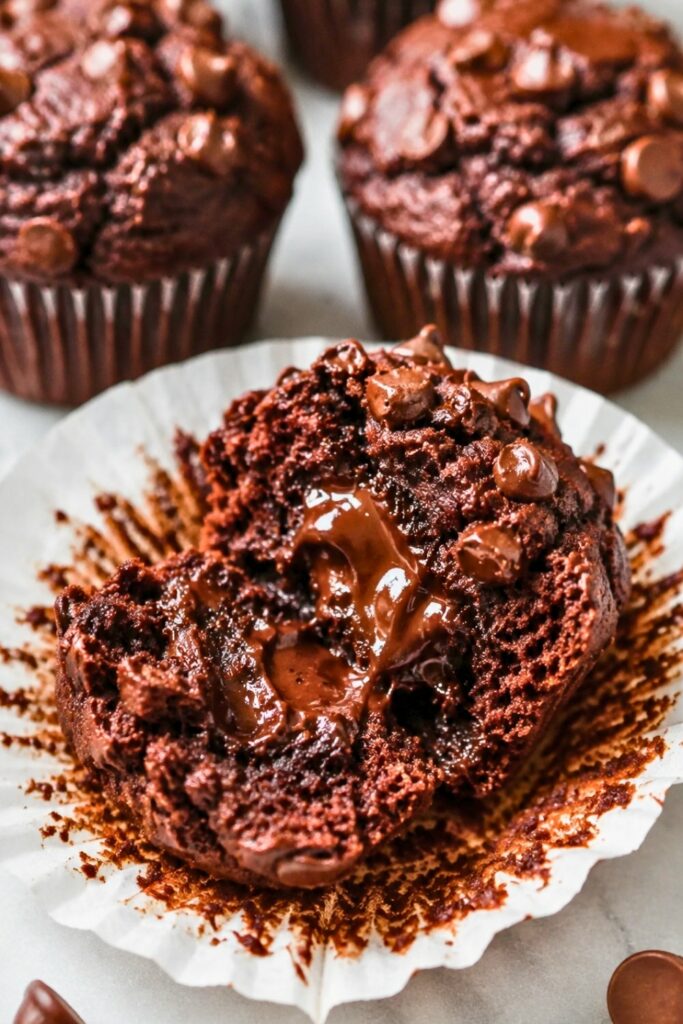
These Low-carb Chocolate Muffins With Almond Flour are great if you want to give up desserts and switch to a low-carb lifestyle. It’s made with cocoa powder, almond flour, and natural sweetener.

It’s time to indulge your appetite with these Low-carb Chocolate Muffins; you won’t feel bad once you eat them. I promise to you that these low-carb chocolate muffins with almonds are guilt-free yet really delicious.

They’re nice, moist, chocolatey, delicious, and super straightforward.

Ingredients

  • 2¼ cups blanched almond flour
  • ¼ cup plus 1 tablespoon unsweetened cocoa powder
  • ½ teaspoon baking soda
  • ¼ teaspoon salt
  • 3 large eggs, at room temperature
  • ½ cup liquid monk fruit syrup
  • ¼ cup coconut oil, melted and slightly cooled
  • ⅔ cup Lily’s Dark Chocolate Chips, divided

Instructions

  1. Heat the oven to 350°F (175°C). Line a 12-cup muffin pan with paper liners.
  2. Add the almond flour, cocoa powder, baking soda, and salt to a medium bowl. Whisk well, breaking up any small lumps of almond flour or cocoa.
  3. In a separate large bowl, whisk the eggs with the liquid monk fruit syrup. Slowly mix in the melted coconut oil until the mixture looks smooth and evenly combined.
  4. Add the dry mixture to the wet ingredients. Stir just until no dry patches remain, then fold in most of the chocolate chips, reserving a small handful for the tops. The batter will be noticeably thick.
  5. Spoon the batter into the lined muffin cups, filling each about three-quarters full. Scatter the reserved chocolate chips over the muffins and press them lightly into the batter.
  6. Bake for 25–30 minutes. The muffins are ready when the tops feel set and a toothpick inserted away from a melted chocolate chip comes out without wet batter.
  7. Leave the muffins in the pan for 5 minutes, then transfer them to a wire rack. Let them cool for at least 10 minutes before serving, as almond-flour muffins become firmer as they cool.

Save the image below to your Pinterest board so these Low-Carb Chocolate Almond Flour Muffins are easy to find whenever a chocolate craving hits.

Low Carb Chocolate Muffins With Almond Flour

Tips for the Best Chocolate Almond Flour Muffins

The batter for these muffins is supposed to be thick, so don’t thin it with milk or water. Divide it between the cups as evenly as possible and fill each one about three-quarters full.

Room-temperature eggs mix more easily with the coconut oil. Cold eggs can cause the oil to firm up and leave small lumps in the batter. Let the melted coconut oil cool slightly before adding it so it doesn’t begin cooking the eggs.

For a deep chocolate flavor, use unsweetened cocoa powder or cacao powder. Check the label carefully, since sweetened cocoa mixes contain added sugar and won’t work the same way.

Avoid overbaking the muffins. Test one near the center of the pan after 25 minutes, inserting the toothpick away from the chocolate chips. A few moist crumbs are fine, but there shouldn’t be any wet batter.

Give the muffins time to cool before eating them. Almond flour muffins are quite soft straight from the oven and become firmer as they sit.

Ingredient Substitutions

Melted butter or ghee can replace the coconut oil in the same amount. Butter gives the muffins a slightly richer flavor, while refined coconut oil is the better choice when you don’t want a noticeable coconut taste.

Honey or maple syrup may be used instead of liquid monk fruit syrup, but the muffins will no longer be sugar-free or keto-friendly. Avoid replacing the liquid sweetener with a granulated one without adjusting the recipe, as that would change the moisture level of the batter.

Any sugar-free chocolate chips can be used in place of Lily’s, although the sweetness and net carb count may vary by brand.

How to Store the Muffins

Let the chocolate muffins cool completely before placing them in an airtight container. They can be kept at room temperature for up to 2 days or refrigerated for up to 5 days. Placing a paper towel beneath them can help absorb extra moisture and prevent the tops from becoming sticky.

Freezing and Reheating

Freeze the cooled muffins in a freezer-safe container or bag for up to 2 months. Separate the layers with parchment paper so the muffins don’t stick together. Thaw them overnight in the refrigerator or leave them at room temperature for about an hour.

For a warm, softer center, microwave an individual muffin for approximately 10–15 seconds. Be careful not to overheat it, since almond flour baked goods can dry out quickly.

Juicy Skillet Pork Chops With Sauce

Juicy Skillet Pork Chops With Sauce

These juicy skillet pork chops are coated with smoky seasoning, seared until golden, and finished with a buttery honey apple cider pan sauce. The browned bits from the skillet give the sauce plenty of flavor, while gentle cooking keeps the pork tender and juicy. It’s Read More