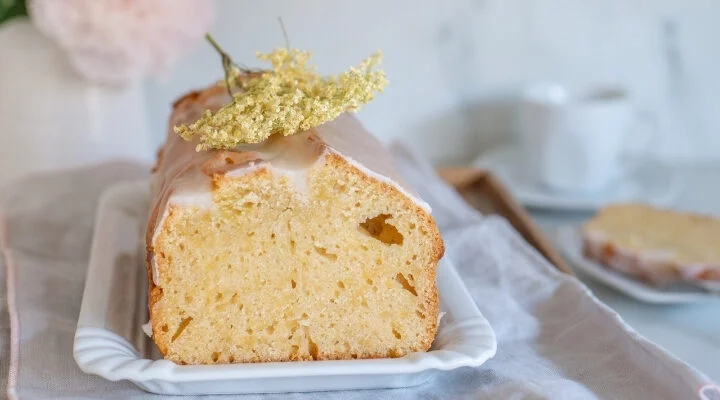
Easy Vanilla Sponge Cake Recipe
Here is the recipe for the perfect Vanilla sponge cake. This super-soft, easy-to-make vanilla sponge cake is the best delight for any occasion. Whether it’s your daughter’s birthday or you want to make your Christmas eve memorable, my easy cake recipe will let to celebrate Read More