
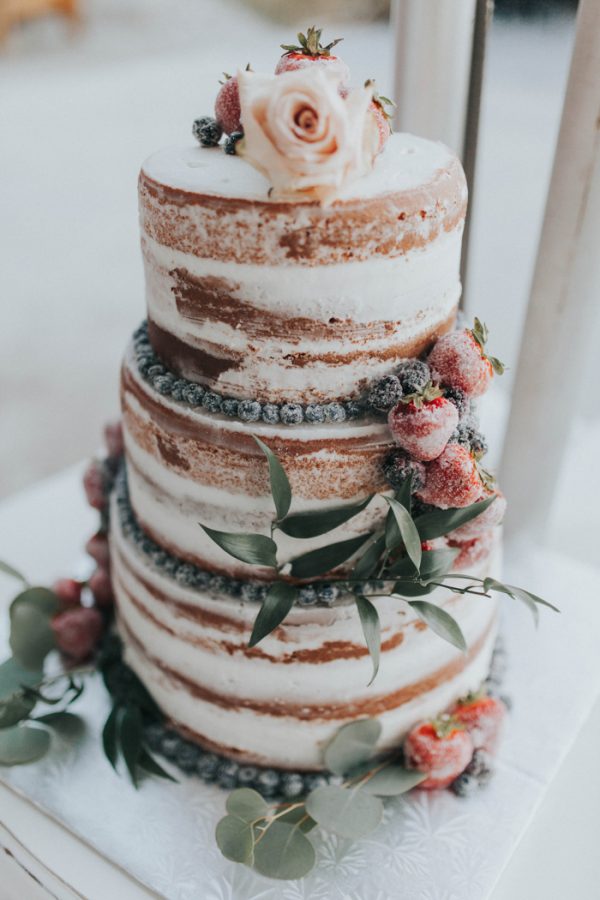
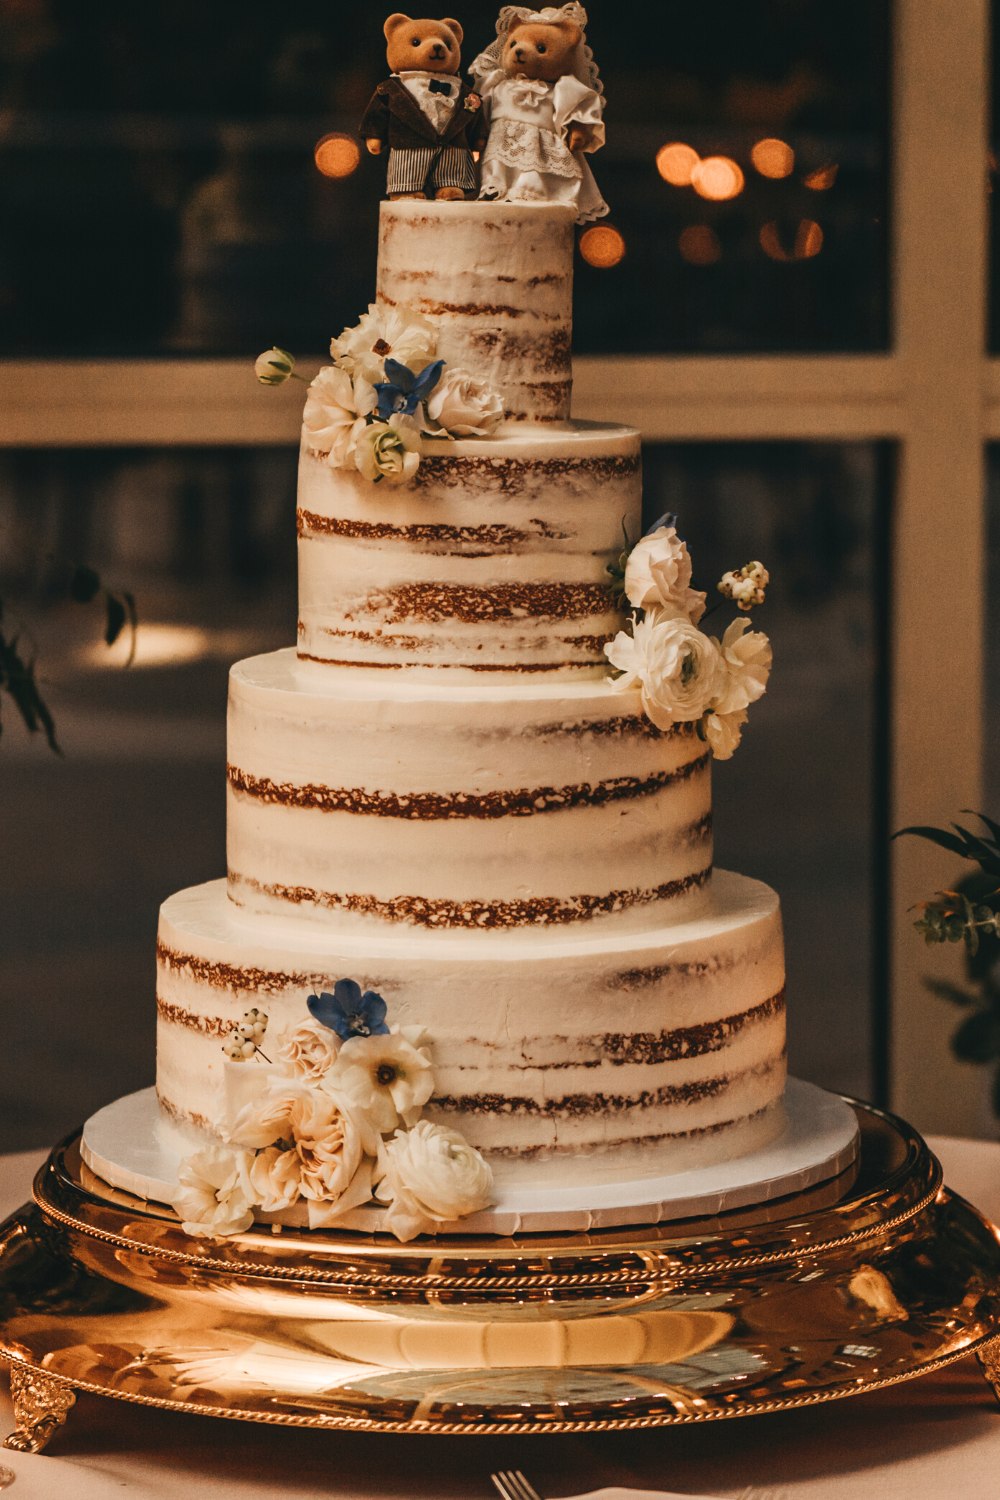
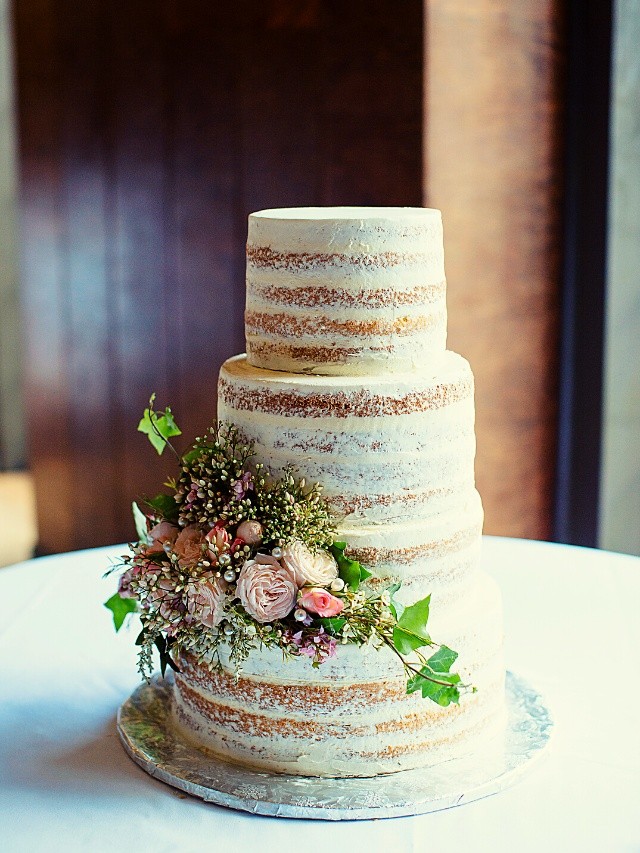
This bohemian wedding cake has vanilla-almond cake layers, buttercream filling, and a thin coating of frosting that leaves some of the cake showing through. A 9-inch bottom tier supports a smaller 6-inch tier, with berries or edible flowers added just before serving.
The decorating is simple, but the assembly needs planning. Bake and chill the layers ahead, build each tier on its own base, and stack them at the venue so you do not have to transport a tall, assembled cake.
Before You Start
This recipe makes two tiers with three cake layers each, plus two cupcakes from the larger batch. There is no 4-inch tier.
For a wedding, do a trial bake ahead of time to check the flavor, layer height, and baking time in your pans. Also check that your refrigerator can hold both finished tiers and that the venue has suitable cold storage.
Make the two batter batches separately. They have different proportions, and combining them would overload many home mixers. If all three pans will not fit in your oven with space around them, divide the ingredients and mix smaller batches as needed rather than leaving finished batter waiting through another baking cycle.
Equipment
- Three 9-inch round cake pans and three 6-inch round cake pans, each at least 2 inches deep
- A muffin pan with two paper liners
- Parchment paper and cooling racks
- A stand mixer with a paddle attachment and a kitchen scale
- An offset spatula, bench scraper, and serrated knife
- A sturdy, food-safe cake drum at least 12 inches across for the bottom tier
- A rigid, food-safe 6-inch cake board for the upper tier
- Food-safe cake dowels, cut with the tool recommended by their manufacturer
- A broad cake lifter and separate cake boxes for transport
Ingredients
For the 9-Inch Tier and Two Cupcakes
- 4 cups (500 g) all-purpose flour, spooned and leveled
- 4 cups (800 g) granulated sugar
- 3 teaspoons baking powder
- 2 teaspoons Diamond Crystal kosher salt (6 g; use the weight for another brand)
- 1¼ cups (2½ sticks / 284 g) unsalted butter, softened but not greasy
- 2 teaspoons vanilla extract
- 2 teaspoons almond extract
- 1½ cups (360 ml) liquid egg whites, at room temperature
- 2 cups (480 g) full-fat sour cream, at room temperature
- 2½ tablespoons neutral oil, such as canola or vegetable oil
For the 6-Inch Tier
- 2 cups (250 g) all-purpose flour, spooned and leveled
- 2 cups (400 g) granulated sugar
- 2 teaspoons baking powder
- 1 teaspoon Diamond Crystal kosher salt (3 g; use the weight for another brand)
- ¾ cup (1½ sticks / 170 g) unsalted butter, softened but not greasy
- 1 teaspoon vanilla extract
- 1 teaspoon almond extract
- ⅔ cup (160 ml) liquid egg whites, at room temperature
- 1 cup (240 g) full-fat sour cream, at room temperature
- 1 tablespoon plus ¾ teaspoon neutral oil
For the Buttercream
- 3 cups (6 sticks / 681 g) unsalted butter, softened but still holding its shape
- 10 cups (about 1,200 g) powdered sugar, sifted if lumpy
- ½ teaspoon fine salt (3 g)
- ⅓–⅔ cup (80–160 ml) heavy cream, added as needed
- 1 tablespoon vanilla extract
- 1 teaspoon almond extract
Optional Decorations
- Fresh berries, washed and thoroughly dried
- Edible flowers specifically sold for culinary use, or edible sugar decorations
The buttercream is for filling and a thin, semi-naked finish. For a thicker exterior coating, make an additional half batch of buttercream only. Do not increase the cake ingredients.
Instructions
Bake the Cake Layers
- Prepare the pans: Heat a conventional oven to 350°F (175°C). Grease the pans for the batch you are making, line their bottoms with parchment, and lightly grease the parchment. For the 9-inch batch, also line two muffin cups.
- Mix the dry ingredients: Using the ingredient quantities for one tier, mix the flour, sugar, baking powder, and salt in the stand mixer on low speed until evenly combined. Use baking powder, not baking soda.
- Work in the butter: Add the softened butter in small pieces with the mixer running on low. Continue until the mixture is evenly crumbly, with no large butter pieces. Scrape the bowl and paddle so no pockets of dry flour remain.
- Add the remaining ingredients: Add the egg whites gradually, mixing until incorporated. Add the sour cream, oil, vanilla, and almond extract. Mix until the batter is uniform, then scrape the bottom and sides of the bowl and fold briefly by hand. Do not keep beating once everything is combined.
- Fill the pans: For the larger batch, fill the two cupcake liners about two-thirds full, then divide the remaining batter evenly among the three 9-inch pans. For the smaller batch, divide the batter among the three 6-inch pans. A scale helps keep the layers even. Do not fill any cake pan more than two-thirds full; bake any excess as additional cupcakes.
- Bake until the centers are set: Allow approximately 35–40 minutes for the 9-inch layers, 31–35 minutes for the 6-inch layers, and 20–24 minutes for cupcakes. Begin checking a few minutes early. The centers should spring back lightly, and a toothpick should come out clean or with a few moist crumbs, not wet batter. Pan material, batter depth, and oven performance can change these times.
- Cool completely: Leave the cakes in their pans for about 10 minutes, then carefully turn them onto racks and remove the parchment. Cool completely before wrapping or frosting. Repeat the process for the other tier. Chill the cooled layers before assembly to make them easier to handle.
Make the Buttercream
- Beat the butter: Beat the softened butter with the salt on medium speed for 2–3 minutes, until smooth and lighter in texture. Scrape down the bowl.
- Add the sugar and cream: On low speed, add the powdered sugar in several portions, alternating with a total of ⅓ cup cream. Add both extracts and mix until smooth.
- Adjust the consistency: Add more cream only if needed, 1 tablespoon at a time, up to the remaining ⅓ cup. The frosting should spread without tearing the cake while holding a soft mound on the spatula. If it looks glossy and slumps because the butter is warm, chill it briefly and remix before adding more ingredients. Finish on low speed to reduce large air bubbles.
Fill, Frost, and Stack
- Level and fill: Trim any domed tops from the chilled layers. Attach a 9-inch layer to the cake drum with a dab of frosting. Add an even layer of buttercream about ¼ inch thick, then repeat with the remaining layers. Build the 6-inch tier separately on its 6-inch board. Keep both tops level.
- Frost and chill: Cover each tier with a thin coating of buttercream. Smooth the sides, allowing patches of cake to remain visible. Cover the tops fully and refrigerate until the frosting feels firm. Reserve a little buttercream for touch-ups.
- Support the upper tier: Lightly mark a centered 6-inch circle on the bottom tier. Insert a cake dowel within this circle down to the base, mark it flush with the level frosting, and remove it. Cut all supports to this same height. For standard wide cake dowels, arrange four in a square inside the circle, about 1½ inches in from its edge, unless the manufacturer specifies otherwise. Their tops must be level with each other.
- Stack and finish: Supporting its board with a cake lifter, carefully lower the chilled 6-inch tier onto the dowels. Keep the board underneath it. Touch up the seam with the reserved frosting and add decorations shortly before serving. These directions assume each individual tier is no more than 6 inches tall; taller tiers need additional internal boards and supports.
Decorating with Flowers and Berries
Keep the decoration light so it does not pull at the thin frosting. Dry berries thoroughly before adding them, and wait until shortly before serving to reduce staining and moisture on the cake.
For fresh flowers, use correctly identified edible varieties grown for culinary use. Follow the supplier’s preparation instructions, including which parts are edible. Flowers from a bouquet are not automatically suitable for food, even if the same species can be edible. The Royal Horticultural Society’s edible-flower guidance explains identification and pesticide concerns.
Keep florist greenery, dried grasses, floral wire, and floral tape away from the cake itself. Edible sugar decorations offer another way to add flowers without using fresh stems.
Make Ahead and Transport
Cake layers: Bake, cool completely, and wrap each layer tightly. Freeze for up to 1 month for best quality. Thaw while wrapped in the refrigerator before filling and frosting.
Buttercream: Prepare up to 3 days ahead and refrigerate in an airtight container. Let it soften enough to mix, then beat briefly until smooth. It may look stiff while cold; do not immediately thin it with extra cream.
The day before serving: Fill and frost the two tiers separately, then refrigerate in cake boxes or covered containers.
Transport: Move the chilled tiers separately in snug cake boxes on a flat, nonslip surface. Keep them cold during the journey, then refrigerate at the venue until assembly. Bring the cake lifter, reserved frosting, spatula, and decorations. Avoid transporting a stacked cake on a sloping car seat.
Serving and Storage
Plan the display around serving time and keep the cake away from sunlight and heat. This homemade frosting has not been assessed for shelf-stable storage, so keep the cake refrigerated at 40°F (4°C) or below and use a conservative 2-hour limit outside refrigeration, or 1 hour above 90°F (32°C). Include decorating, transport without refrigeration, and display time in that limit. This follows USDA handling guidance for perishable food.
Before cutting, lift off the upper tier with its board and remove every dowel and any nonedible decoration. Cut each tier separately. The number of servings depends on the finished height and portion size, so agree on a cutting plan before using this cake for a specific guest count.
Refrigerate covered leftovers promptly and use within 3–4 days, counting from when the cake was filled and frosted. For longer storage, remove decorations, wrap individual portions, and freeze for up to 2 months for best quality. Thaw in the refrigerator.
For a dessert table, a separate plate of Canestrelli cookies gives guests a small option alongside a slice of cake.
FAQ
Can I make this without almond extract?
Yes. Replace the almond extract with the same amount of vanilla extract in the cakes and buttercream. If the change is for an allergy, check every ingredient label and avoid cross-contact during preparation.
Will clear vanilla make the frosting completely white?
Clear vanilla avoids the tint from brown vanilla extract, but butter still contributes an ivory color. Do not expect a bright white frosting from changing the extract alone.
Can I stack the cakes without boards and dowels?
No. The upper tier needs its own board, and the lower tier needs supports underneath that board. Without them, the weight can compress the filling and make the cake lean or sink.