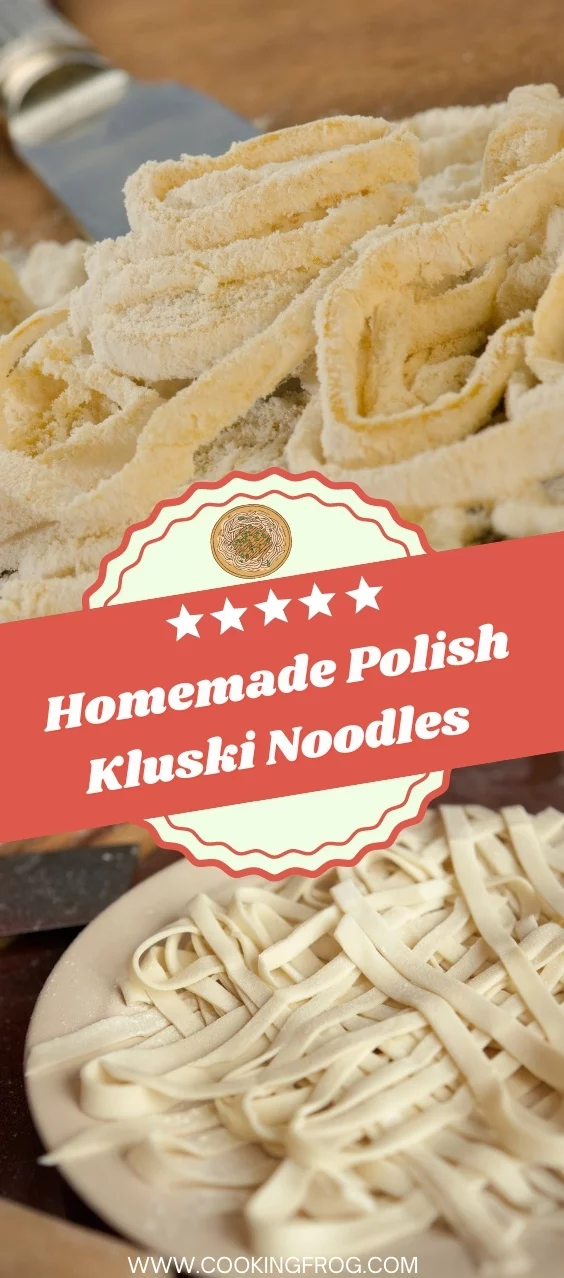
Kluski Noodles are a style of egg pasta popular in Poland. They’re produced with wheat flour dough that hasn’t been leavened and is blended with eggs before being boiled. This type of noodle is commonly seen in a variety of Polish soups.
If you love Polish recipes, you can check out these Original Polish Paczki Recipe and Homemade Polish Cabbage Pierogi Recipe!
What’s the Difference Between Egg Noodles and Kluski Noodles?
The ingredients and process for creating kluski noodles and egg noodles are nearly identical, except that kluski egg noodles require more eggs. A standard kluski egg noodle recipe calls for two eggs for every cup of flour. So, you use four eggs to make two cups of flour. To create egg noodles, multiply the number of eggs by the number of cups of flour.
Is it possible to prepare Kluski Noodles beforehand?
Yes, absolutely! To begin, follow the directions until the kluski dough is cut into noodle forms.
Put the kluski dough in a sealed container and refrigerate until ready to cook if you intend on making the noodles in the next two to three days.
Place the uncooked kluski noodles in a freezer-friendly bag and freeze them if you don’t plan on cooking them within the next 2-3 days. Raw kluski noodles can be frozen for up to three months.
You might also like this recipe: Air-Fryer Kielbasa – Polish Sausage Recipe.
Is it possible to make gluten-free Kluski Noodles?
You can use gluten-free flour instead of all-purpose flour if necessary. Please note that using gluten-free flour will change the consistency of your kluski noodles somewhat, but they should still be tasty!
This recipe yields approximately 1 pound (400-450 g) of cooked Kluski Egg Noodles. That’s not much, but it’s plenty to go with four soup dishes. If you have extra guests to serve, feel free to double or triple this recipe.
Is there anything particular you’ll need to create these Kluski Egg Noodles?
No, you should be able to find all of the ingredients at any grocery shop.
If you can get “00” flour (sometimes known as “pasta flour”), use it instead of standard all-purpose flour in the dish.
A big cutting board (preferably a pasta/pastry board), rolling pin, sharp knife, and a large cooking pot (I use a 3-quart/3-liter saucepan) are all required. Using a stand mixer and a pasta maker is optional, although they make the procedure go more smoothly.
Homemade Kluski Noodles
Hearty, chewy, and comforting, Kluski noodles are perfect in soups, stews, or as a pasta base for your favorite sauce. This simple dough comes together with just a handful of pantry staples—no special equipment required!
Ingredients
-
1½ cups (180g) all-purpose flour
-
⅓ tsp salt
-
1 tbsp clarified butter (or canola/olive oil)
-
1 large egg
-
2 egg yolks
Instructions
-
Make the Dough:
In a large mixing bowl, combine the flour and salt. Make a well in the center.
Add the whole egg, egg yolks, and clarified butter (or oil) into the well.
Use a fork to gently mix, gradually pulling flour into the wet ingredients until a shaggy dough forms. -
Knead:
Switch to kneading by hand. Knead on a lightly floured surface until the dough becomes smooth, supple, and elastic—about 20–30 minutes (or up to 1 hour if you’re taking your time).
If the dough seems dry, add a teaspoon of water; if too sticky, add a bit more flour.
(Stand mixer option: Use the dough hook and knead on low, adding a spoonful of flour as needed until you have a smooth, pliable dough after about 20 minutes.) -
Rest:
Shape the dough into a ball and wrap it in plastic wrap. Chill in the fridge for at least 1 hour (up to overnight). -
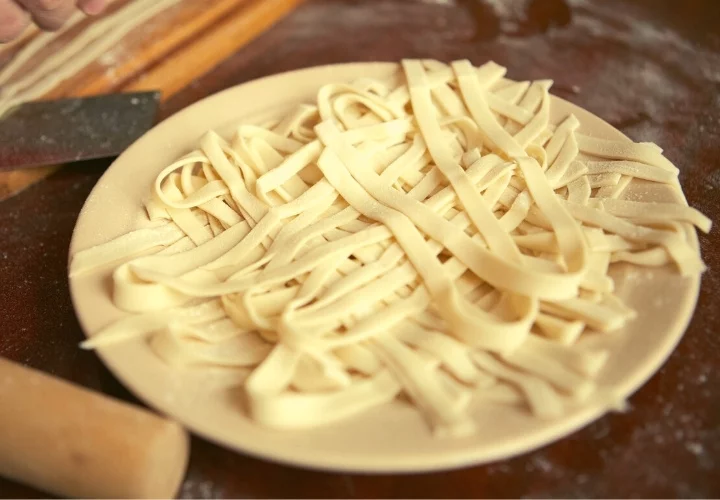
Roll and Cut:
Dust your work surface with flour. Divide the dough into three pieces; keep the unused pieces wrapped to prevent drying.
Working with one piece at a time, roll the dough as thin as possible using a rolling pin (or a pasta machine, if you have one).
Lightly dust the dough with flour, then roll it up loosely and slice into noodles about ½ inch (1.25 cm) wide.
Unroll the strips and toss gently with a little more flour. -
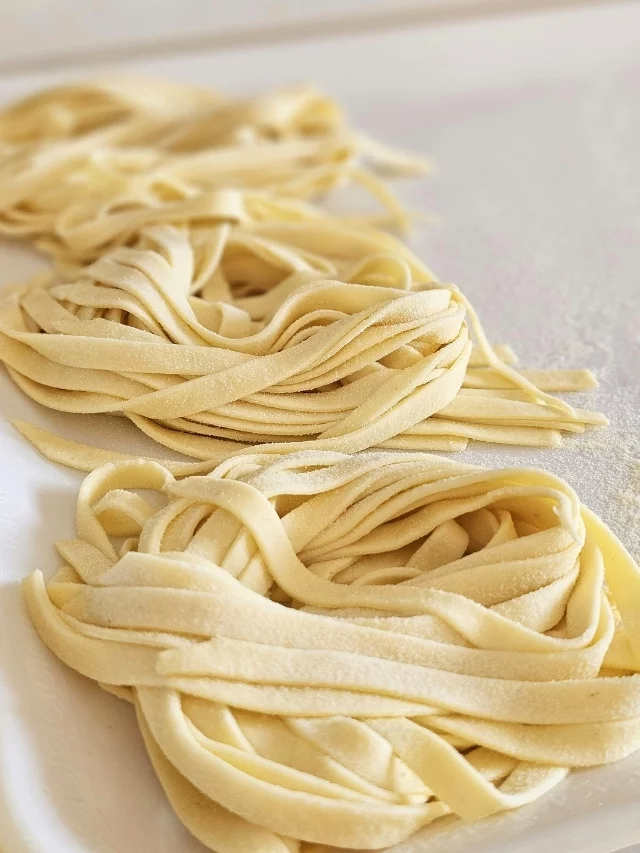
Dry (Optional):
Spread the noodles out on a floured surface or clean towel. Let dry for an hour if you’ll be cooking within two days; then transfer to an airtight container or zip-top bag and refrigerate.
To freeze for later, place the cut, floured noodles in a freezer-safe bag, label, and freeze for up to 2–3 months. -
Cook the Noodles:
Bring a large pot (at least 3 quarts/liters) of salted water to a boil.
Add the noodles and stir gently. Lower the heat to a gentle boil and cook, stirring occasionally, until the noodles float to the surface and are tender but slightly firm (about 3 minutes, depending on thickness).
Taste for doneness, then drain in a colander. -
Serve:
Enjoy in your favorite soups, with butter and herbs, or topped with sauce, cheese, or sautéed vegetables.
Share the image below to your Pinterest board if you like this Kluski Noodles Recipe!