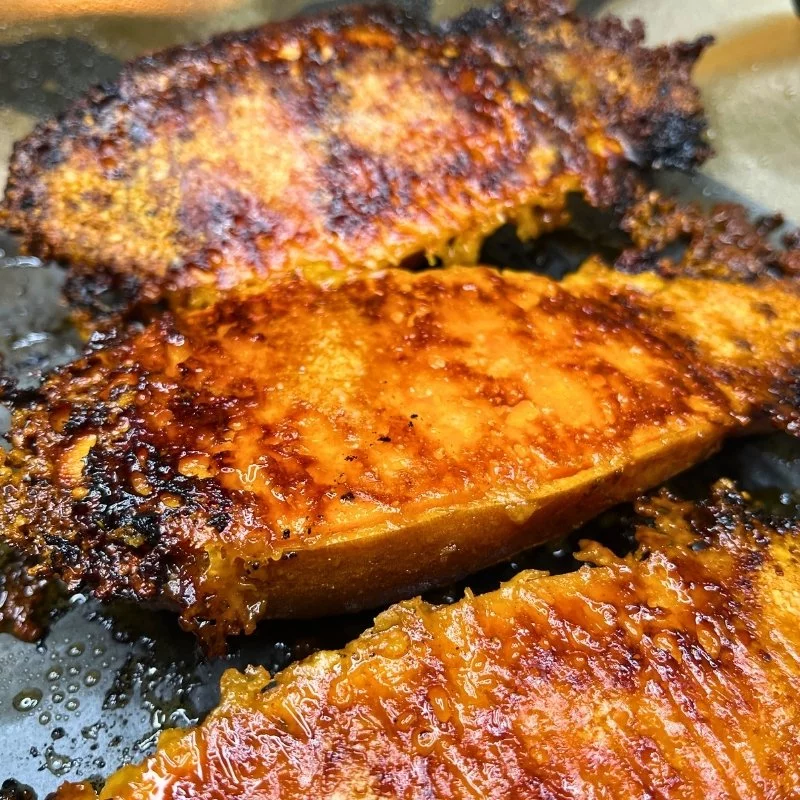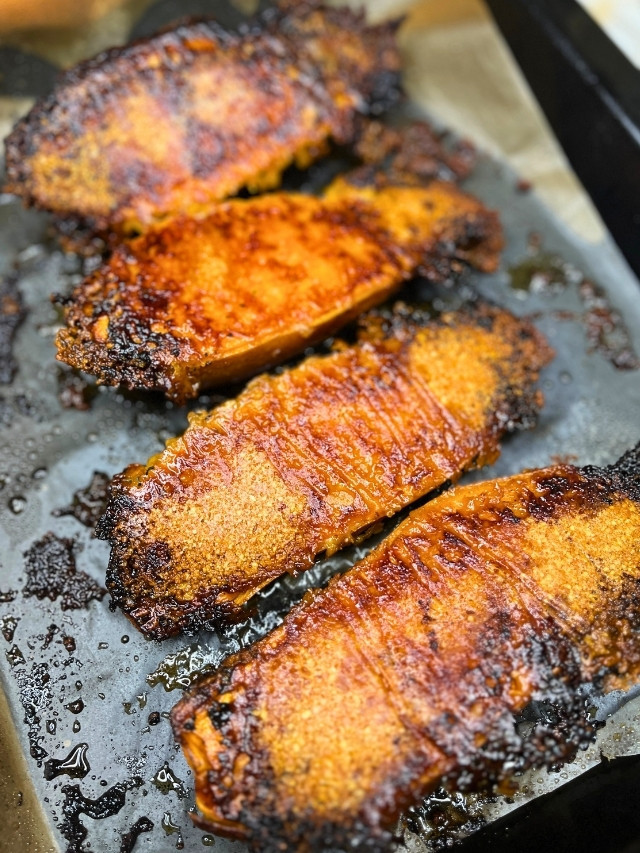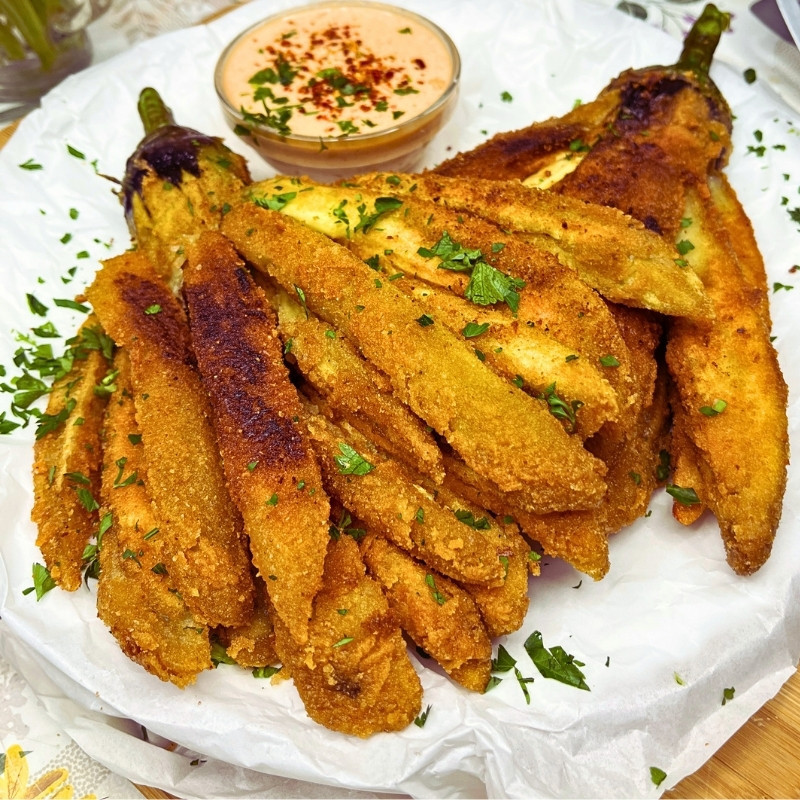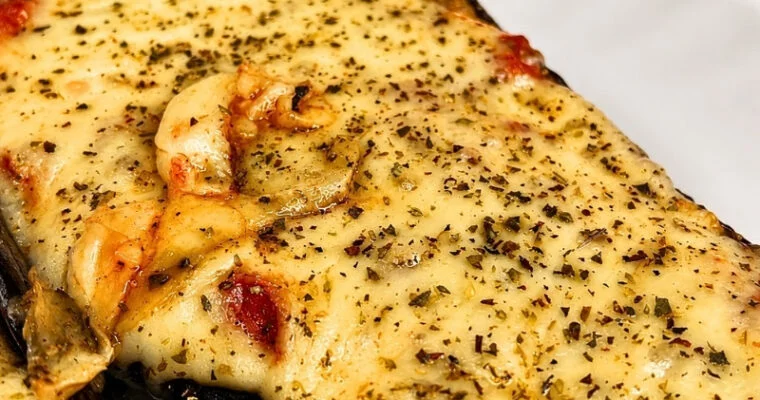
Cheesy Roasted Eggplant Boats With Tomatoes and Garlic
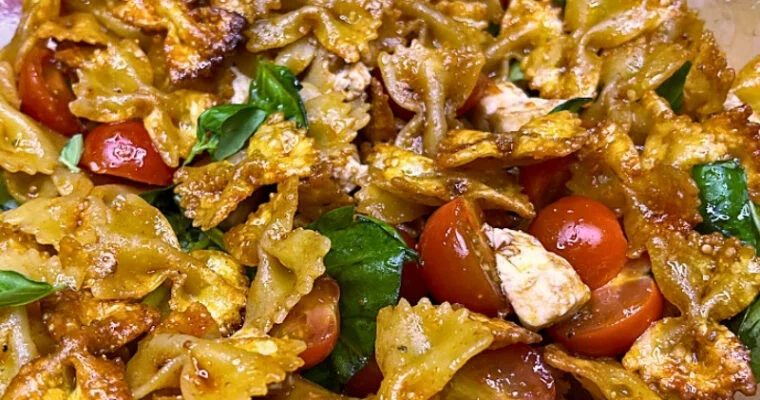
These cheesy roasted eggplant boats are soft, savory, and packed with sweet blistered cherry tomatoes, roasted garlic, fresh basil, and melted mozzarella. The eggplant roasts until the inside turns creamy, then gets mashed right in the skin and topped with a simple tomato-garlic mixture before Read More