
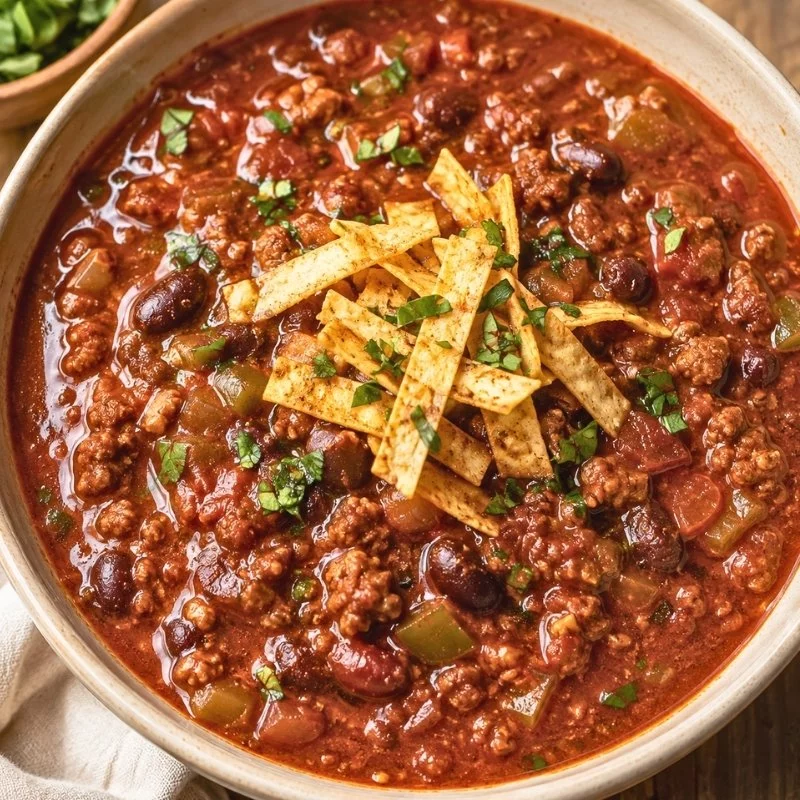
This chili recipe is the pot I reach for as soon as the weather turns and the afternoons get short. It’s the classic version – ground beef, kidney beans, tomatoes, and a warm spice blend – simmered on the stovetop until it turns thick and deeply flavored. There’s nothing fancy in the pan, which is the point: a bowl of chili like this one needs only honest ingredients and a little patience.
The two problems I see most often in homemade chili are a thin, watery pot that never thickens and a flat flavor that tastes like canned sauce. Both come from the same place: not enough time simmering uncovered, and spices added too late or too timidly. This recipe browns the meat well, seasons in two stages, and simmers uncovered until the liquid reduces. The chili that comes out of that process is thick enough to pile on a spoon, and the flavor builds as it cooks.
It’s a flexible dinner for a crowd, and the leftovers only get better. I serve it over rice, spoon it onto a baked potato, or keep it simple with a basket of warm bread and a pile of toppings. If you like this kind of hearty one-pot cooking, the classic beef stew works the same way, and hamburger soup is another ground beef favorite that feeds a family. For a side that soaks up every last bit, the copycat mac and cheese and the golden garlic bread both hold up well next to a bowl of chili.
Ingredients
- 2 lb (900 g) ground beef, 85/15 or 90/10
- 1 large yellow onion, diced
- 1 green bell pepper, diced
- 1 jalapeño, seeded and minced
- 4 cloves garlic, minced
- 2 tablespoons chili powder
- 1 tablespoon ground cumin
- 1 teaspoon smoked paprika
- 1 teaspoon dried oregano
- ½ teaspoon salt, plus more to taste
- 1 (28 oz / 794 g) can crushed tomatoes
- 1 (15 oz / 425 g) can diced tomatoes with their juice
- 2 (15 oz / 425 g) cans red kidney beans, drained and rinsed
- 1½ cups (360 ml) beef broth
- 1 tablespoon tomato paste
- 1 tablespoon brown sugar (optional)
- 2 tablespoons olive oil
Instructions
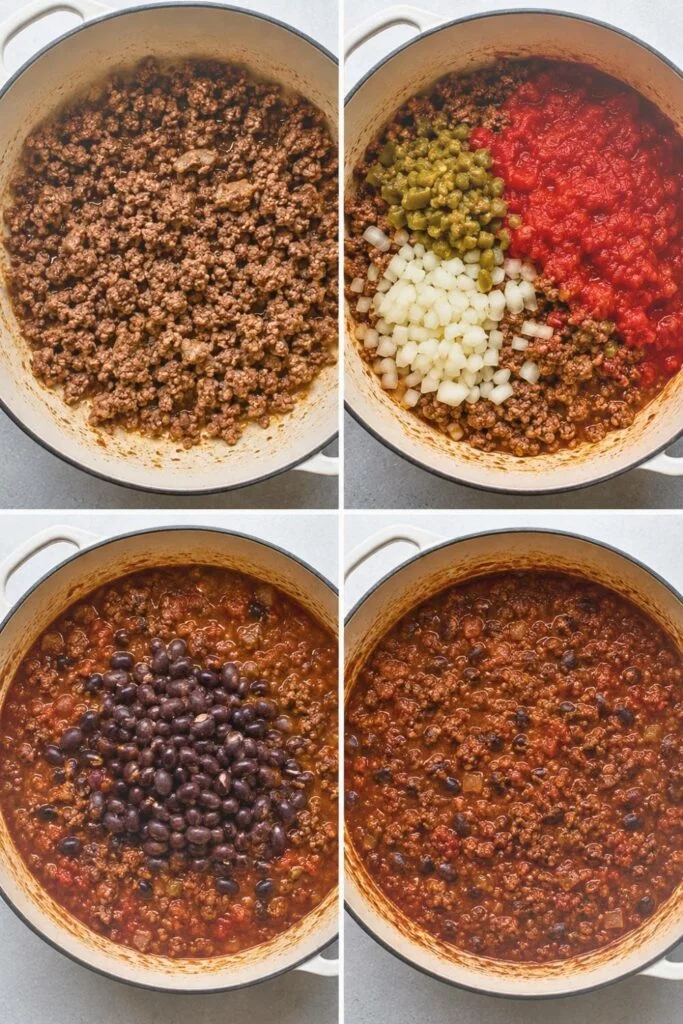
- Brown the beef: Heat the olive oil in a large pot or Dutch oven over medium-high heat. Add the ground beef and cook, breaking it apart with a spoon, until it is browned in spots, about 8 minutes. If you used fatty beef, tip the pot and spoon off the excess fat, leaving a tablespoon or two behind for flavor.
- Cook the aromatics: Lower the heat to medium and add the onion, bell pepper, and jalapeño. Cook, stirring, until the onion is translucent, about 4 minutes. Stir in the garlic and cook for another 30 seconds until it smells fragrant.
- Add the spices: Add the chili powder, cumin, smoked paprika, oregano, and salt directly to the pot. Stir constantly for about 1 minute so the spices toast in the beef fat and release their flavor before the liquid goes in.
- Add everything else: Stir in the crushed tomatoes, diced tomatoes, kidney beans, beef broth, and tomato paste, scraping the bottom of the pot to release any browned bits. Add the brown sugar if you want a touch of sweetness. Bring the chili to a boil, then reduce the heat to a low simmer.
- Simmer until thick: Simmer uncovered for 45 to 60 minutes, stirring every 10 minutes or so, until the chili has thickened and the flavors have come together. The chili is ready when it coats the back of a spoon and no watery juice pools on top when you stir.
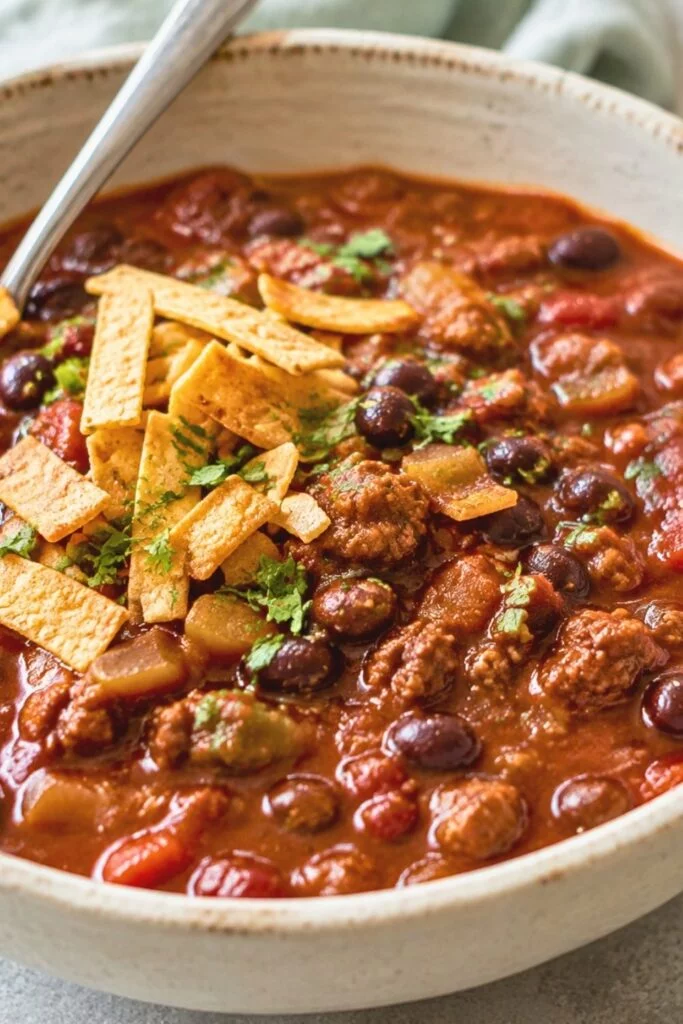
- Taste and serve: Taste the chili and adjust the salt and heat before serving. Ladle it into bowls and set out the toppings you like – shredded cheddar, sour cream, diced onion, cilantro, and tortilla chips all work well.
Tips for the Best Homemade Chili with Ground Beef and Beans
- Don’t rush the browning. Ground beef that’s just gray and steamed adds little flavor, while beef that’s browned in spots gives the whole pot a deeper, meatier taste. Give it the full 8 minutes and let the pot stay hot.
- Season in two stages, not all at once. Toasting the spices in the fat at the start wakes up chili powder and cumin, and that early dose builds depth even after an hour of simmering. Add any extra chili powder at the end only if you want more punch.
- Simmer uncovered, and don’t add more liquid to make it ‘soupier’. The simmer is what turns the tomatoes and broth into a thick chili. If you start it too thin, it stays thin; if it’s thicker than you like, stir in a splash of broth at the end.
- If your chili still looks watery after the full simmer, you have options. Keep simmering for another 15 minutes, mash a few of the beans against the side of the pot to release their starch, or stir in a slurry of 1 tablespoon cornstarch mixed with 2 tablespoons cold water and cook 5 minutes more.
- Swap the beans freely. Pinto or black beans work just as well as kidney beans here, and a mix of two kinds is even better. Just remember to rinse canned beans first – the liquid in the can is salty and starchy.
- The flavor actually improves overnight. Like most braised and simmered dishes, chili tastes even better the next day, so don’t be afraid to make it a day ahead and reheat gently.
Storage
Store leftover chili in an airtight container in the refrigerator for up to 4 days, and get it into the fridge within two hours of cooking. Chili also freezes exceptionally well: cool it completely, then pack it into freezer-safe containers or bags in single-serving portions, leaving a little room for expansion. It will keep for up to 3 months in the freezer, and you can thaw it overnight in the refrigerator or reheat straight from frozen in a pot over low heat. Reheat any leftover chili to a full simmer so it is piping hot all the way through before serving. Per USDA food safety guidance, soups and stews should be refrigerated promptly and reheated to 165°F (74°C). USDA Food Safety and Inspection Service has the full time and temperature rules.
FAQ
Can you freeze this chili recipe?
Yes, this chili recipe freezes very well, which is one of the reasons it’s so good for meal prep. Cool the chili completely, then portion it into freezer-safe containers or bags and freeze for up to 3 months. Thaw it overnight in the refrigerator and reheat in a pot over medium-low heat, stirring until it’s steaming hot throughout.
Why is my chili watery?
Watery chili almost always means it didn’t simmer long enough uncovered, or too much liquid went in at the start. Let it keep simmering without a lid until the liquid reduces and the chili thickens. If you’re short on time, mash some of the beans against the side of the pot to release their starch, or stir in a cornstarch slurry and cook for 5 more minutes.
What kind of beans are best for chili?
Red kidney beans are the classic choice, but pinto and black beans work just as well. A mix of two kinds gives the pot a nicer texture, and any canned bean works once you drain and rinse it. If you prefer no beans at all, simply leave them out and use a little more meat or extra tomatoes.
How long does chili last in the refrigerator?
Properly stored in an airtight container, chili keeps for 3 to 4 days in the refrigerator. Reheat only the portion you plan to eat, warming it in a pot or microwave until it’s bubbling hot all the way through. For anything longer than a few days, freeze it instead.