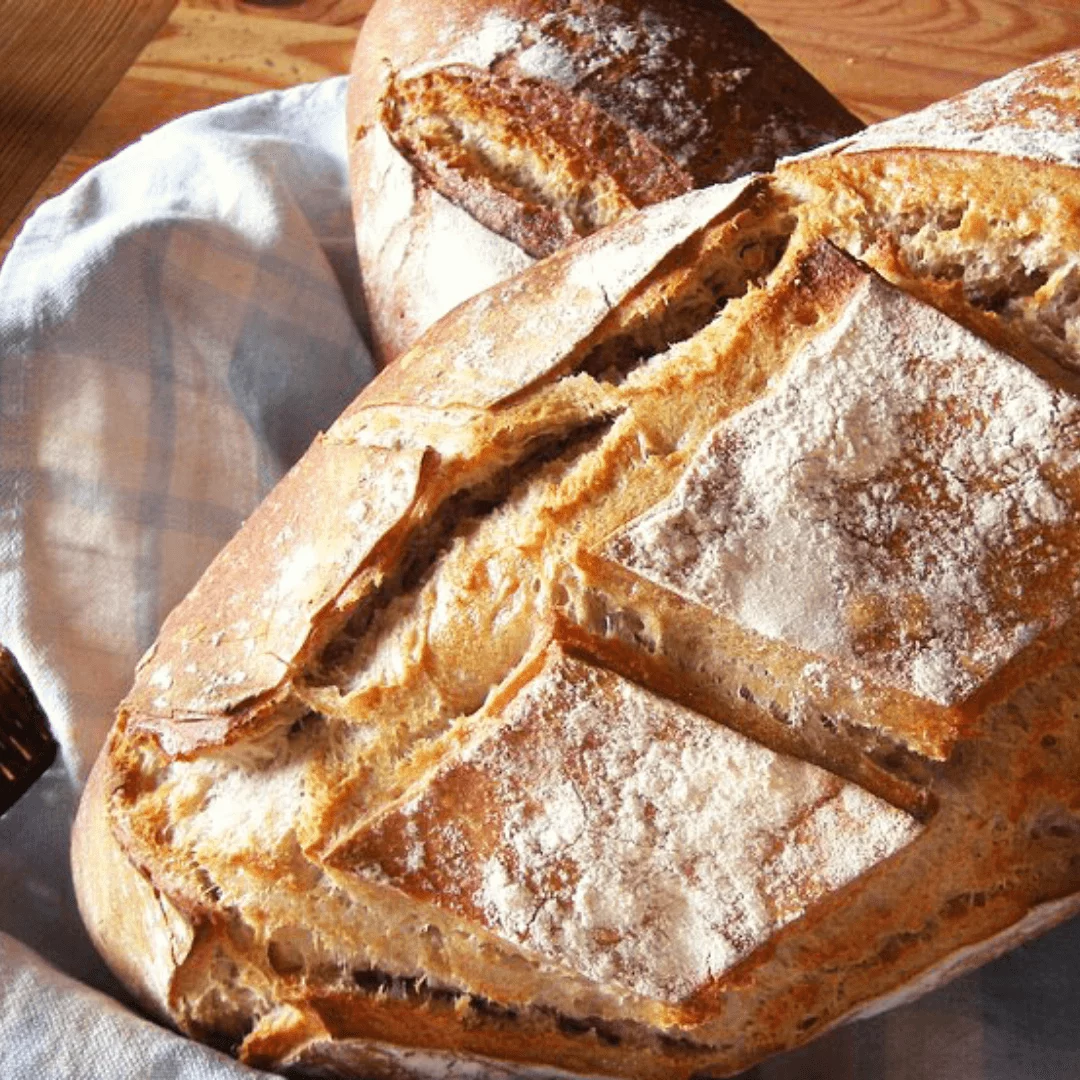
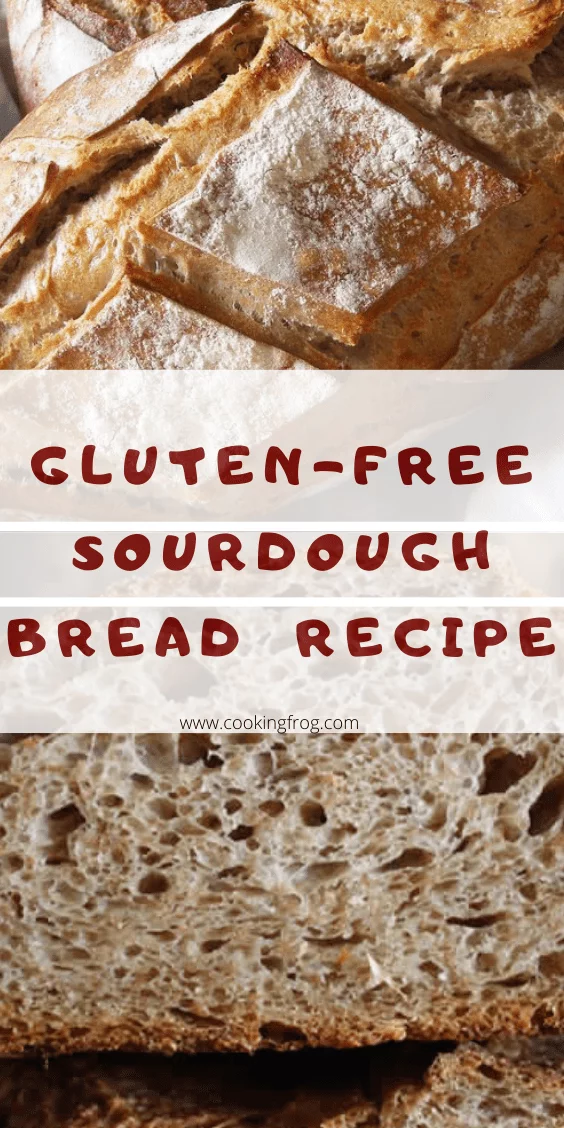
Today’s recipe is Gluten-Free Sourdough Bread Easy Recipe, and it’s very special, especially for the ones who are gluten-intolerant or are on a diet. Only because you can’t intake gluten, doesn’t mean you are going to miss all of your favorite foods because they have gluten in them.
You can be on a gluten-free diet and still enjoy all the baked items like bread, buns, pizza, etc. Yes, that’s true. You can easily make all these items gluten-free and satisfy your cravings.
I am going to share a great sourdough bread recipe with you. The best thing about this bread is that it is not only gluten-free but is remarkably tasty and healthy as well. The plus point is that baking gluten-free sourdough bread is a lot easier than regular sourdough bread.
You can bake gluten-free sourdough bread in much lesser time by following a few simple steps. This recipe doesn’t require any baking expertise, and even a newbie can make an amazing sourdough bread out of it 😉
Ingredients
-
16 oz of Gluten-Free Flour (recommended blend: brown rice flour and sorghum flour as the base, with some potato starch and tapioca starch for lightness)
-
4 oz of Active Gluten-Free Sourdough Starter
-
3 tbsp. of Psyllium Husk
-
2 tsp of Salt
-
2 cups of Water
-
1 tbsp. of Honey (Optional)
Instructions
-
Activate Your Starter
-
Feed your sourdough starter twice before making the dough to ensure maximum activity.
-
-
Mix the Dough
-
In a large mixing bowl, whisk together the flour, psyllium husk, and salt.
-
Add the water, honey (if using), and active sourdough starter. Stir until a smooth, sticky dough forms.
-
Shape into a round dough ball — no kneading needed.
-
-
First Rise
-
Cover the bowl with a damp cloth and let it rest at room temperature for 3–5 hours.
-
-
Prepare for Proofing
-
Lightly flour a banneton basket or line it with a cloth.
-
Transfer the dough into the basket, cover with a damp towel, and let rest for 1 hour.
-
-
Cold Proof
-
Refrigerate the dough for 7–12 hours, or overnight, to enhance flavor and texture.
-
-
Preheat the Oven
-
Place a Dutch oven or combo cooker in the oven and preheat to 475°F (245°C) for at least 1 hour.
-
-
Bake
-
Carefully remove the hot Dutch oven from the oven.
-
Transfer the cold dough into it (a cutting board can help with the transfer).
-
Score the top with a bread lame.
-
Cover and bake for 60 minutes.
-
-
Finish & Cool
-
Remove the cover and bake for an additional 5 minutes for a golden crust.
-
Transfer the bread to a wire rack and let it cool at room temperature for several hours before slicing.
-
Tips:
-
Scoring helps the bread expand evenly while baking.
-
Cooling completely before slicing ensures the crumb sets properly.
-
For a crisper crust, leave the bread uncovered while cooling.
Choosing the Right Gluten-Free Flours
For the best texture and flavor in gluten-free sourdough, use a balanced flour blend:
-
Brown Rice Flour – mild flavor and a sturdy base.
-
Sorghum Flour – adds a subtle sweetness and tender crumb.
-
Potato Starch – helps keep the bread light and moist.
-
Tapioca Starch – adds elasticity and chew.
You can make your own blend using these flours or purchase a high-quality pre-mixed gluten-free bread flour that includes similar components. Avoid using a single flour alone, as it can make the loaf too dense or crumbly.
Does gluten-free sourdough bread taste bad?
Many of you, who haven’t ever tried gluten-free bread, must have in mind or may have heard from someone that gluten-free bread is nothing like regular bread. It’s thick, dense, gummy, and has a terrible taste.
That’s why you may be reluctant in trying out gluten-free bread. But to your surprise, that’s nothing but just a misconception. Gluten-free sourdough bread is a lot tastier than you think.
A poorly-baked gluten-free bread may turn out as a gummy loaf with a terrible taste. But a well-baked gluten-free bread, having a perfect balance of all the ingredients, will definitely satisfy your taste buds.
Yes, I admit. A gluten-free sourdough is not that much spongy and tall as regular bread, but it’s also not like a dense, lofty, and ill-flavored loaf. This recipe will give you perfectly-baked sourdough bread with a beautiful golden-brown texture and a great taste.
Can you store the sourdough bread?
Yes, you can definitely store the gluten-free sourdough bread. For this purpose, wrap the sourdough bread in a dry, cloth towel. Make sure the towel is lint-free. Now place this cloth-wrapped bread into the brown paper bag. This way, the bread stays fresh for up to 3 – 4 days.
You can also revive a few days old stale breads by toasting or lightly broiling it. It is recommended to store it in the freezer if you wish to store the bread for more the 3 – 4 days,


