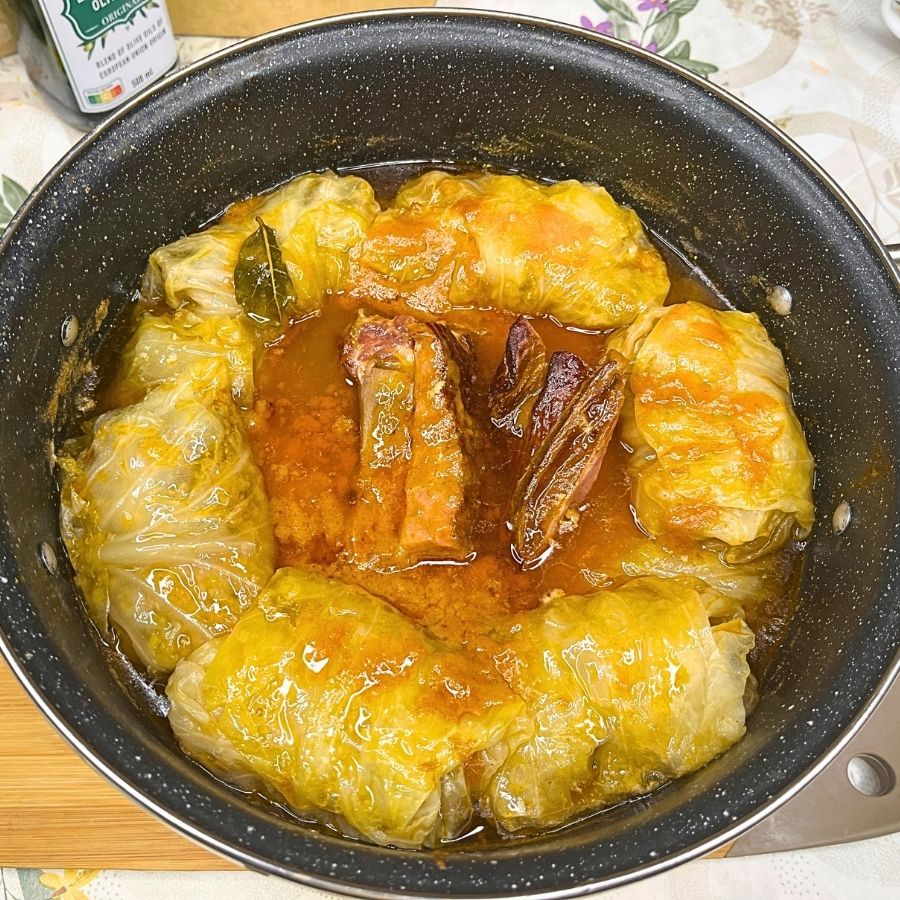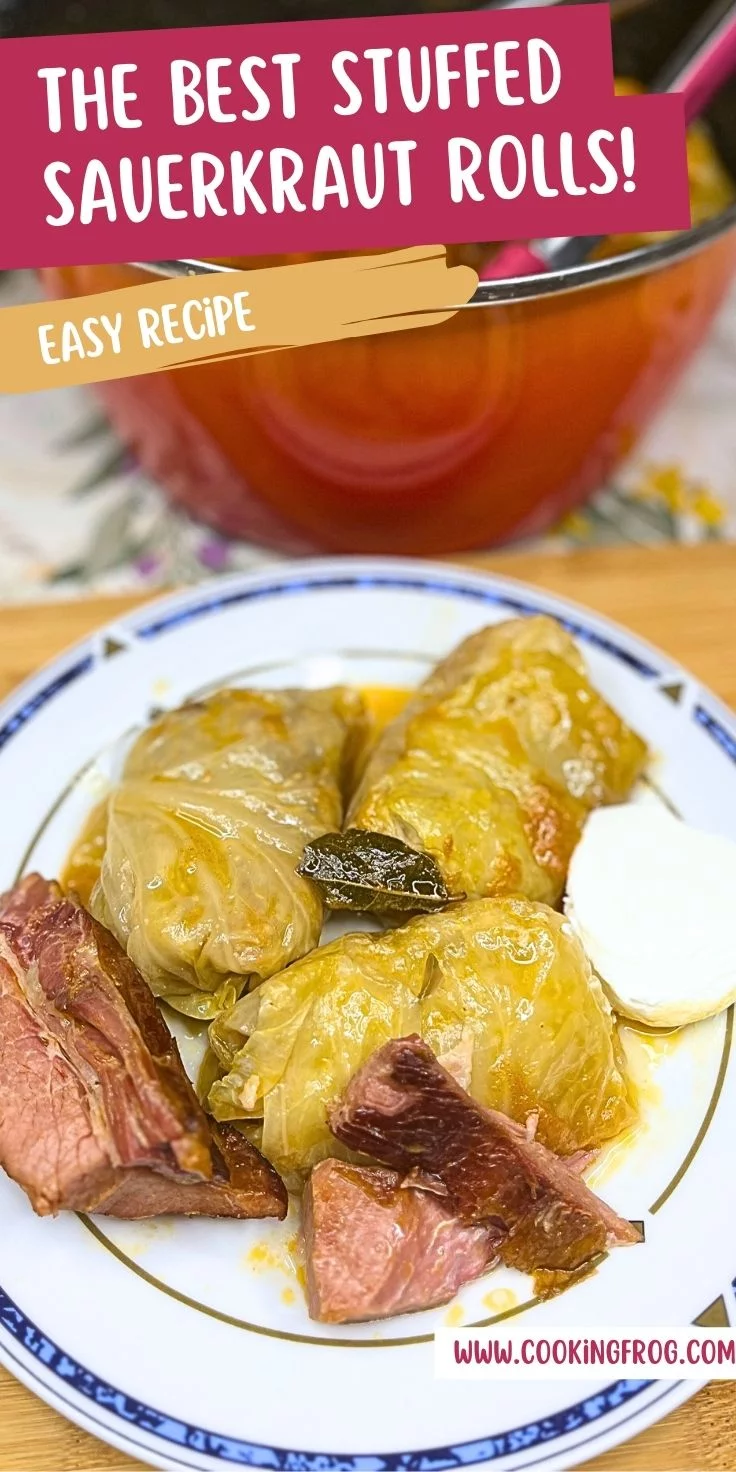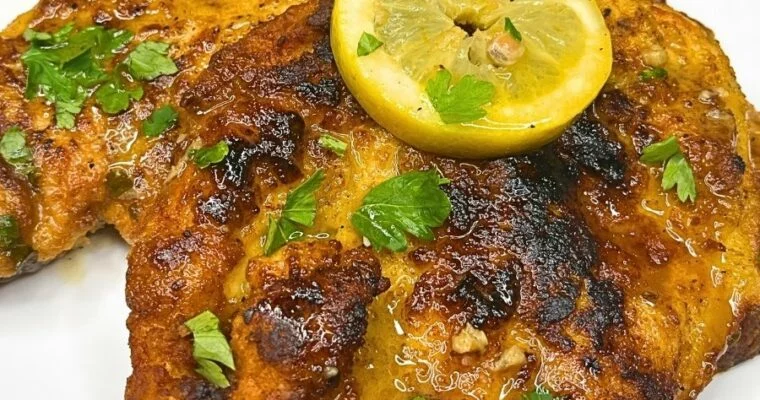
Parmesan Crusted Chicken with Lemon Butter Sauce
If you’re craving something simple but full of flavor, this Parmesan Crusted Chicken with Lemon Butter Sauce is a great recipe to have on hand. The chicken breast is lightly pounded, coated in grated Parmesan and a bit of flour, then pan-fried until golden and Read More