
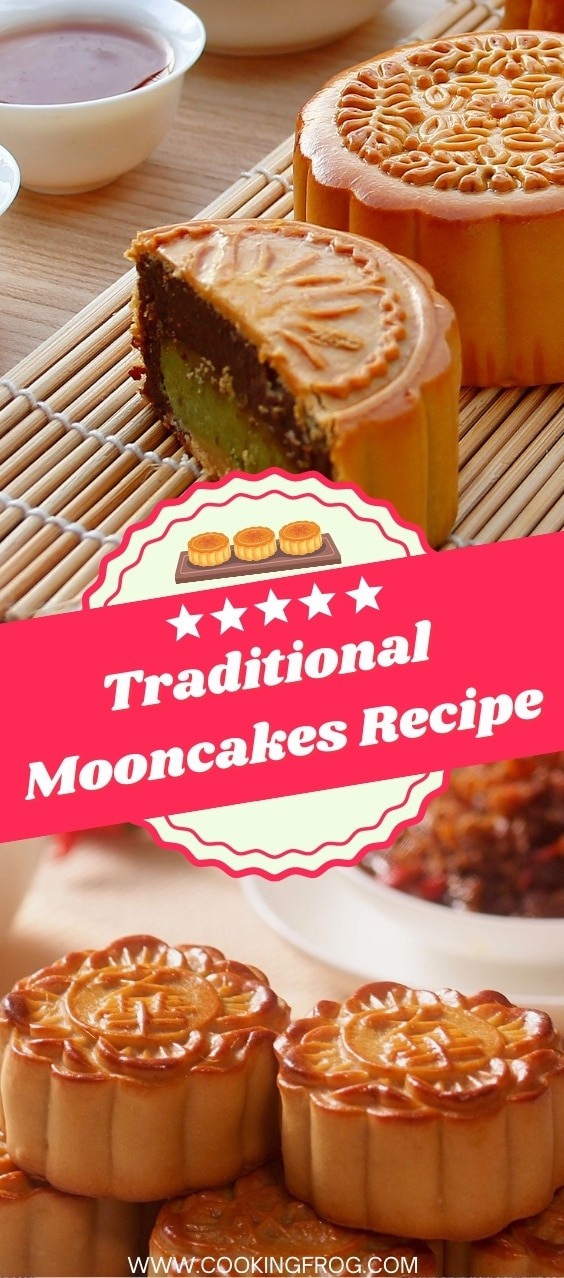
The flavor of homemade mooncakes is unrivaled. This recipe demonstrates how to create classic mooncakes with simple instructions and lots of expert advice.
Every Chinese holiday indeed has a connection to one or more specific foods. I’m presenting a recipe for traditional mooncakes to celebrate the forthcoming Mid-Autumn Festival, which falls on Saturday, September 10, 2022.
What Are Mooncakes?
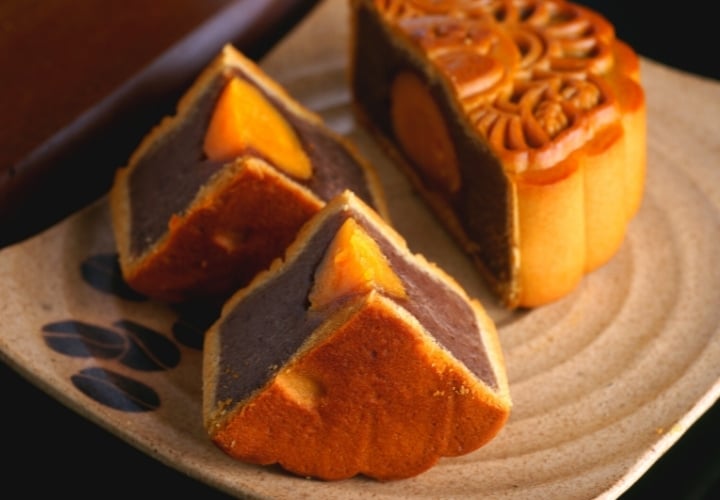
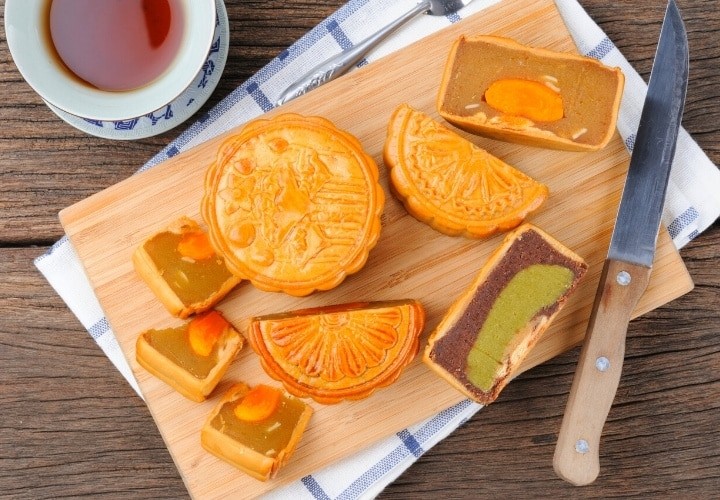
Chinese cakes called mooncakes (or Yue bing) can have a sweet or savory filling. It is usually consumed with tea. They are often consumed gently during the Mid-Autumn Festival while observing the moon.
However, yue bing, as they are known in Mandarin, has also spread throughout Asia and is now a pretty popular dish. Yue bing is offered everywhere in September (when the event is held), from street sellers to Cafes.
Mooncakes are well-known across Asia as a result. Their costs have recently increased dramatically due to their growing popularity and the custom of purchasing them as gifts for acquaintances, coworkers, and family members.
Making mooncakes at home is not only cheaper but also healthier! This is because you can choose which artificial colorings and preservatives are used in your mooncake.
The traditional dough used to make mooncakes’ outer shells includes ordinary flour, lye water (alkaline water), vegetable oil, and golden syrup (or invert syrup). For dusting and brushing, more flour and egg wash are employed.
Cornstarch and baking soda are used in other, more contemporary mooncake recipes. Our recipe will concentrate on how mooncakes are traditionally made. However, some contemporary improvements will be included for accessibility.
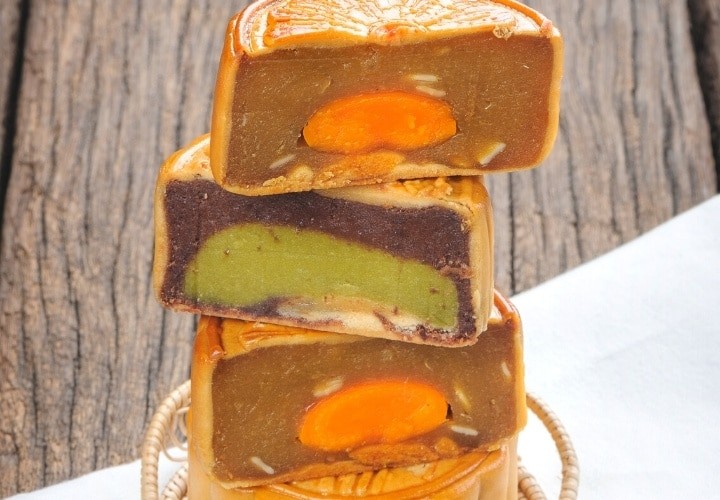
Several fillings are frequently utilized in Yue bing. White lotus seed, red bean paste, green tea, wu ren (mixed nuts), salted egg yolk, and yam are a few of the most popular ones.
Other contents for mooncakes include shrimp, durian, chicken floss, ice cream, and ground pork.
Mooncakes Recipe
Celebrate with homemade mooncakes—golden, glossy, and filled with the classic flavor of your choice. Here’s a step-by-step guide to getting perfect results, even if you’ve never tried before.
Ingredients
For the Mooncake Dough (Skin):
-
2 cups + 4 tsp all-purpose flour (235g), sifted
-
130g (about 2.7 oz + 1 tsp) golden syrup
-
3 Tbsp vegetable oil (plus a bit more if needed)
-
½ tsp baking soda
-
½ tsp water
For the Filling:
-
35 oz (about 1 kg) sweet filling of your choice (lotus seed paste, red bean paste, chestnut paste, black sesame, etc.)
-
16 salted duck egg yolks
For the Egg Wash:
-
1 egg yolk
-
1 tsp egg white
-
¼ tsp sesame oil
-
¼ tsp golden syrup
-
1 tsp water
Instructions
1. Make the Dough (Mooncake Skin)
-
In a small bowl, mix the baking soda and water until dissolved.
-
In a large bowl, combine the flour, golden syrup, vegetable oil, and baking soda mixture. Stir with a spatula, then use your hands to knead gently until a shaggy dough forms.
If the dough feels dry, add a tiny splash of oil; if sticky, add a bit more flour. -
Shape into a rough ball, wrap in plastic, and let rest at room temperature for 1 hour.
2. Prepare the Filling
-
Cut the salted egg yolks in half (if they’re whole).
-
Portion your filling: For each mooncake, use about 75g total filling (including 1–2 egg yolk halves inside each). Flatten a portion of filling, place the egg yolk(s) in the center, and wrap the paste around the yolk. Roll gently into a ball.
Tip: Use a kitchen scale for accuracy. You’ll need 8 portions total.
3. Assemble the Mooncakes
-
Preheat your oven to 350°F (175°C). Line a baking sheet with parchment paper.
-
Divide the rested dough into 8 equal pieces (about 50g each). Roll each into a ball.
-
Flatten each dough ball between two sheets of plastic wrap to a disk large enough to wrap your filling ball.
-
Place a filling ball in the center of the dough. Carefully wrap the dough around the filling and pinch to seal. Roll gently between your hands to smooth.
-
Lightly grease your mooncake mold (about 100g/3.5oz size). Place each wrapped ball into the mold, press gently to shape, then unmold onto the baking sheet, smooth side up. Repeat with the rest.
4. Bake and Glaze
-
Bake the mooncakes for 5–6 minutes. Remove from oven and let cool for about 5 minutes.
-
Meanwhile, mix all egg wash ingredients together in a small bowl.
-
Lightly mist the mooncakes with water (this helps prevent cracking). Using a small pastry brush, gently brush the tops with a thin layer of egg wash—don’t flood the design.
-
Return to the oven and bake for another 5–6 minutes.
-
Remove and brush a second thin layer of egg wash on top.
-
Raise the oven temperature to 390°F (200°C). Bake for an additional 8–10 minutes, or until the tops are deep golden and glossy.
5. Rest and Serve
-
Cool the mooncakes completely on a wire rack.
-
Once cooled, store in an airtight container at room temperature for 1–2 days before eating. This “resting” time lets the skin soften and the flavors meld—your mooncakes will become glossy and perfect.
-
Mooncakes keep at room temperature for up to a week.
Tips
-
For clean designs, use a soft, small brush for egg wash and keep it light.
-
If using commercial salted egg yolks, soak in a little rice wine for 5–10 min and bake at 325°F for 5 min before using (optional, improves texture).
-
Mooncakes freeze well—wrap tightly and thaw overnight in the fridge before serving.
Share the image below to your Pinterest board if you like this Mooncakes Recipe!
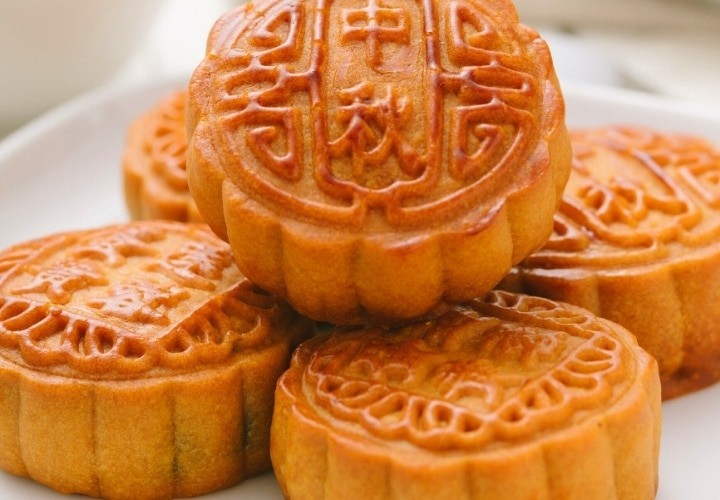
Molds for Mooncakes
You’ll note that the mooncakes have a detailed design on their top because a mooncake mold was used to make them! Molds are widely accessible online. However, they come in various designs and sizes.
Molds are often wood and feature replaceable designs, but plastic molds are also available. They not only add to the enjoyment since you can switch up the design, but they also include an easy release method that makes it simple to remove the mooncakes from the mold.
It all depends on the size of the mooncake you want to produce when it comes to dimensions. Two egg yolks and a sizable filling fit my 3.5 ounces (100 grams) mooncake form well. However, you’re welcome to utilize a little mooncake mold and make more miniature mooncakes out of a salted egg yolk.
Expensive Mooncakes
Buying mooncakes as gifts for family, friends, and coworkers to mark the Mid-Autumn Festival has also grown popular. As a result of the strong demand, the cost of mooncakes has increased yearly.
Compared to the materials’ price, the selling price is significantly higher. So, I decided to create a straightforward recipe that anybody can use to make it at home since I felt it was almost silly.
Additionally, if you give them your homemade mooncake as a present, they will appreciate your honesty, diligence, and effort because mooncake has been overly commercialized in recent years.
Making mooncakes from scratch is time-consuming and requires some expertise. This mooncake recipe, which uses pre-made filling and streamlined processes to save time, explains how to prepare classic Cantonese mooncakes.
Not using lye water when making mooncakes
Lye water is frequently used to produce the skin on mooncakes. The mooncakes acquire a rich golden brown hue because to the alkaline qualities of lye water. However, it might be challenging to locate lye water, particularly now that it’s illegal in Australia.
Lye water is extremely potent and toxic in excess! Instead of using baking soda, this recipe yields results that aren’t inferior. There is no need to bake baking soda; nonetheless, many people do so to make it more alkaline.
To add to the dough, just combine 1/2 teaspoon baking soda with the same quantity of water. Although the dough becomes more crumbly as a result, mooncakes may still be formed with ease.
Salted Egg Yolks
Usually, an egg is cured in the shell before being salted to give it a nice, deep umami flavor. In order to achieve this flavor, more expensive and opulent duck eggs are typically utilized during Mid-Autumn celebrations.
Salted egg yolks may be bought in bulk packets expressly for use in mooncake fills like this, and salted eggs can be bought whole or raw. Look at your neighborhood Asian market or buy them online.
Important Tips for Making The Best Mooncakes
Here are some suggestions to help you make the ultimate mooncake and astound your loved ones!
Weigh the filling and dough
The dough and skin for the mooncakes must be divided up precisely to suit your mold; thus, you must accomplish this. Additionally, it ensures that the skin and filling are perfectly balanced.
If you use less, it may be challenging to cover the filling without splitting. If there is excessive skin, the pastry on the mooncake will be very thick.
Add baking soda
I substitute baking soda for the customary lye water, and it performs fantastically to produce gorgeously golden brown mooncakes.
Oil your molds very lightly.
It’s crucial to grease your molds since the pastry might stick there when you build the design. For a simple mooncake release, gently cover the interior of the mold with a pastry brush dipped in vegetable oil.
Spray some water on your mooncakes
After the initial baking, giving your mooncakes a small mist of water brings moisture back into the skin, prevents it from breaking, and helps the dough color evenly.
When glazing your mooncakes, use a fine brush.
Use a fine brush to apply the egg wash. This aids in getting between the details and removing any extra egg wash that may have become trapped there. The intricate designs may fade and lose character if the glaze is cooked in between them.
You should glaze and re-bake your mooncakes.
To get the ideal golden hue, repeat the glazing and baking procedure as many as necessary. Remember that the color of your mooncakes will intensify after they sit for a few days.
Give your mooncakes time to mature
After baking, store your mooncakes at room temp in a sealed container. This makes it possible for the skin to absorb the filling’s oils. The ideal mooncake is produced as a result, with increased flavor, color, and glossiness.
FAQs
For how long will my mooncakes last?
Due to the composition of its components, mooncakes may last a fair amount of time. The mooncakes’ water content is removed after baking, which extends their shelf life. When kept at room temperature in a sealed container, freshly prepared mooncakes can last up to a week.
They can survive even longer if you keep them in the refrigerator! Before eating them, I would take them out of the refrigerator and let them get to room temperature. Allow them to remain at room temperature for two days before putting them in the refrigerator if you’re storing them there since doing so brings out the oils in the skin.
How to store mooncakes?
Mooncakes should be kept at room temperature in an airtight container. The skin might soften while absorbing the oils from the filler when they are preserved in this way.
The mooncakes’ distinctive glossy golden brown hue is a result of this.
How about other fillings for these mooncakes?
You may replace the filling with many other flavors, like white lotus seed paste, chestnut paste, taro paste, mixed tree nuts, black sesame paste, and many more! They can be utilized as long as they have the right consistency for rolling the filling into a ball.
Can I make Mooncakes without the mold?
Yeah! You can create them even if you do not possess a mooncake mold. It is possible to use a tart mold or even a cupcake plate in place of pushing the formed mooncakes into a mold. Although they won’t have that special pattern, they will still be wonderful.
Nutrition
Serves 20
Serving Size: ¼ of a Mooncake
Calories Per Serving: 288
- Fat 10.2g
- Cholesterol 185.2mg
- Sodium 254.1mg
- Total Carbohydrate 36.9g
- Dietary Fiber 1.3g
- Sugars 5.8g
- Calcium 98.1mg
- Protein 10.9g
- Vitamin A 77.1µg
- Vitamin C 0.1mg
- Iron 1.6mg
- Potassium 82.3mg
