
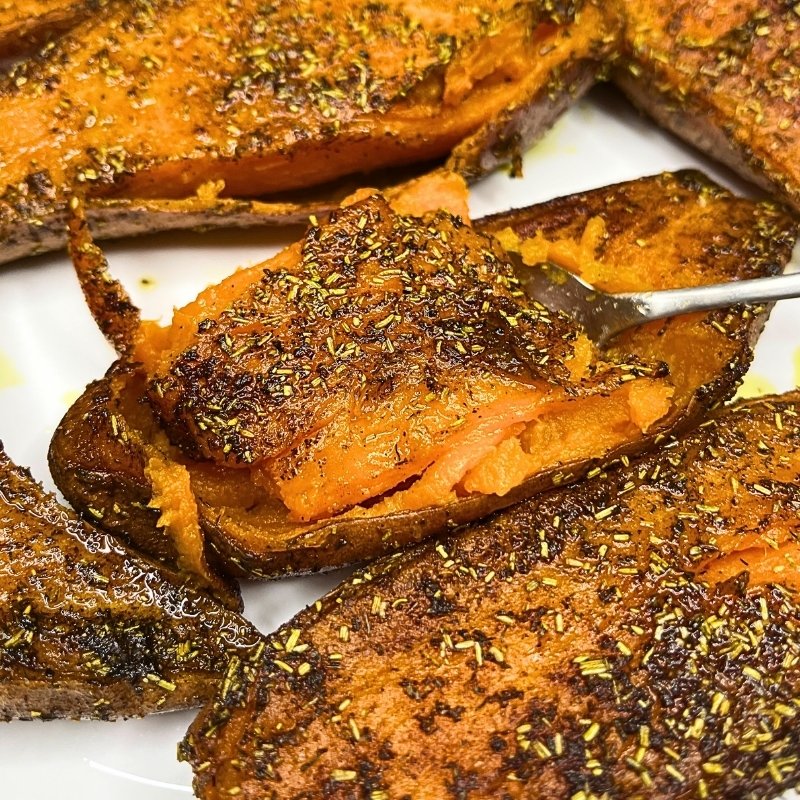
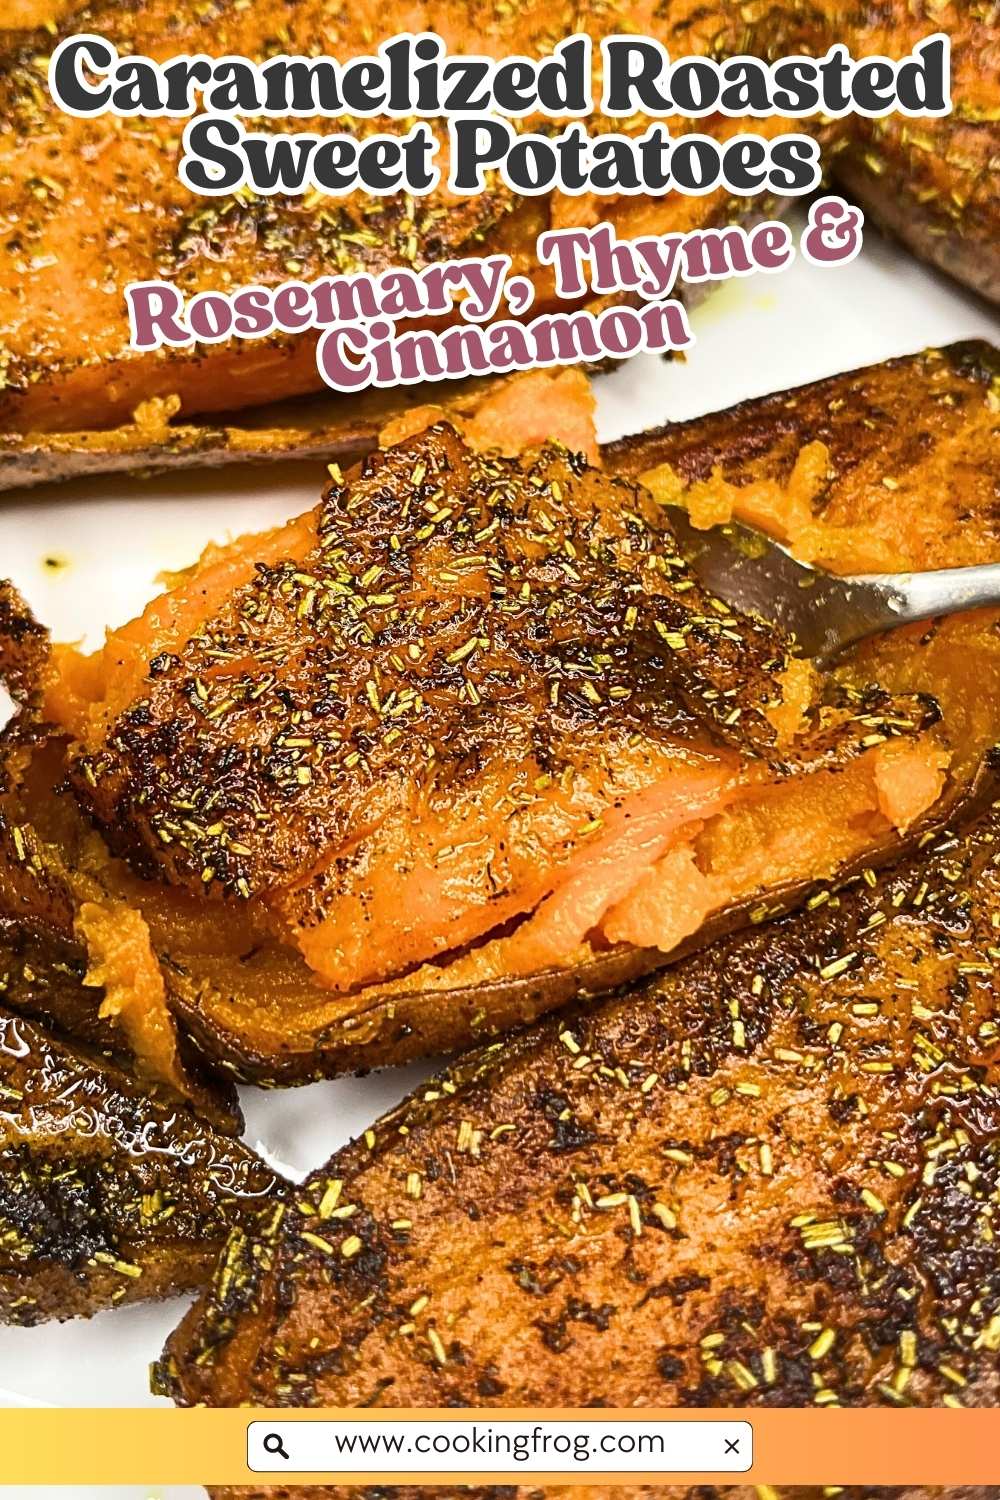
If you’re looking for an easy way to make oven roasted sweet potatoes that actually taste exciting, these caramelized sweet potato halves are it. They roast at a high temperature so the edges get deeply browned, while the center stays soft and fluffy.
The key is seasoning both sides differently: rosemary and thyme on one side, then cinnamon and brown sugar on the cut side so it bakes into a sweet, sticky glaze. A brush of melted butter halfway through is what brings it all together. It’s a simple sheet-pan recipe, but the flavor feels like something you’d order as a side at a great restaurant.
Ingredients
-
5 medium sweet potatoes, halved lengthwise
-
4–5 Tbsp oil, divided (about 2 Tbsp for the pan + 2–3 Tbsp to coat)
-
3 Tbsp butter, melted
Seasonings
-
3 tsp dried rosemary, divided
-
3 tsp dried thyme, divided
-
1 1/4 tsp salt (skin side only)
-
1 tsp ground cinnamon
-
2 tsp adobo seasoning
-
2 Tbsp brown sugar
Instructions
1) Preheat + prep the pan
Preheat oven to 400°F.
Spread a thin layer of oil over a large sheet pan so the potatoes can roast (not stick).
2) Oil the sweet potatoes
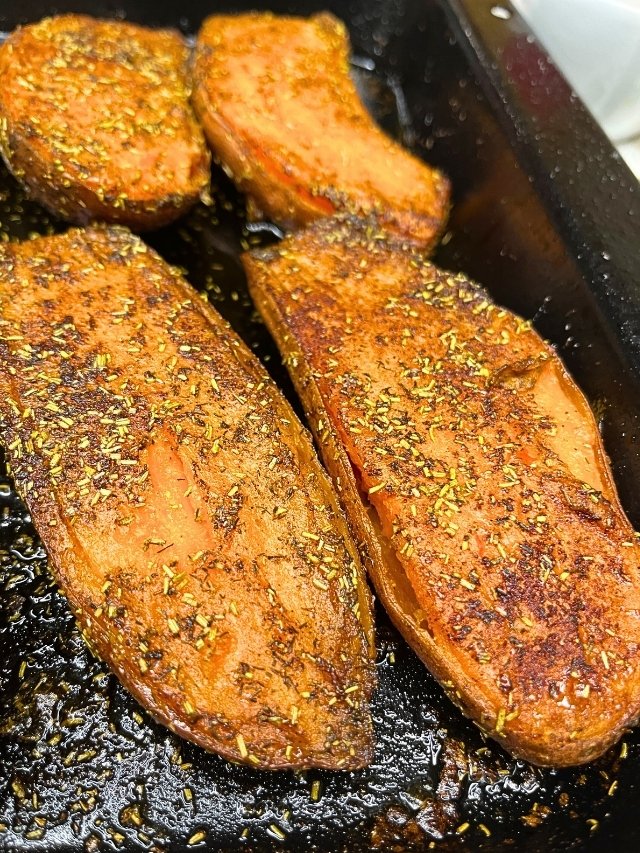
Cut your sweet potatoes in halves, and place them cut-side down on the oiled pan and slide them around a bit so the cut sides pick up oil.
Flip them over and rub a light coat of oil over the skins and cut sides so they brown evenly.
3) Season side #1 (skin side / salted side)
With the skin side facing up, season with:
-
half the rosemary
-
half the thyme
-
all the salt
4) Flip and season side #2 (cut side)
Flip the potatoes so the cut side faces up, then season with:
-
remaining rosemary
-
remaining thyme
-
cinnamon
-
adobo seasoning
-
brown sugar (spread it in a thin, even layer so it caramelizes instead of burning)
5) First roast
Roast for 20 minutes.
6) Flip + butter halfway
Pull the pan out and flip the potatoes again.
Brush/spoon the melted butter over the tops. (It’ll run down and help baste the edges.)
Return to the oven and roast 18–25 minutes more, until deeply caramelized.
7) Know when they’re done
They’re ready when:
-
a fork slides in easily, and
-
the edges look dark and roasted with caramelized spots, and
-
the surface looks “set” (not wet or grainy with sugar)
Optional: extra-dark, crispier edges
Broil briefly at the end, watching closely so the sugar doesn’t burn.
If these roasted sweet potatoes made it onto your “make again” list, do me a favor—save the photo below to your Pinterest board so you’ve got it ready the next time you’re craving that caramelized, buttery edge.
Tips & Tricks for the Best Results
-
Pick the right sweet potatoes. Medium ones roast more evenly than huge ones. If you’re using very large sweet potatoes, expect a longer cook time.
-
Cut them evenly. Try to keep the halves similar in thickness so they finish at the same time. If one half is much thicker, it’ll still be firm when the others are done.
-
Spread the brown sugar thin. A light, even layer caramelizes into a glossy coating. Big piles tend to burn before the potatoes are fully roasted.
-
Use the edges as your “crisp meter.” The centers should be soft, but the real magic is at the edges where the sugar and butter concentrate and get dark and sticky.
-
Crowding = steaming. Give the potatoes space. If they’re packed in, moisture builds up and you’ll miss that deeper roasted finish. Use two pans if needed.
-
Butter halfway, not at the start. Adding melted butter mid-roast helps it cling, baste the sides, and deepen browning without burning too early.
-
Watch closely if you broil. It’s the fastest way to get that darker “video-style” finish, but brown sugar can go from perfect to bitter in a minute. Keep the oven door cracked and don’t walk away.
-
Let them sit for a few minutes. Right out of the oven, the sugar is still soft. A short rest helps the glaze set up so the tops feel less sticky and the edges stay crispier.
-
Reheat the right way. For leftovers, use the oven or air fryer to bring back the roasted edges. The microwave works, but it softens everything.
Leftover Storage & Reheating
How to store
-
Let the sweet potatoes cool to room temp (don’t leave them out longer than about 2 hours).
-
Transfer to an airtight container.
-
Refrigerate for up to 4 days.
Freezing (optional)
-
You can freeze them for up to 2 months, but the texture will be softer after thawing and the caramelized top won’t stay as “roasty.”
-
Freeze in a single layer on a tray first, then move to a freezer bag/container.
Best ways to reheat (to bring back the edges)
-
Oven: Spread on a sheet pan and reheat at 400°F until hot and the edges look lively again.
-
Air fryer: Reheat in a single layer at 375–400°F until warmed through.
Microwave (quickest)
-
Works fine for speed, but expect a softer texture. If you want, microwave to warm them, then finish for a few minutes in a hot oven/air fryer to crisp the edges again.
